Creating a Customer
In order to create a customer, first login into the Stripe dashboard and click on the Customers menu on the right. The customers list will now open.
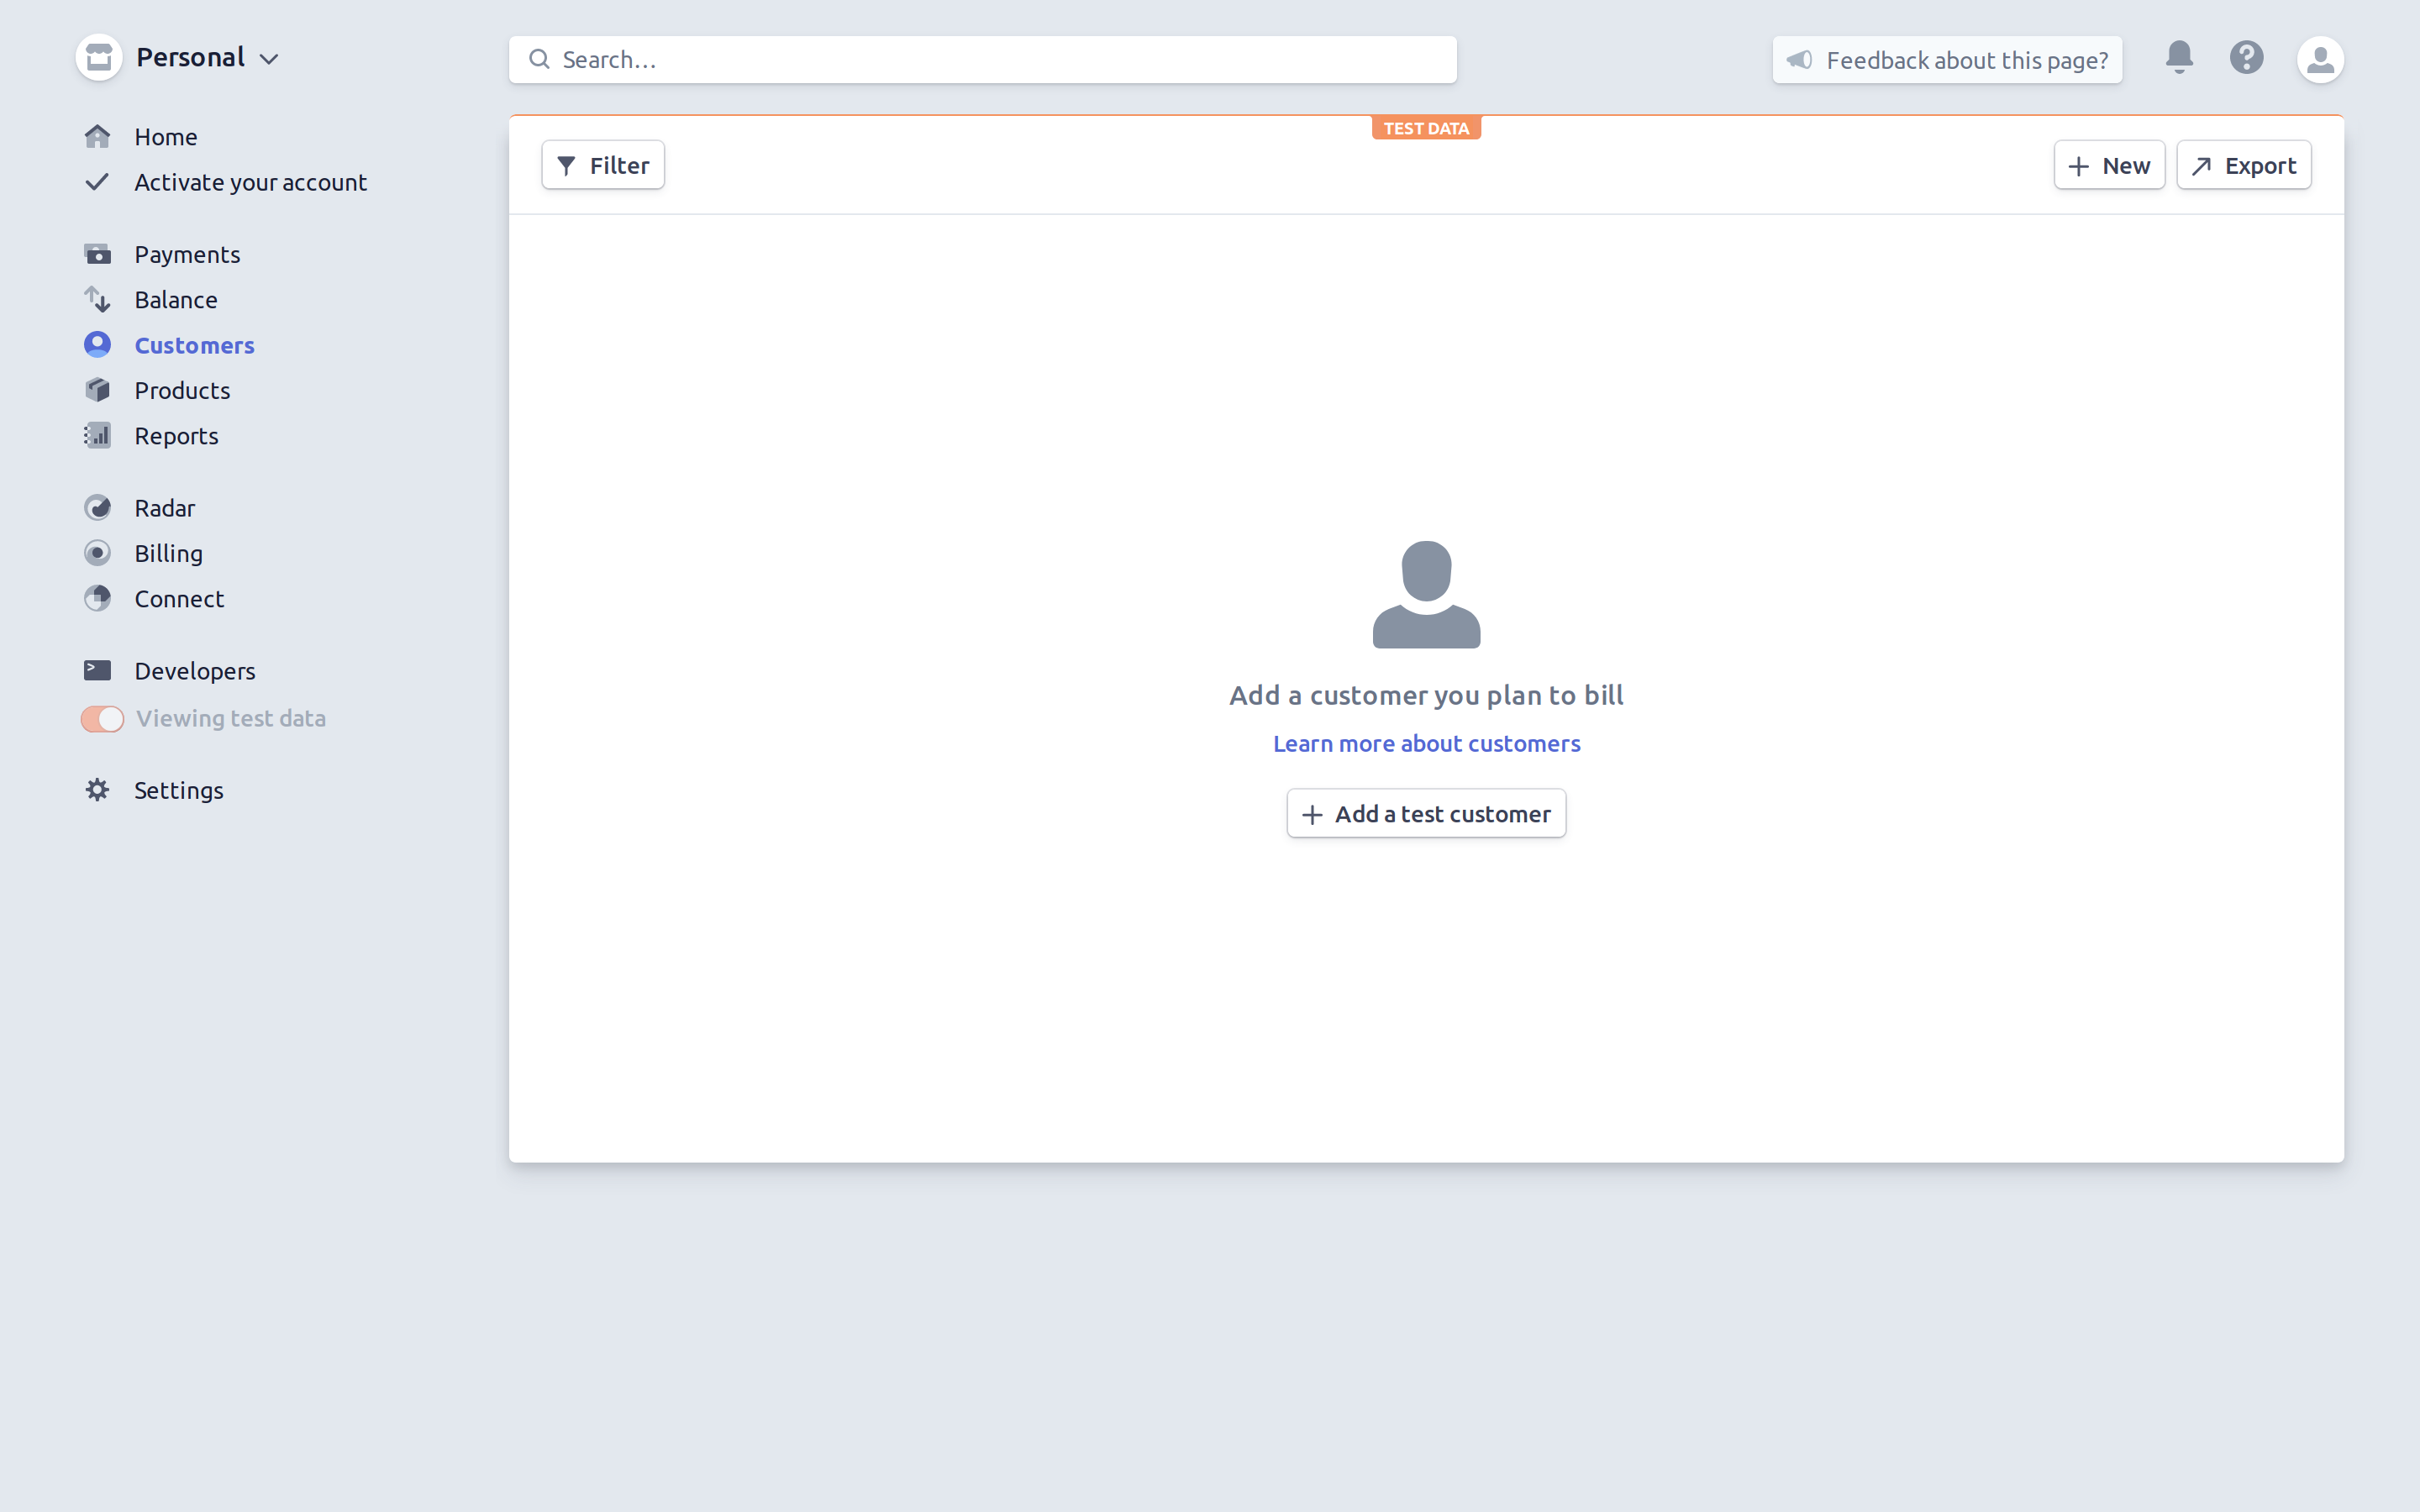
You can now click on the + New button in order to add a new customer.
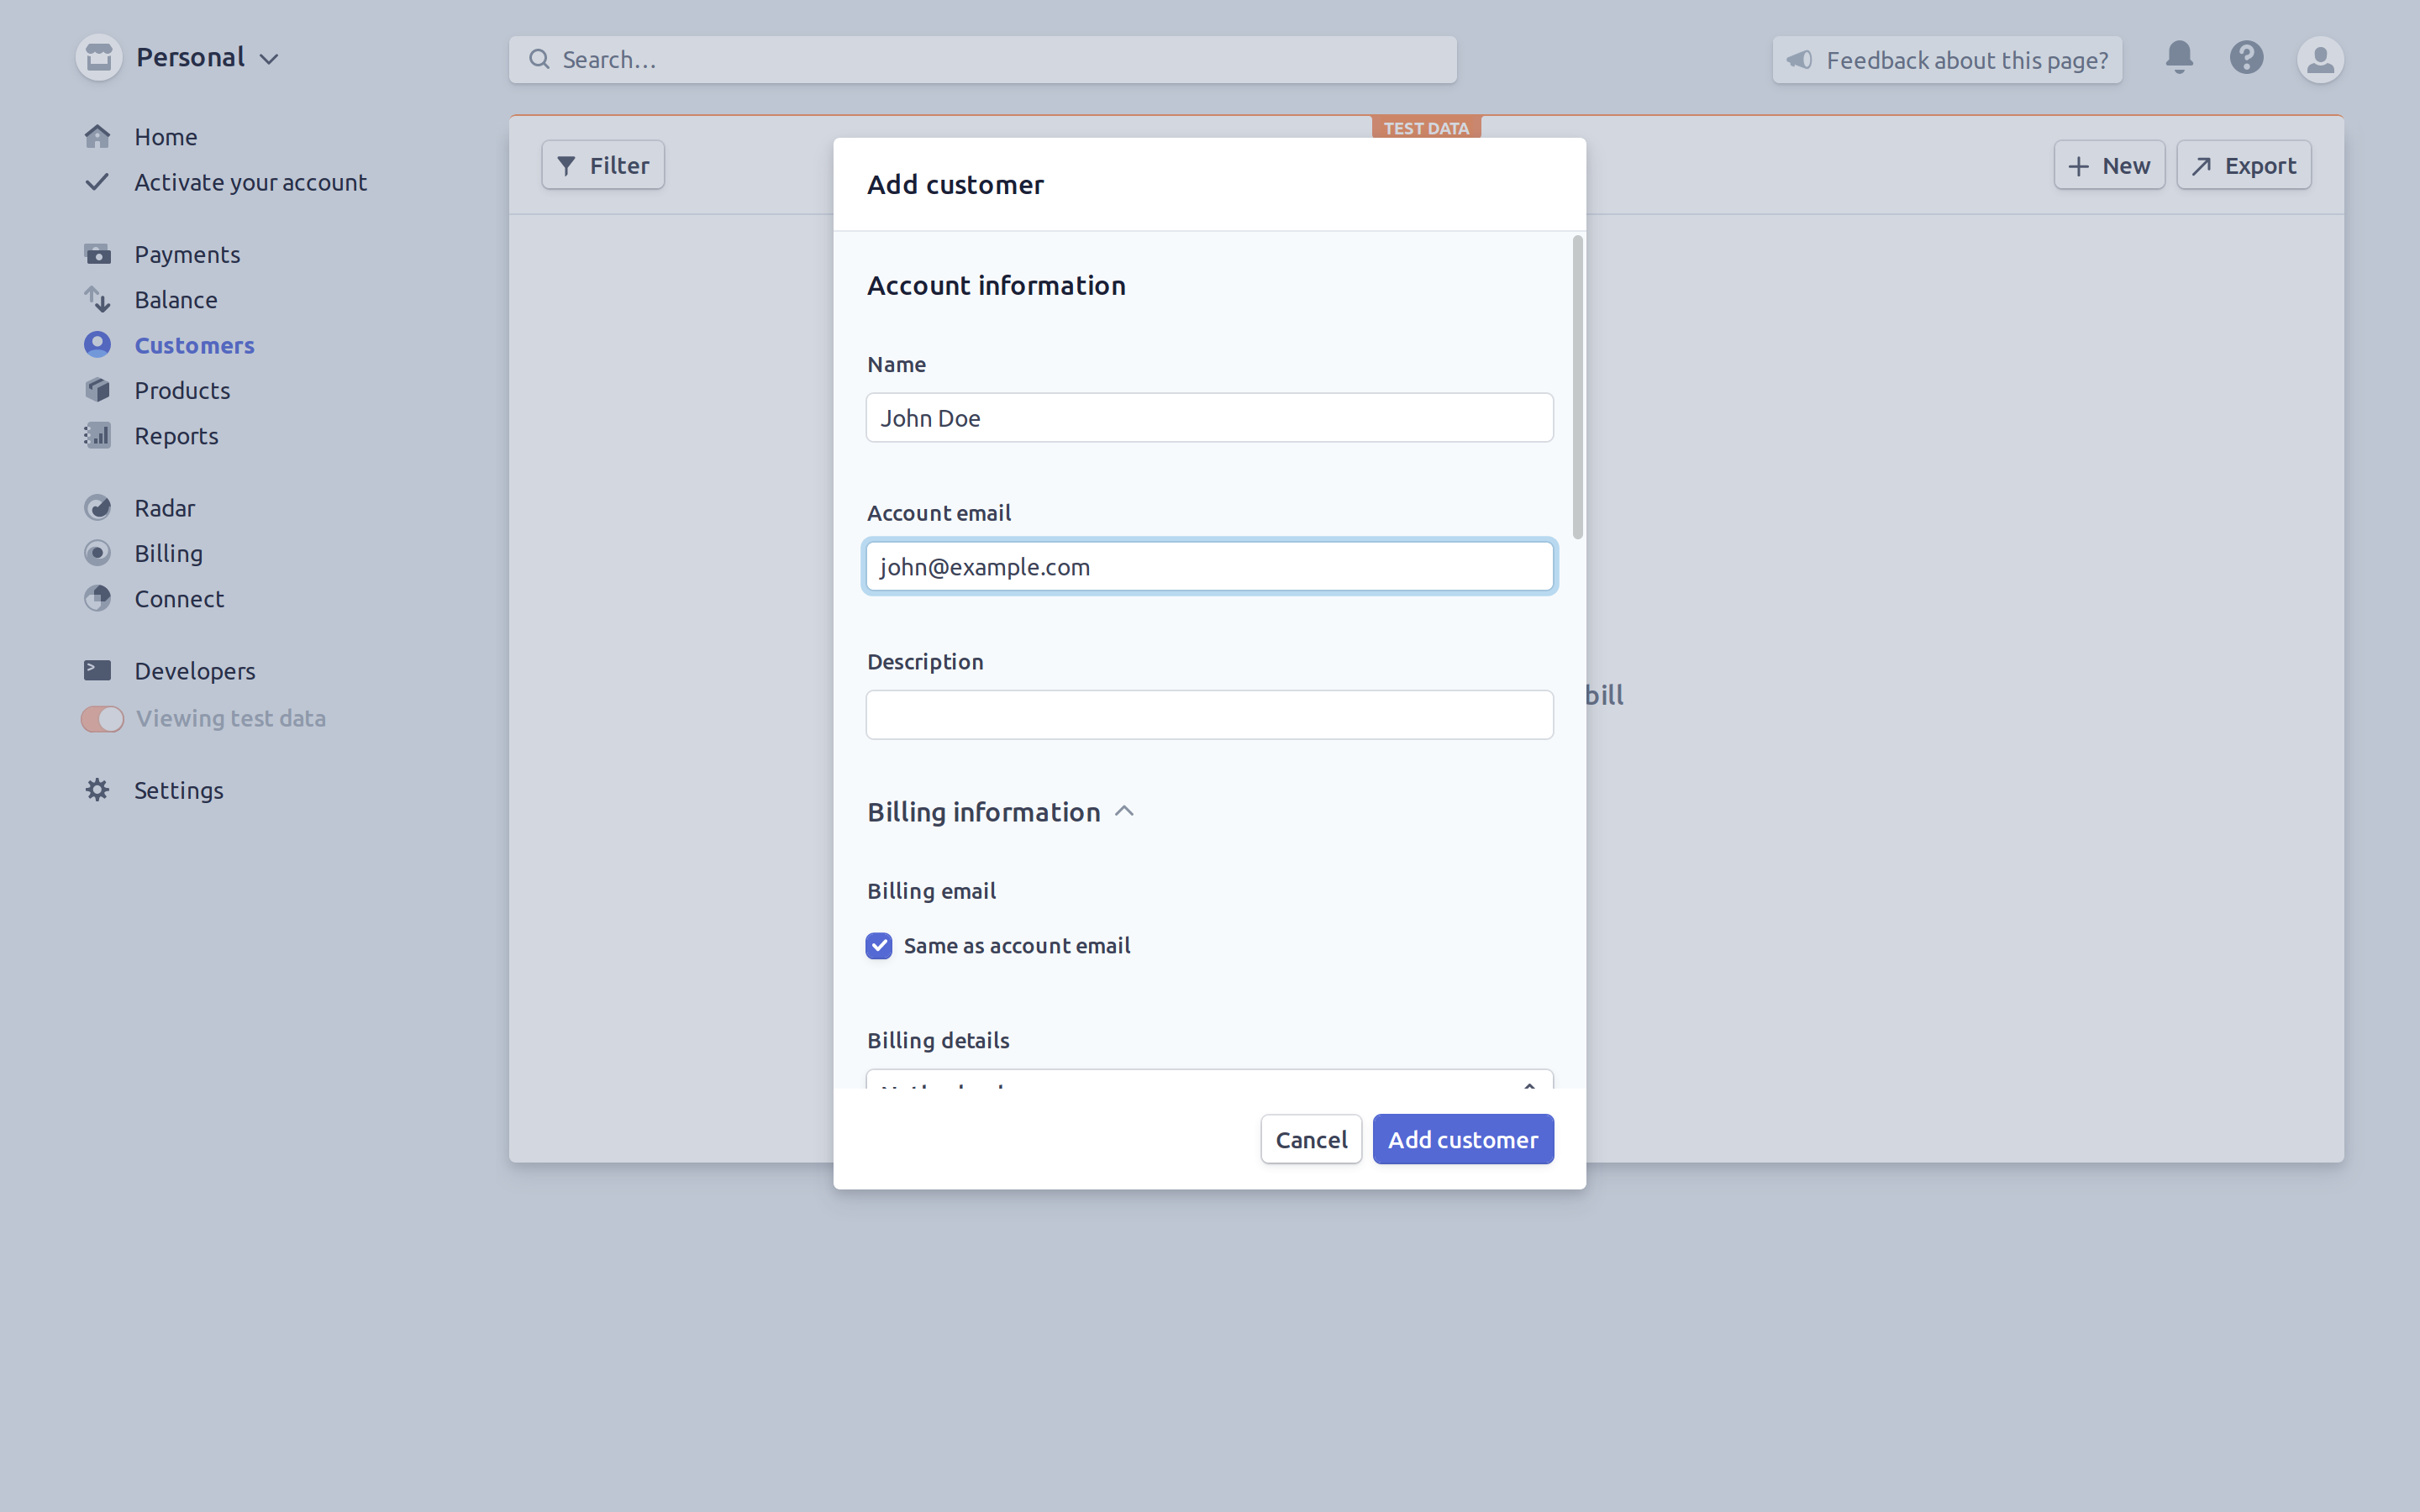
After specifying the name, email and billing information, you can click on Add customer to finalize the creation.
Subscribing a Customer to a Pricing Plan
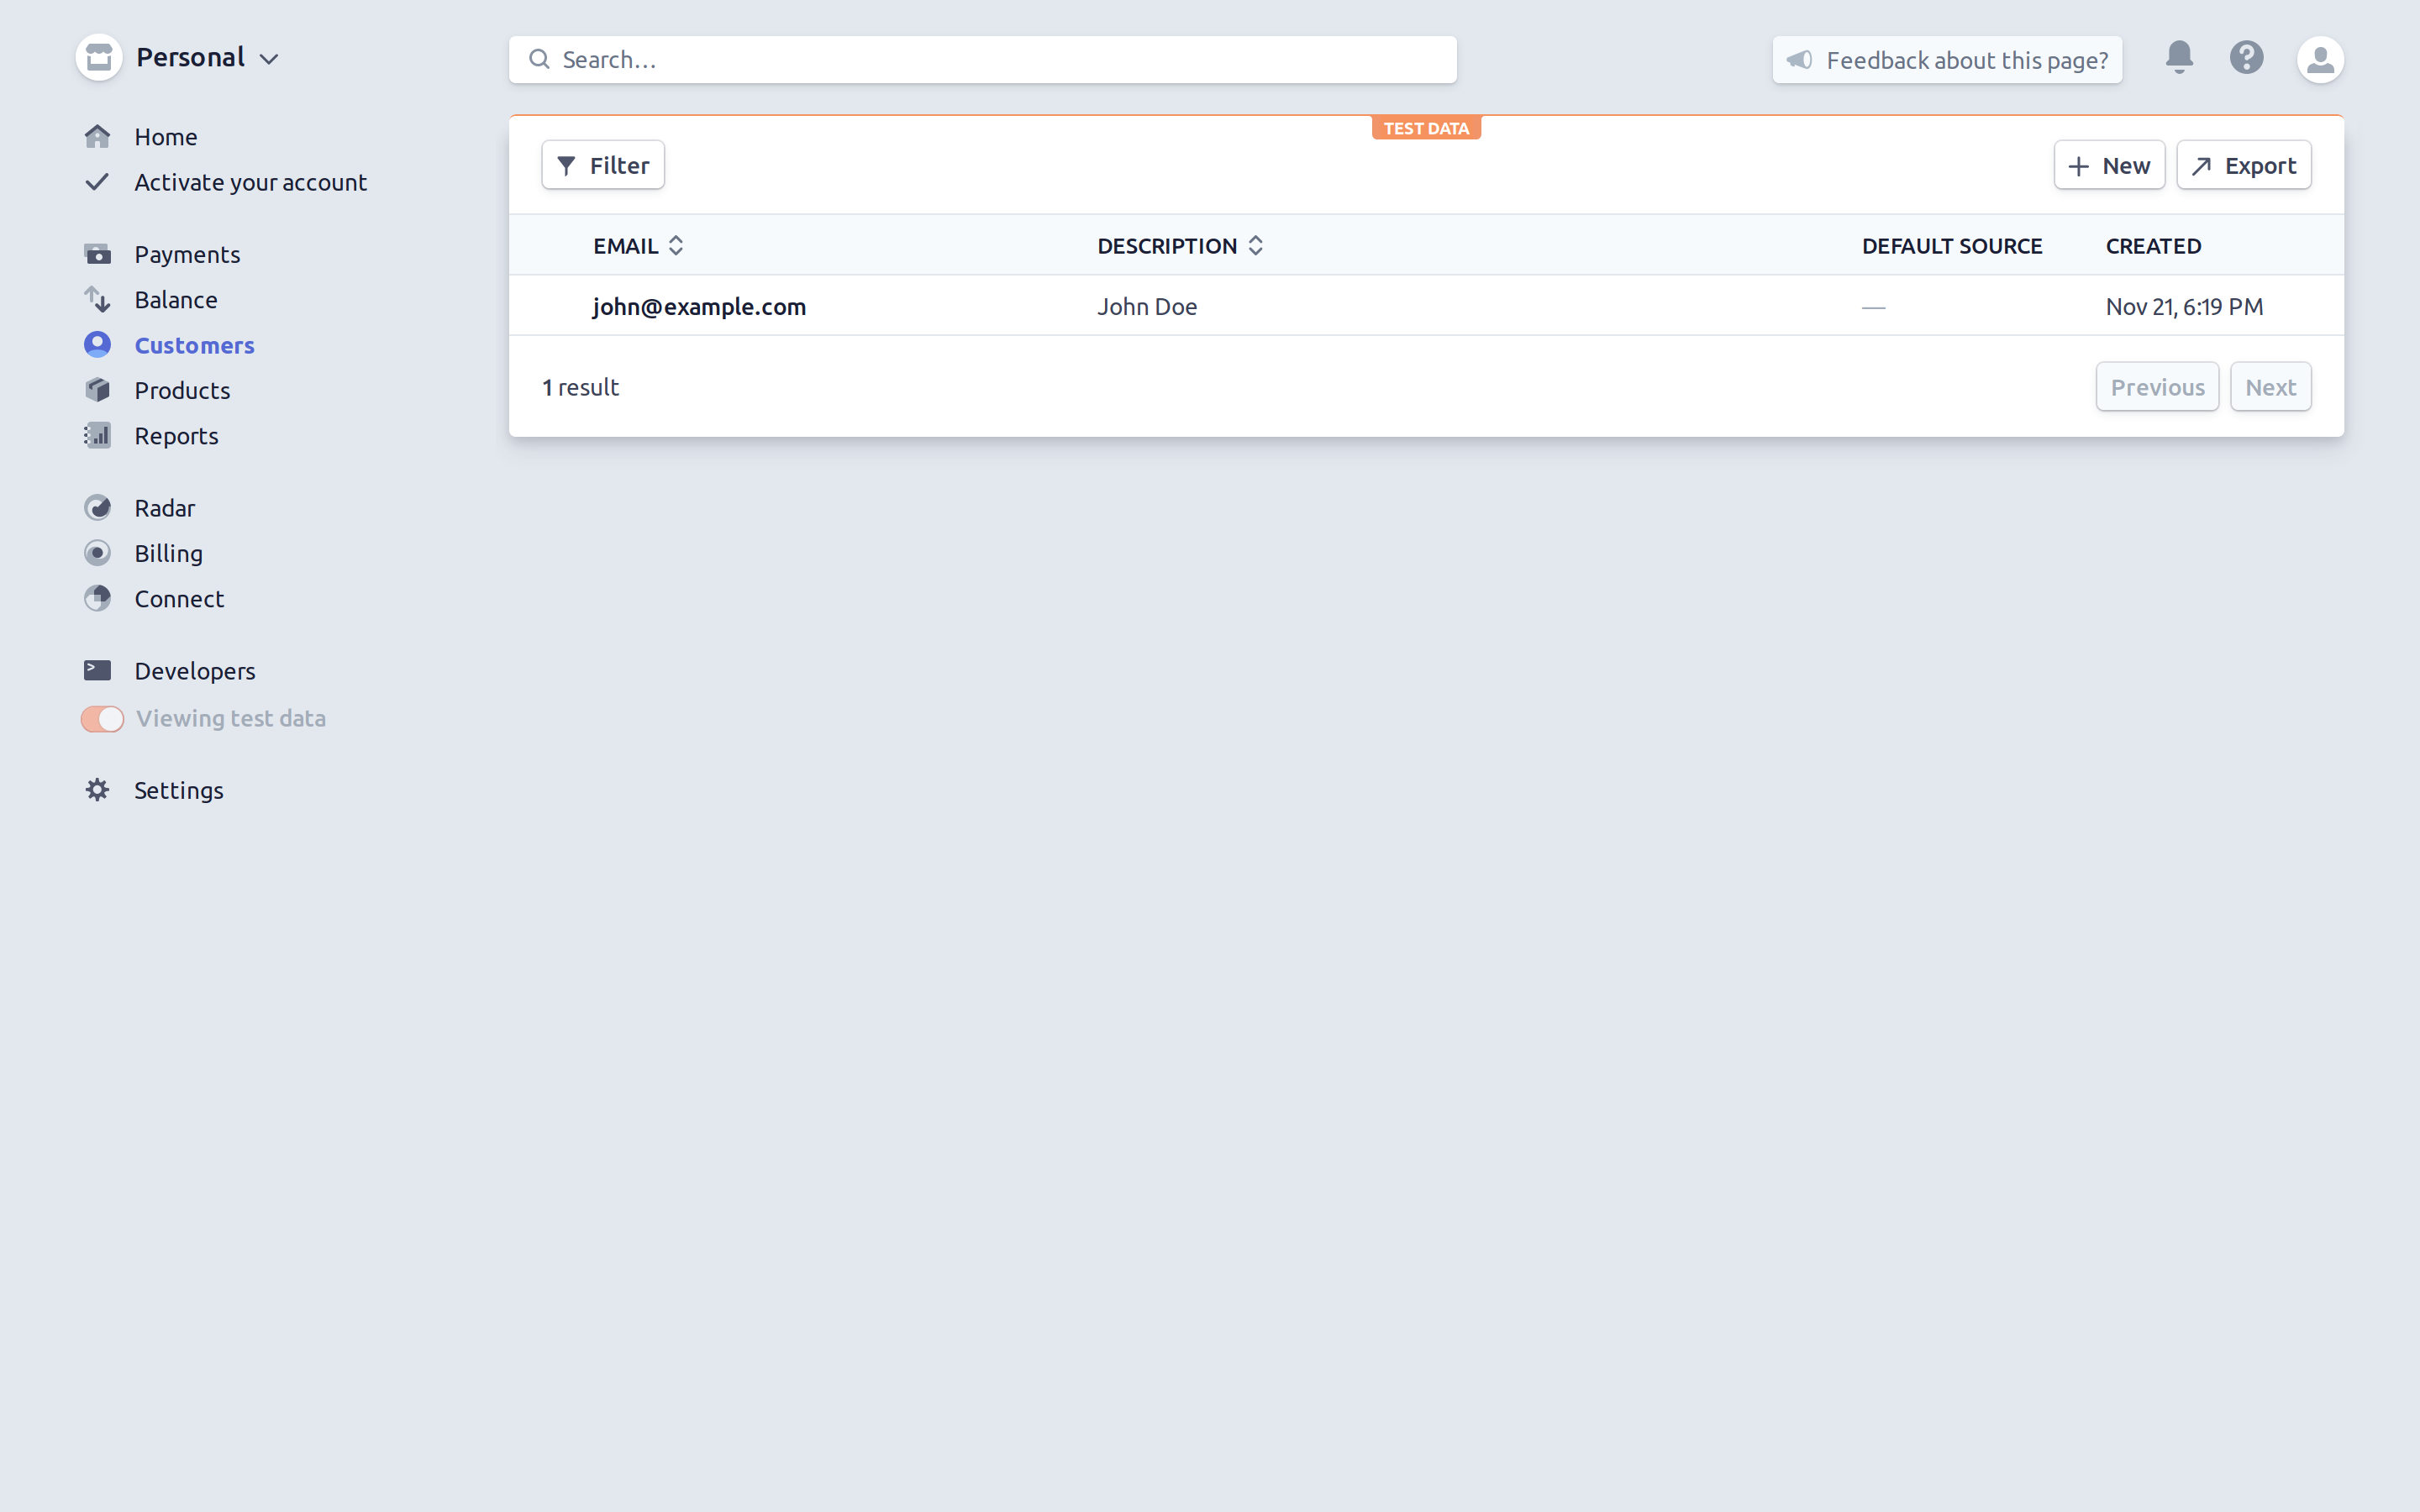
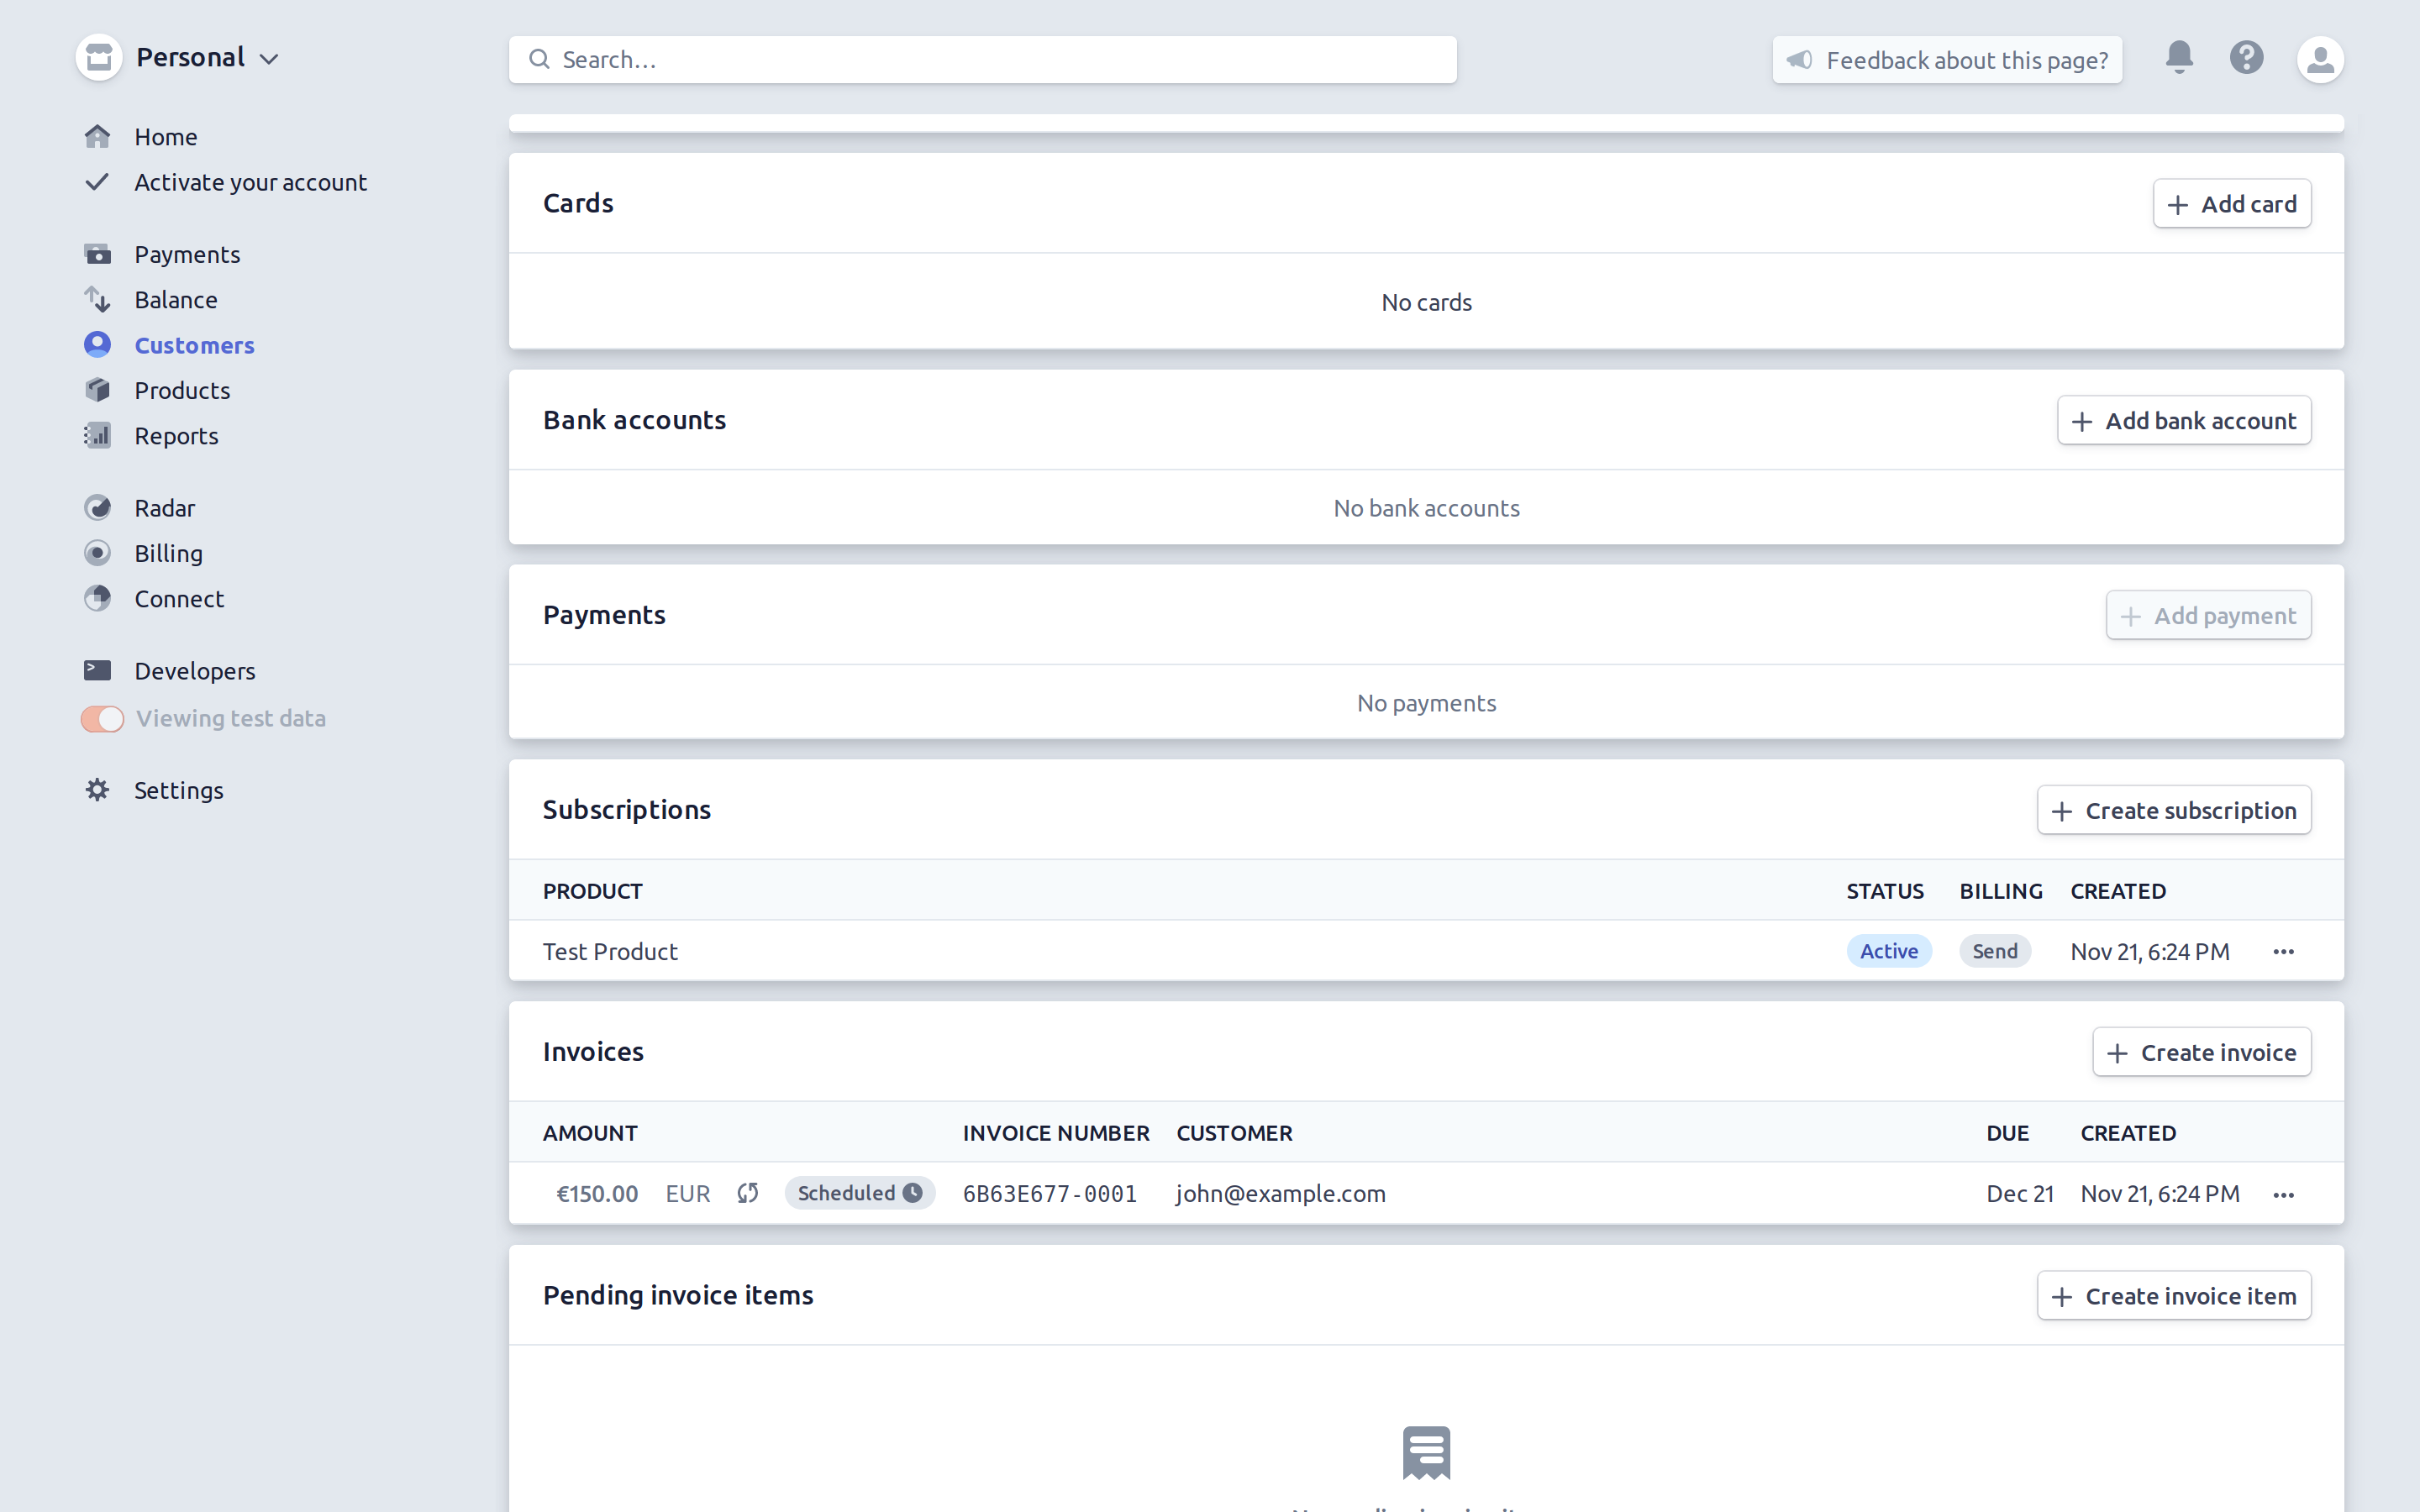
In order to create a subscription, click on the customer in order to open the customer information page.

Scroll down and click on + Create subscription in order to open the subscription creation screen.
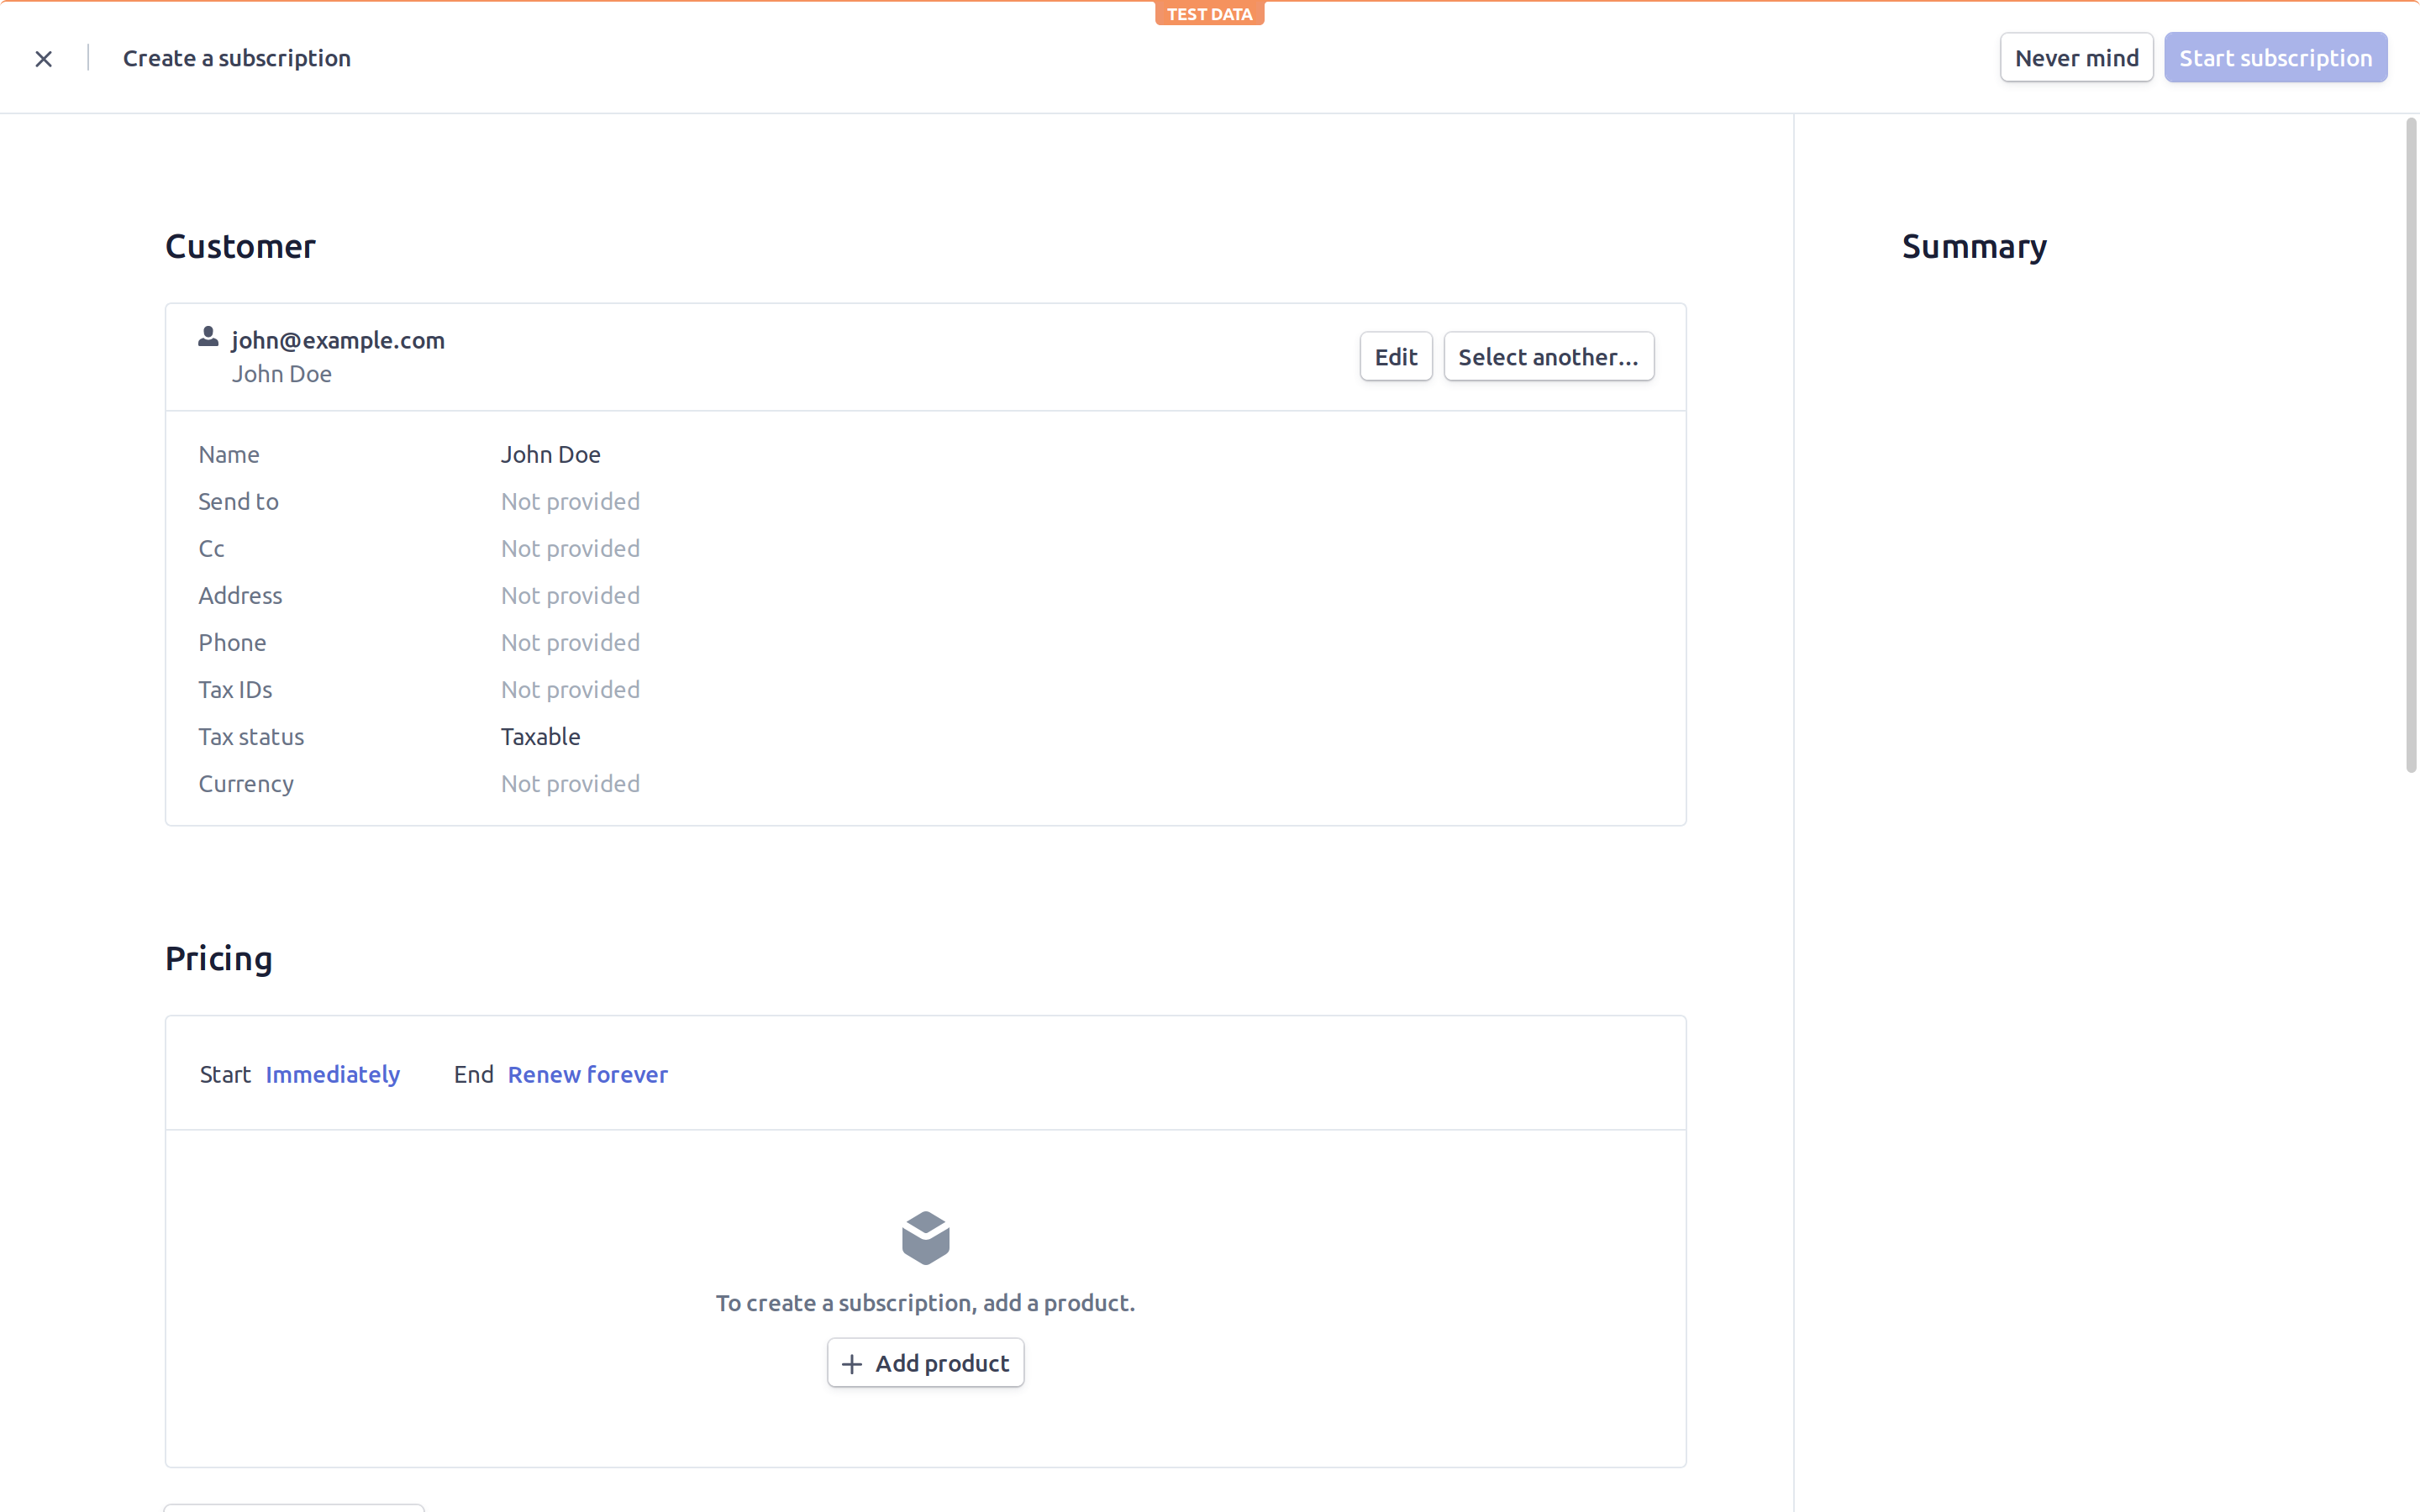
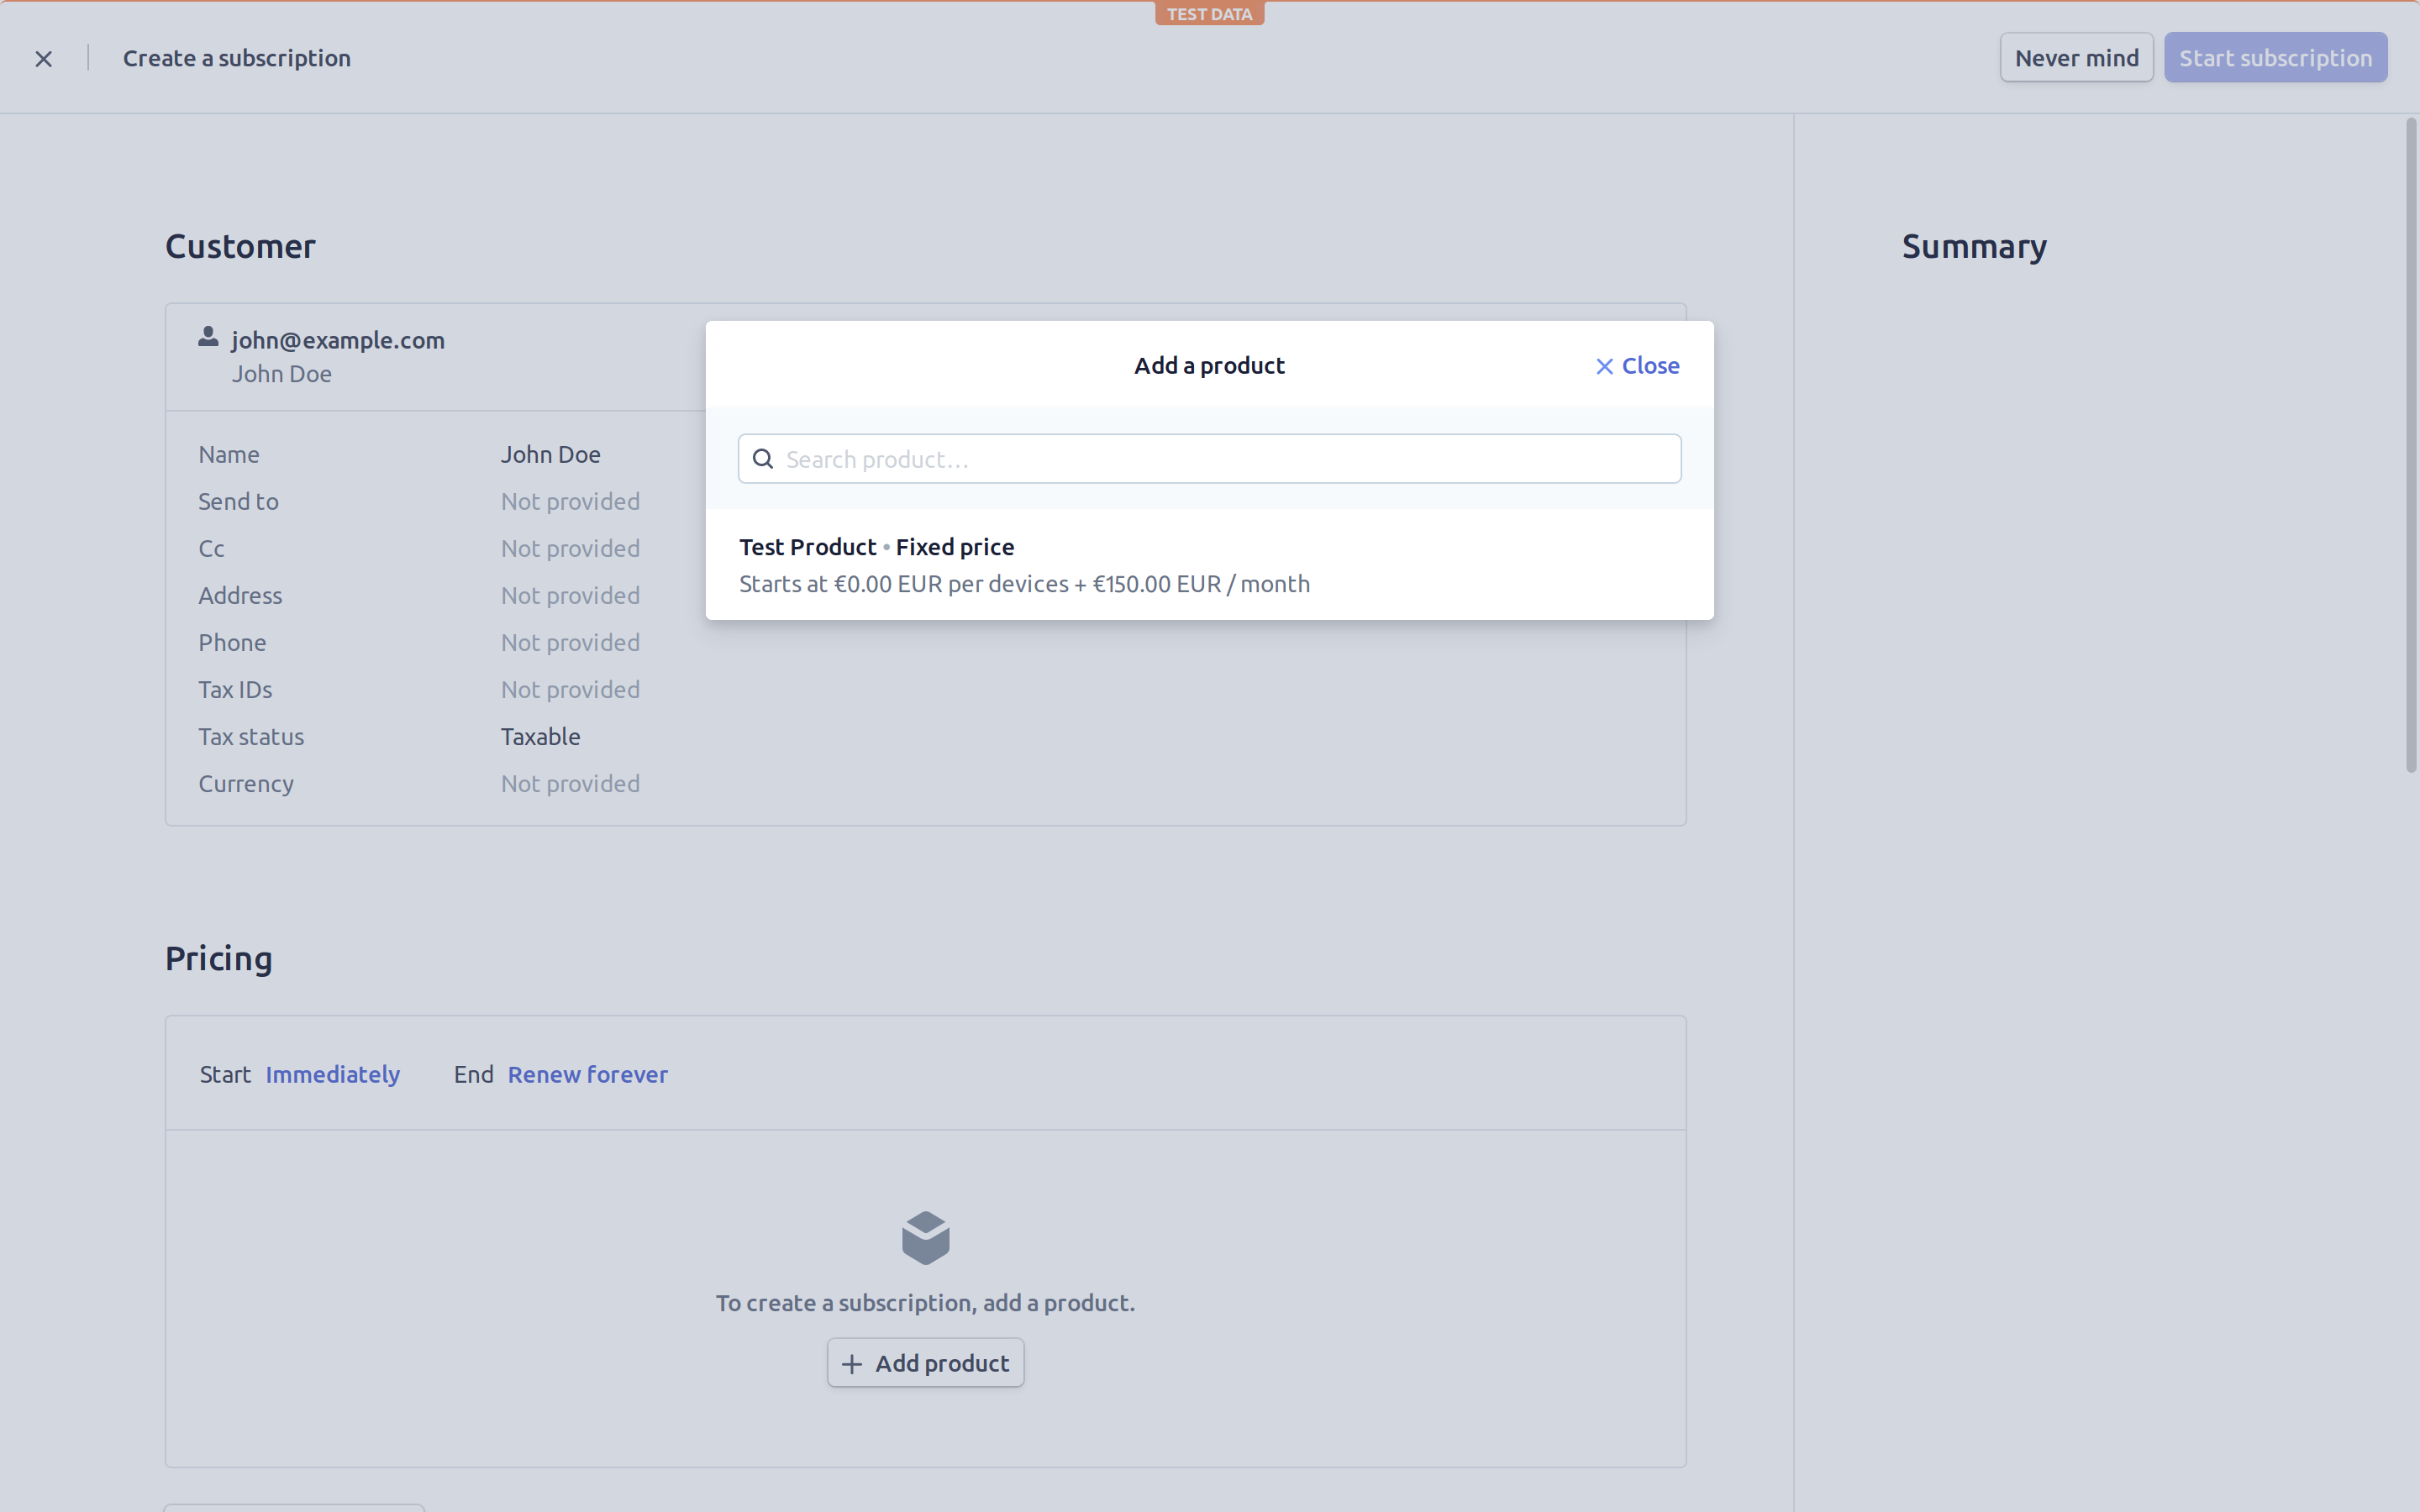
You can now click on Add product in order to select the product and the pricing plan.
You can now click on Start subscription in order to create the subscription.
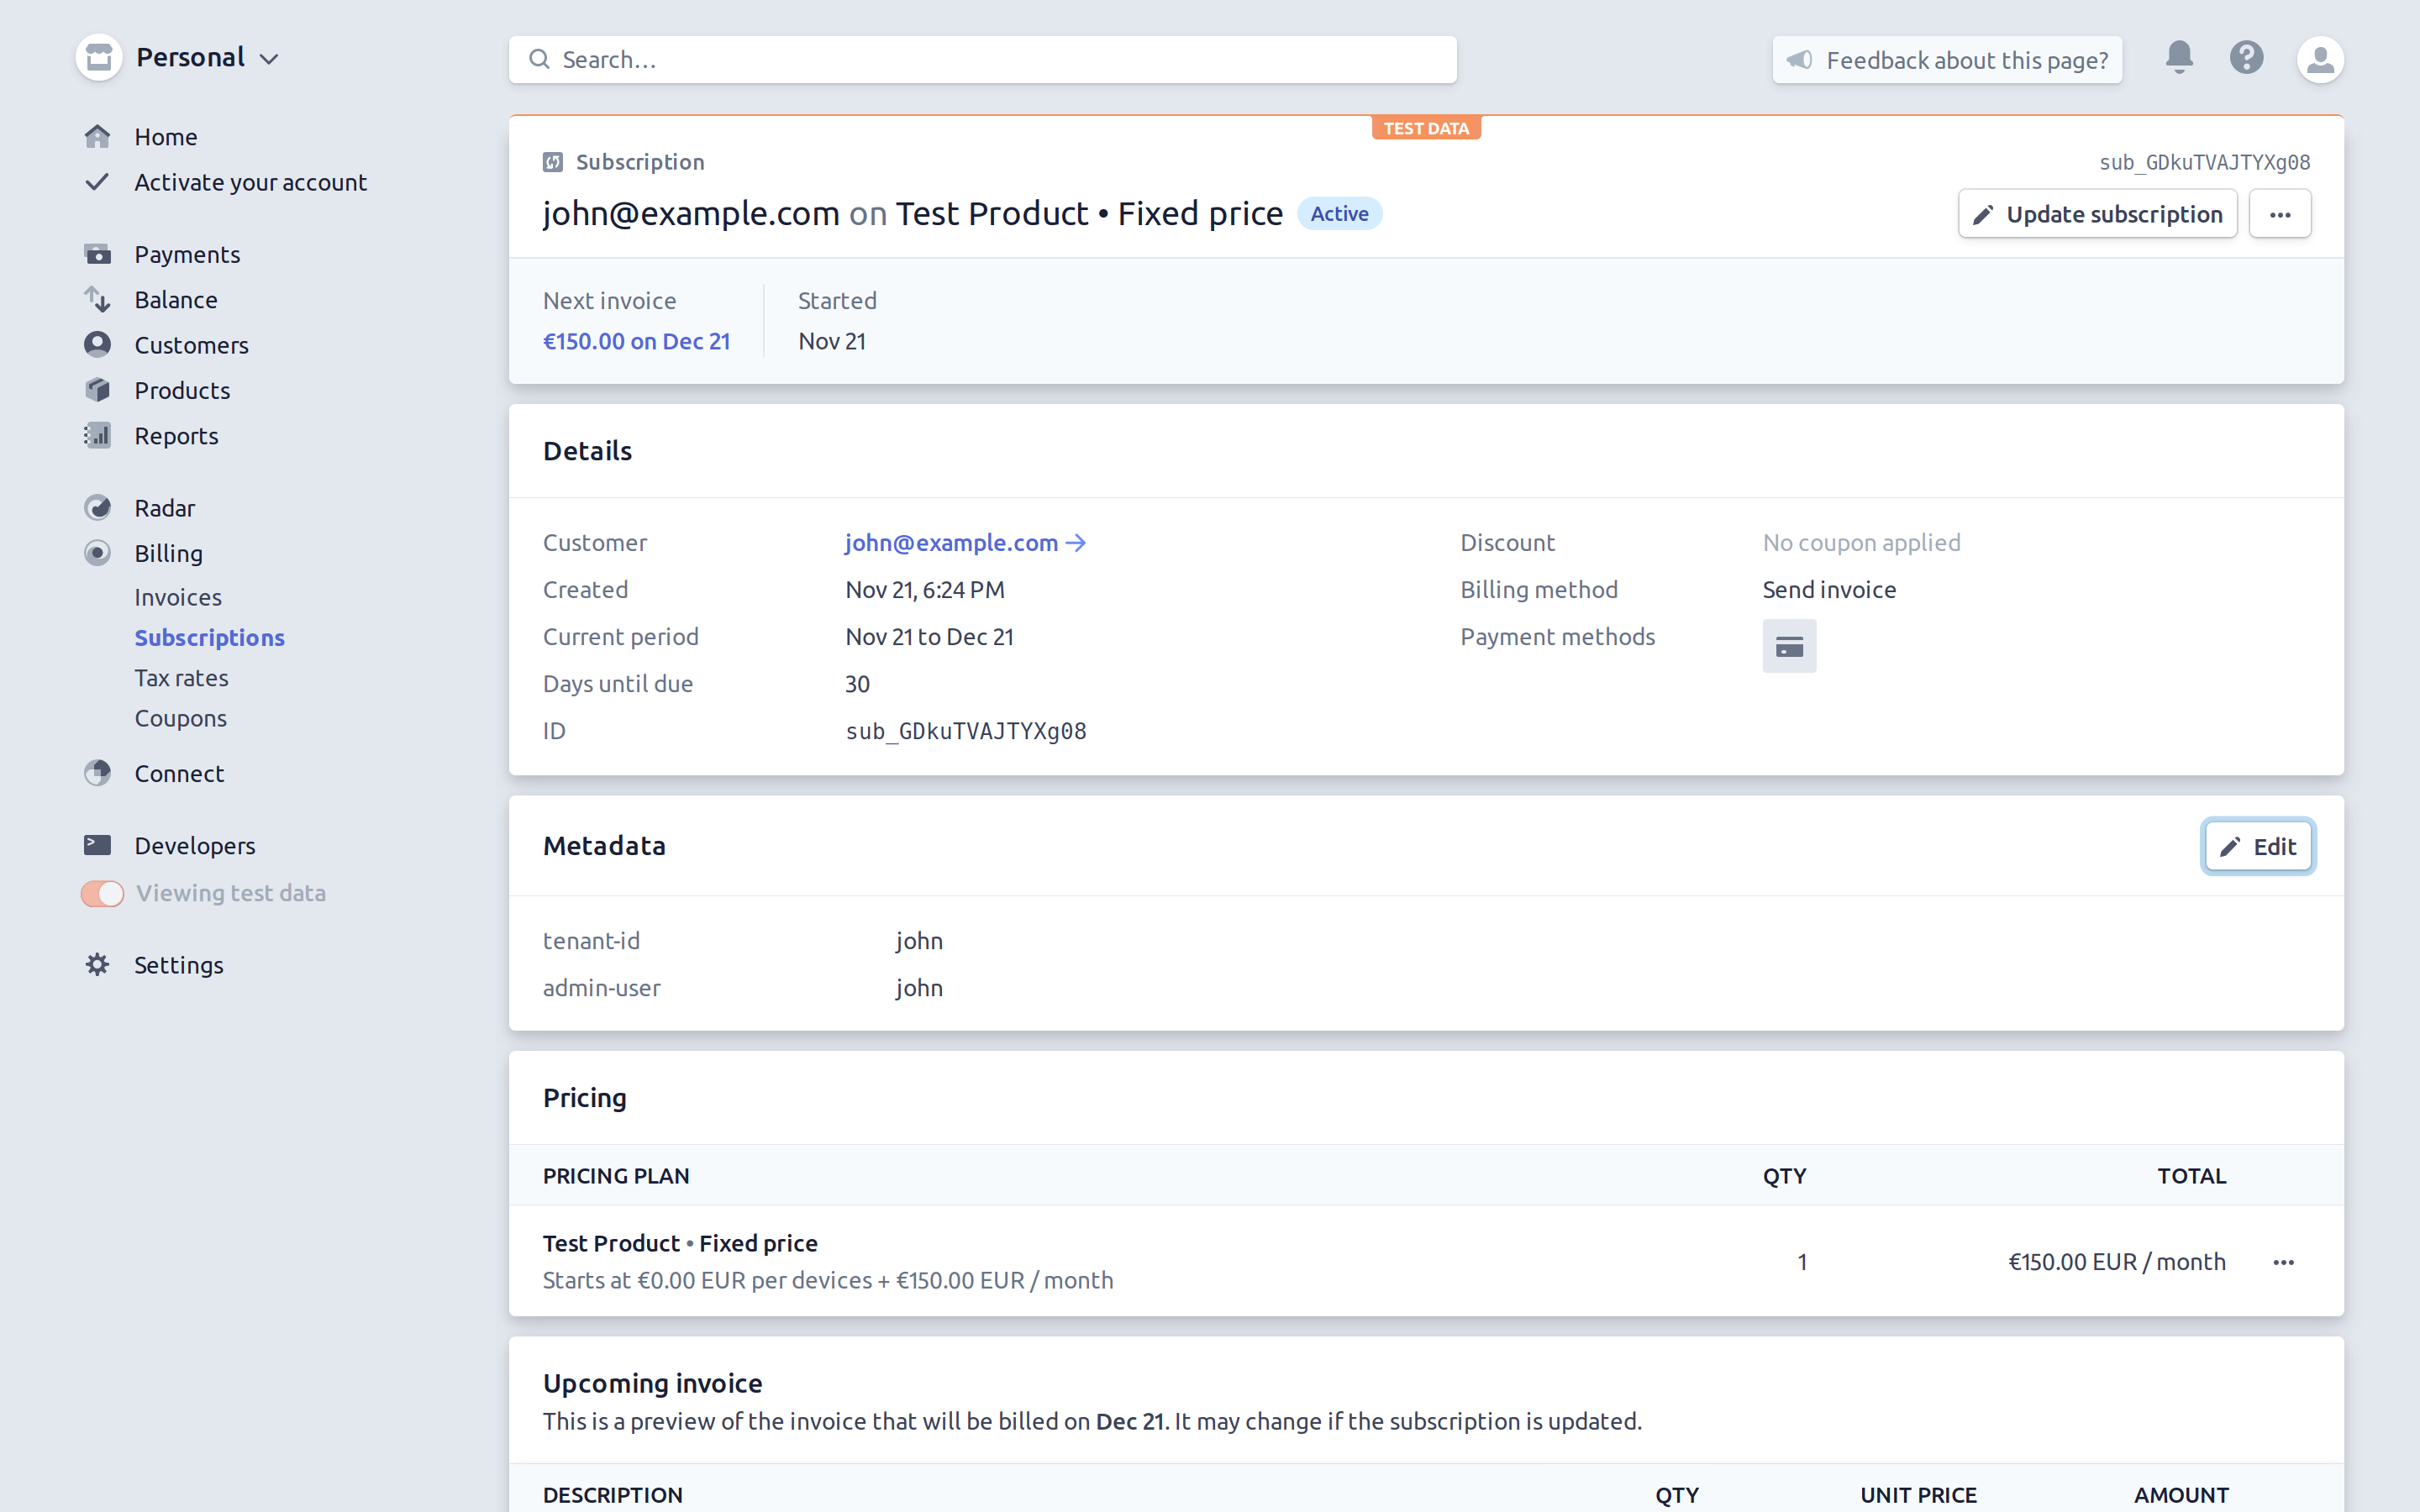
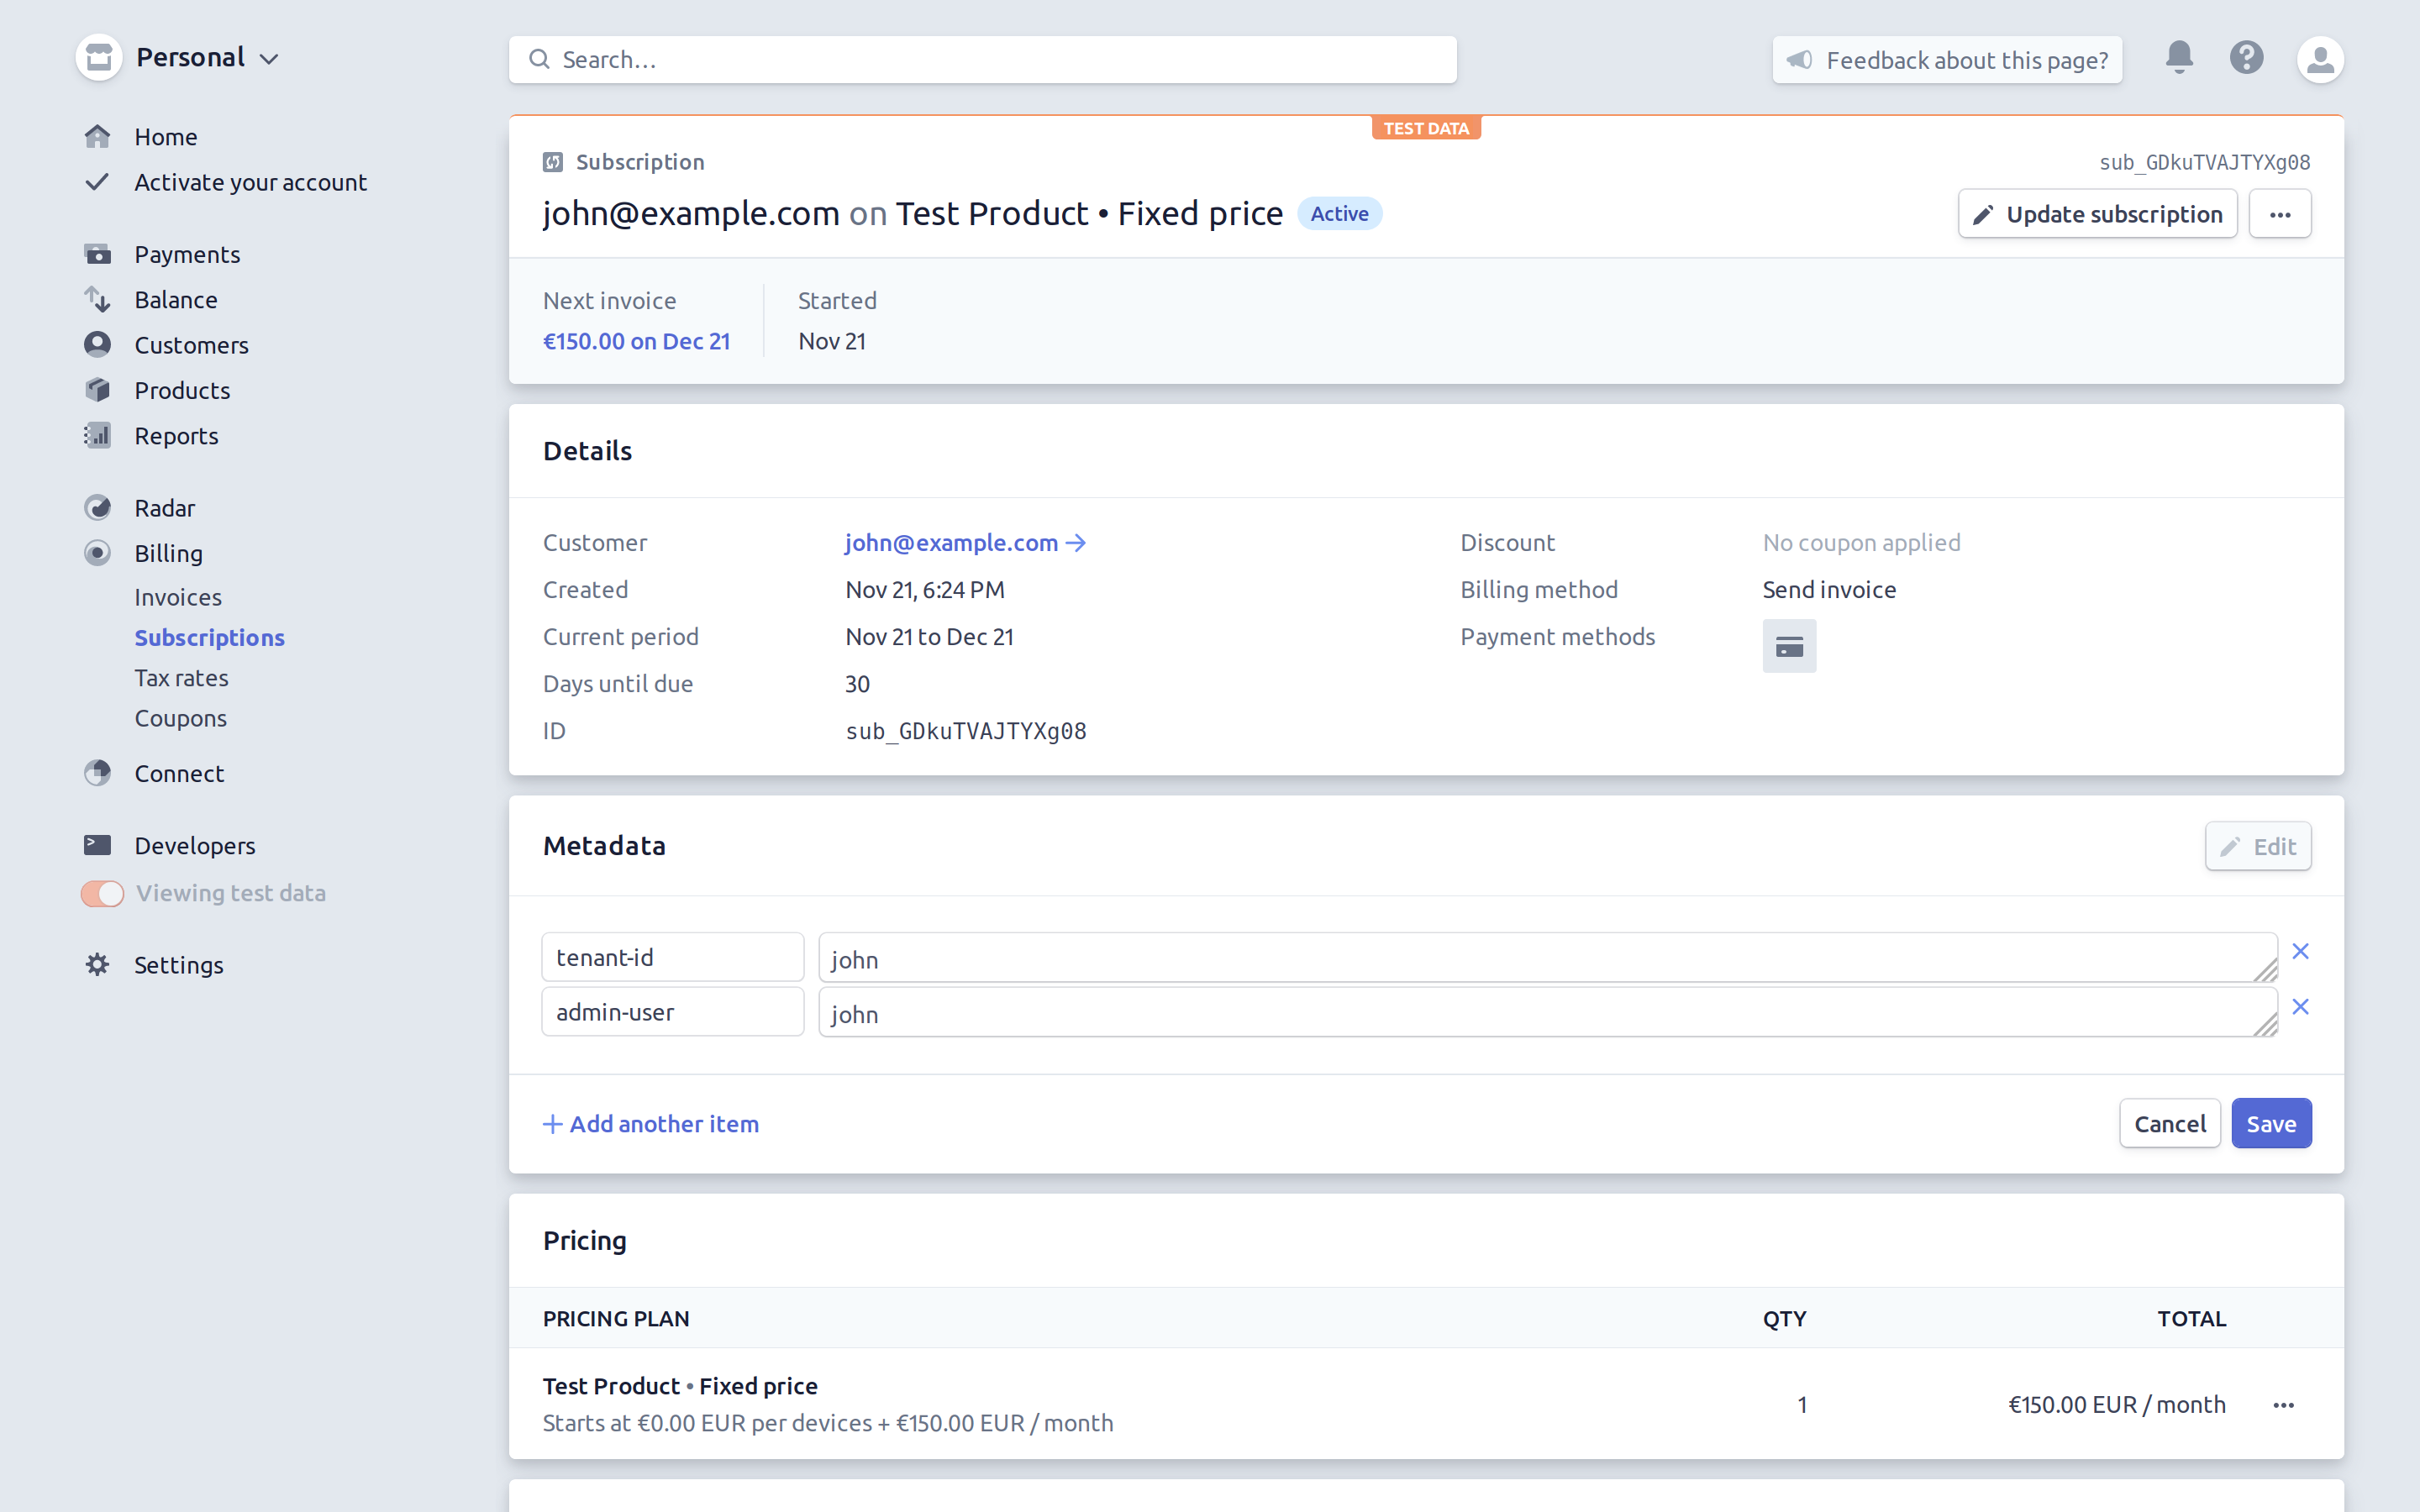
You should now specify the tenant ID that the customer will use. In order to achieve this, click on the subscription. The subscription information page will now open.
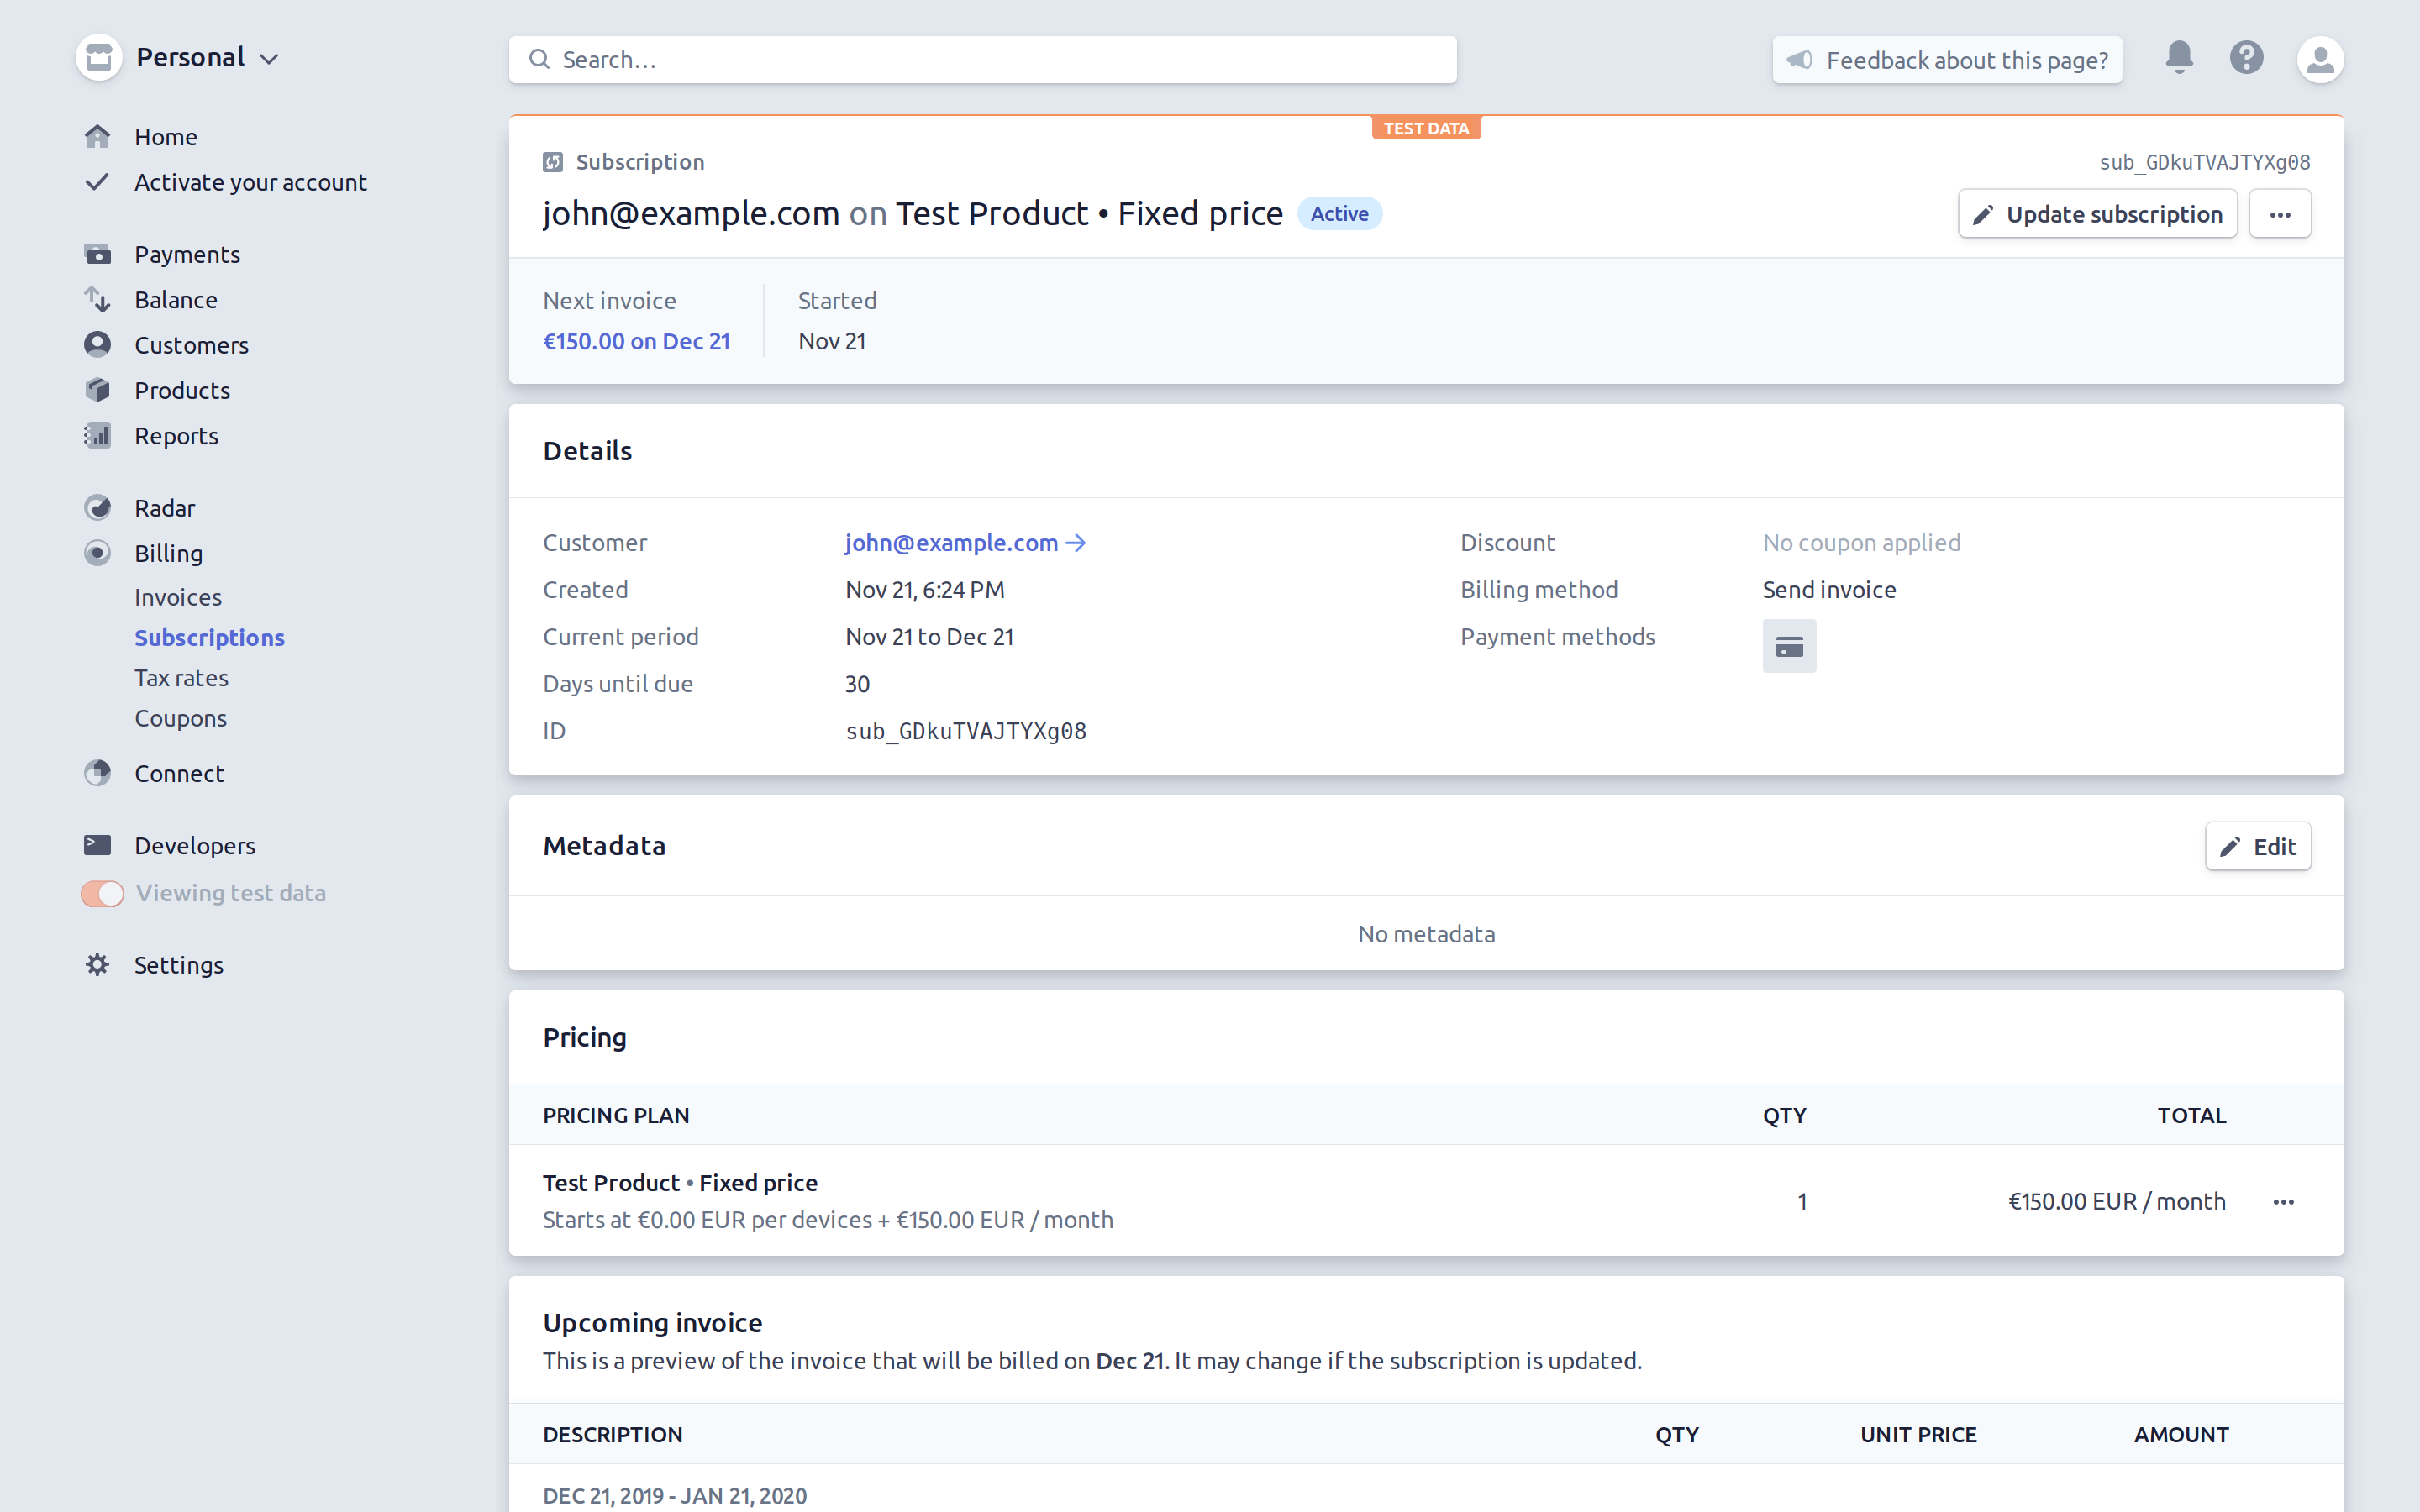
Click on the Edit button in the Metadata section. The following fields are supported:
| Field name | Description |
|---|---|
tenant-id |
The ID of the tenant. Required. |
tenant-name |
The name of the tenant. Optional, defaults to the name if not provided. |
tenant-description |
The description of the tenant. Optional, defaults to the customer description if not provided. |
admin-user |
The username of the initial administrator. Optional, defaults to the tenant-id if not provided. |
admin-email |
The email of the initial administrator. Optional, defaults to the customer email if not provided. |
admin-full-name |
The name of the initial administrator. Optional, defaults to empty if not provided. |
admin-password |
The password of the initial administrator. Optional, defaults to a randomly generated password if not provided. |
name |
Deprecated - use tenant-name. The name of the tenant. Optional, defaults to the company if not provided. |
company |
Deprecated - use tenant-name. The company of the tenant. Optional, defaults to the customer name if not provided. |
You can now click Save in order to save the changes. The tenant will now be created.