Now that you are familiar with LoRaWAN® and The Things Stack, let us set up your first LoRaWAN Network.
Prerequisites
- A valid credit card. This card will not be charged for the free Discovery plan that we setup in this guide.
- An email address.
Setup
Go to the plans page which lists the different plans supported by The Things Stack Cloud.
For this example, we will choose the Discovery plan.
Note:
At the time of writing this documentation, this plan allows you free access to use 10 devices and 10 gateways on The Things Stack Cloud. For updates on these limits, check the plans page.Click on the Get Started for Free button.
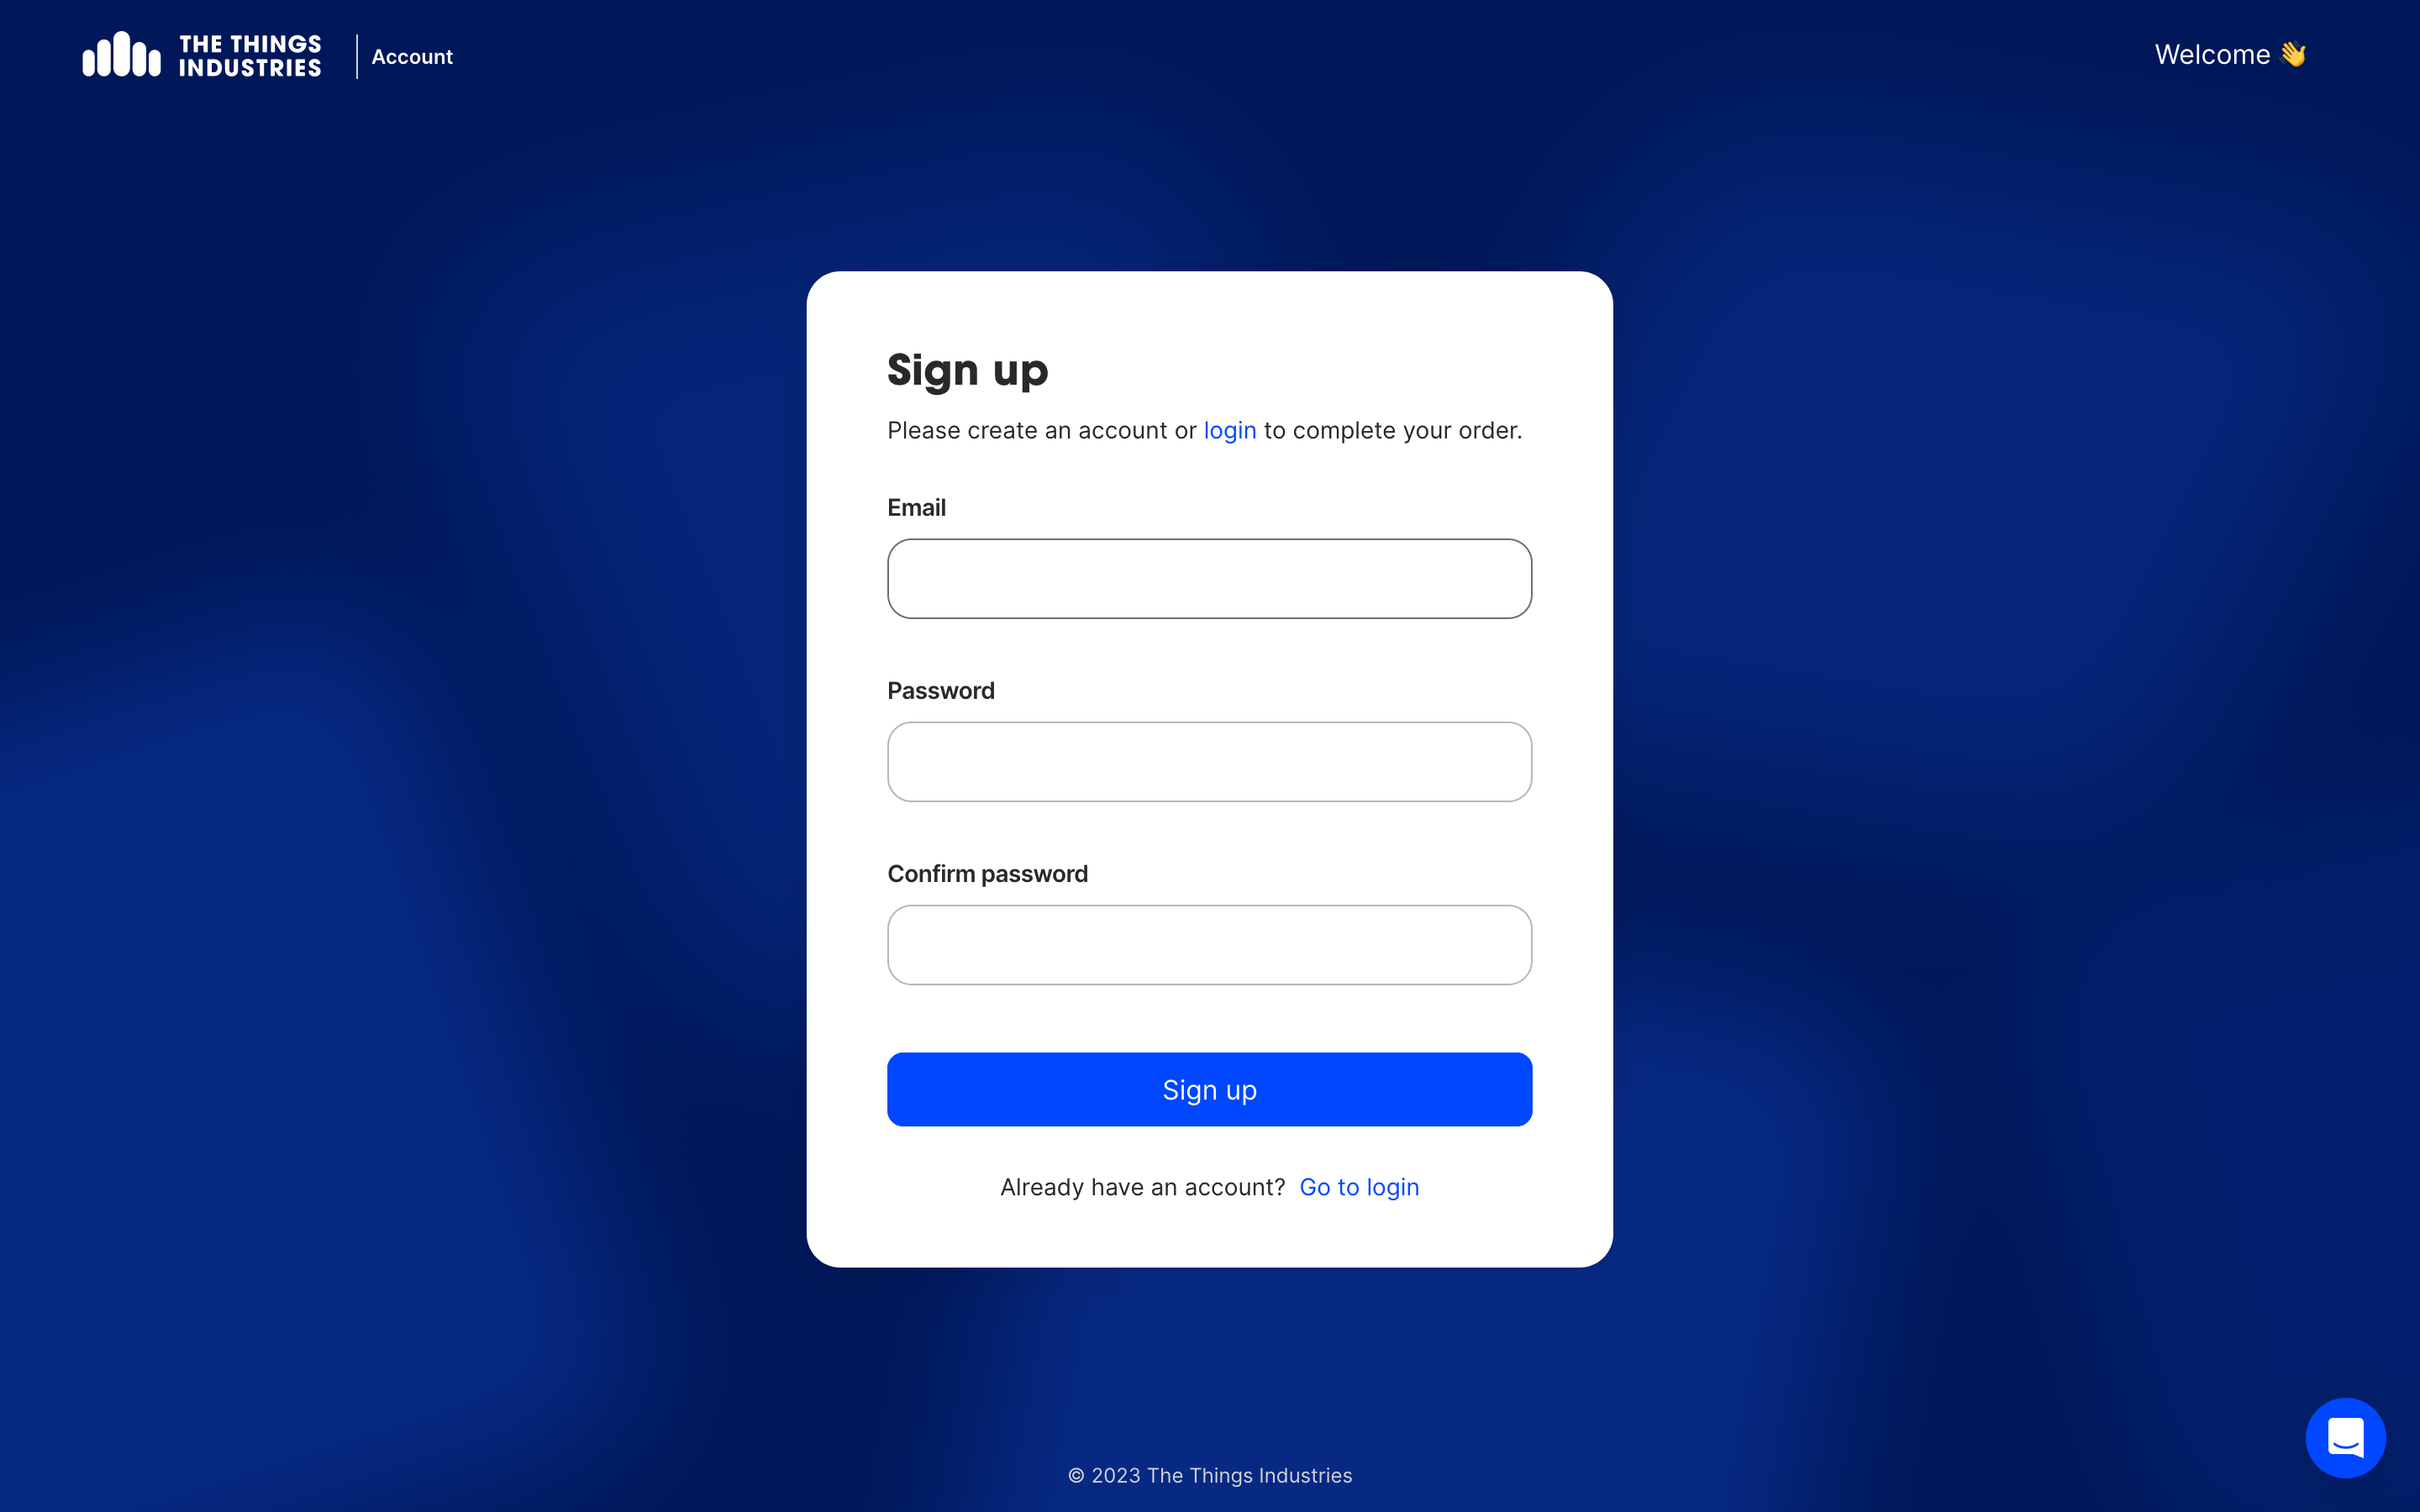
In the subsequent page, create an account by filling in an email address and a strong password.
Note:
This will send out a verification email to the specified address. Make sure that the email is verified either before or soon after completing the rest of this setup.This email address is used as the contact point for all billing related operations.
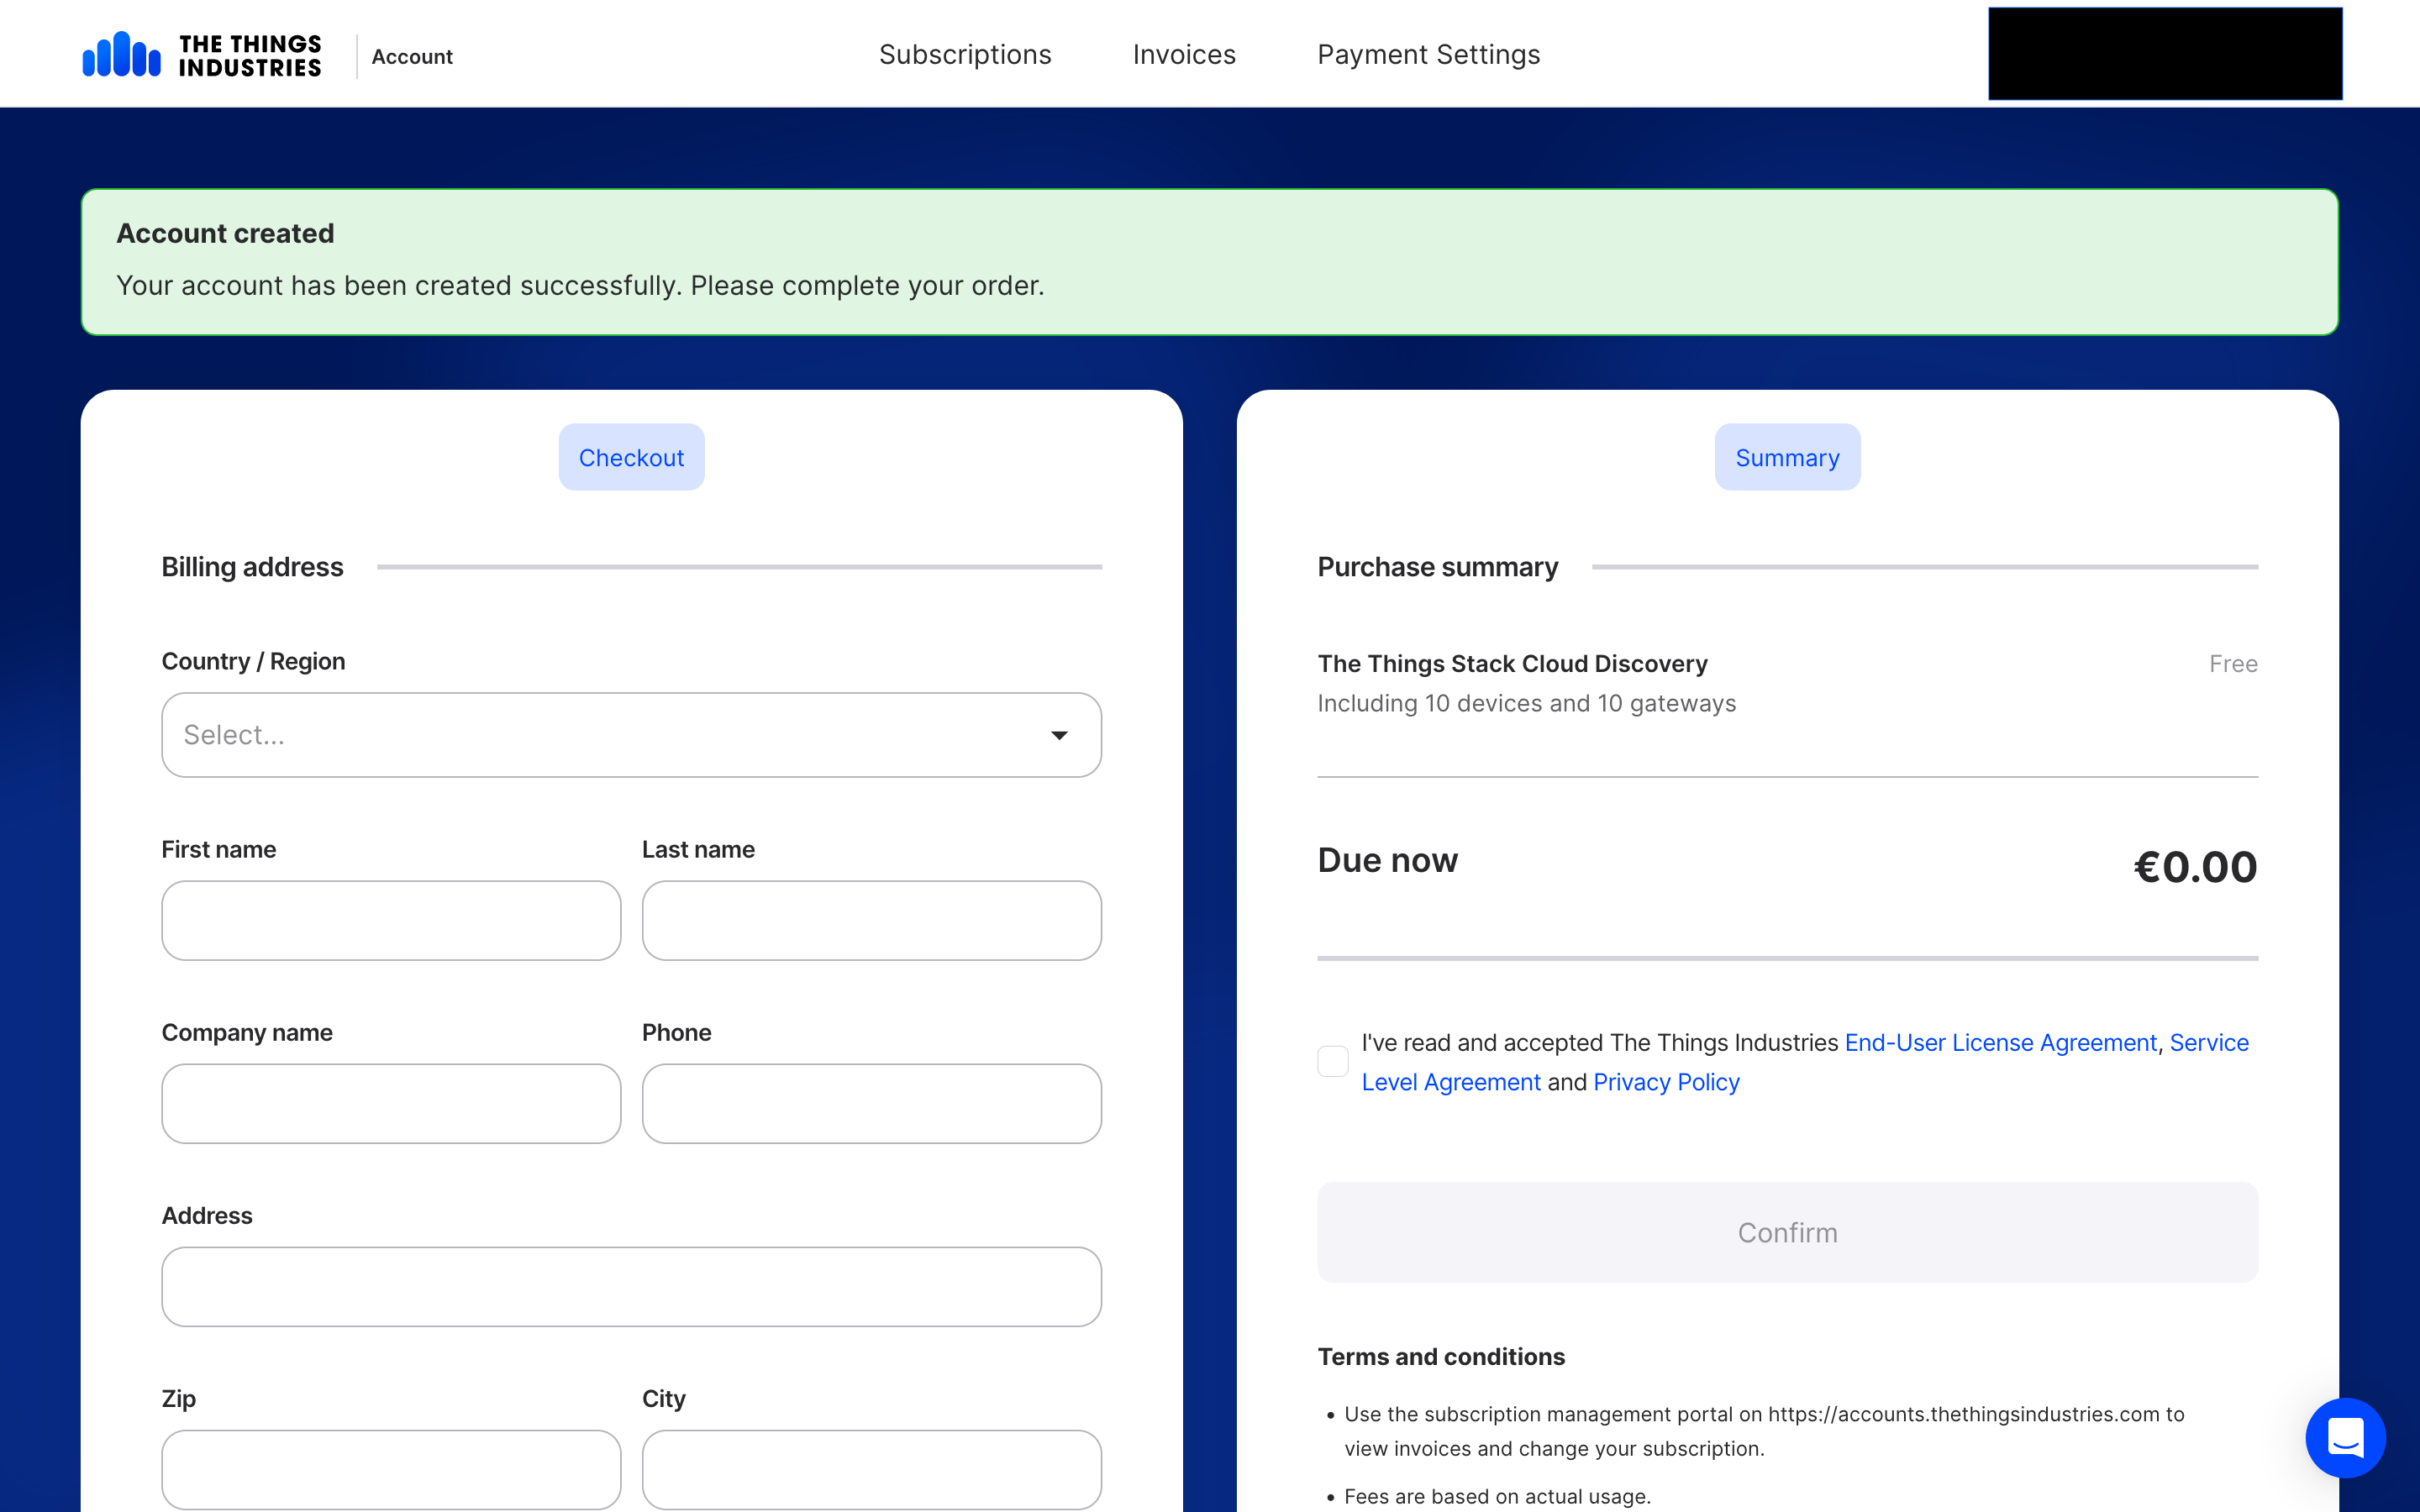
Now you can fill in the relevant details to create a Subscription.
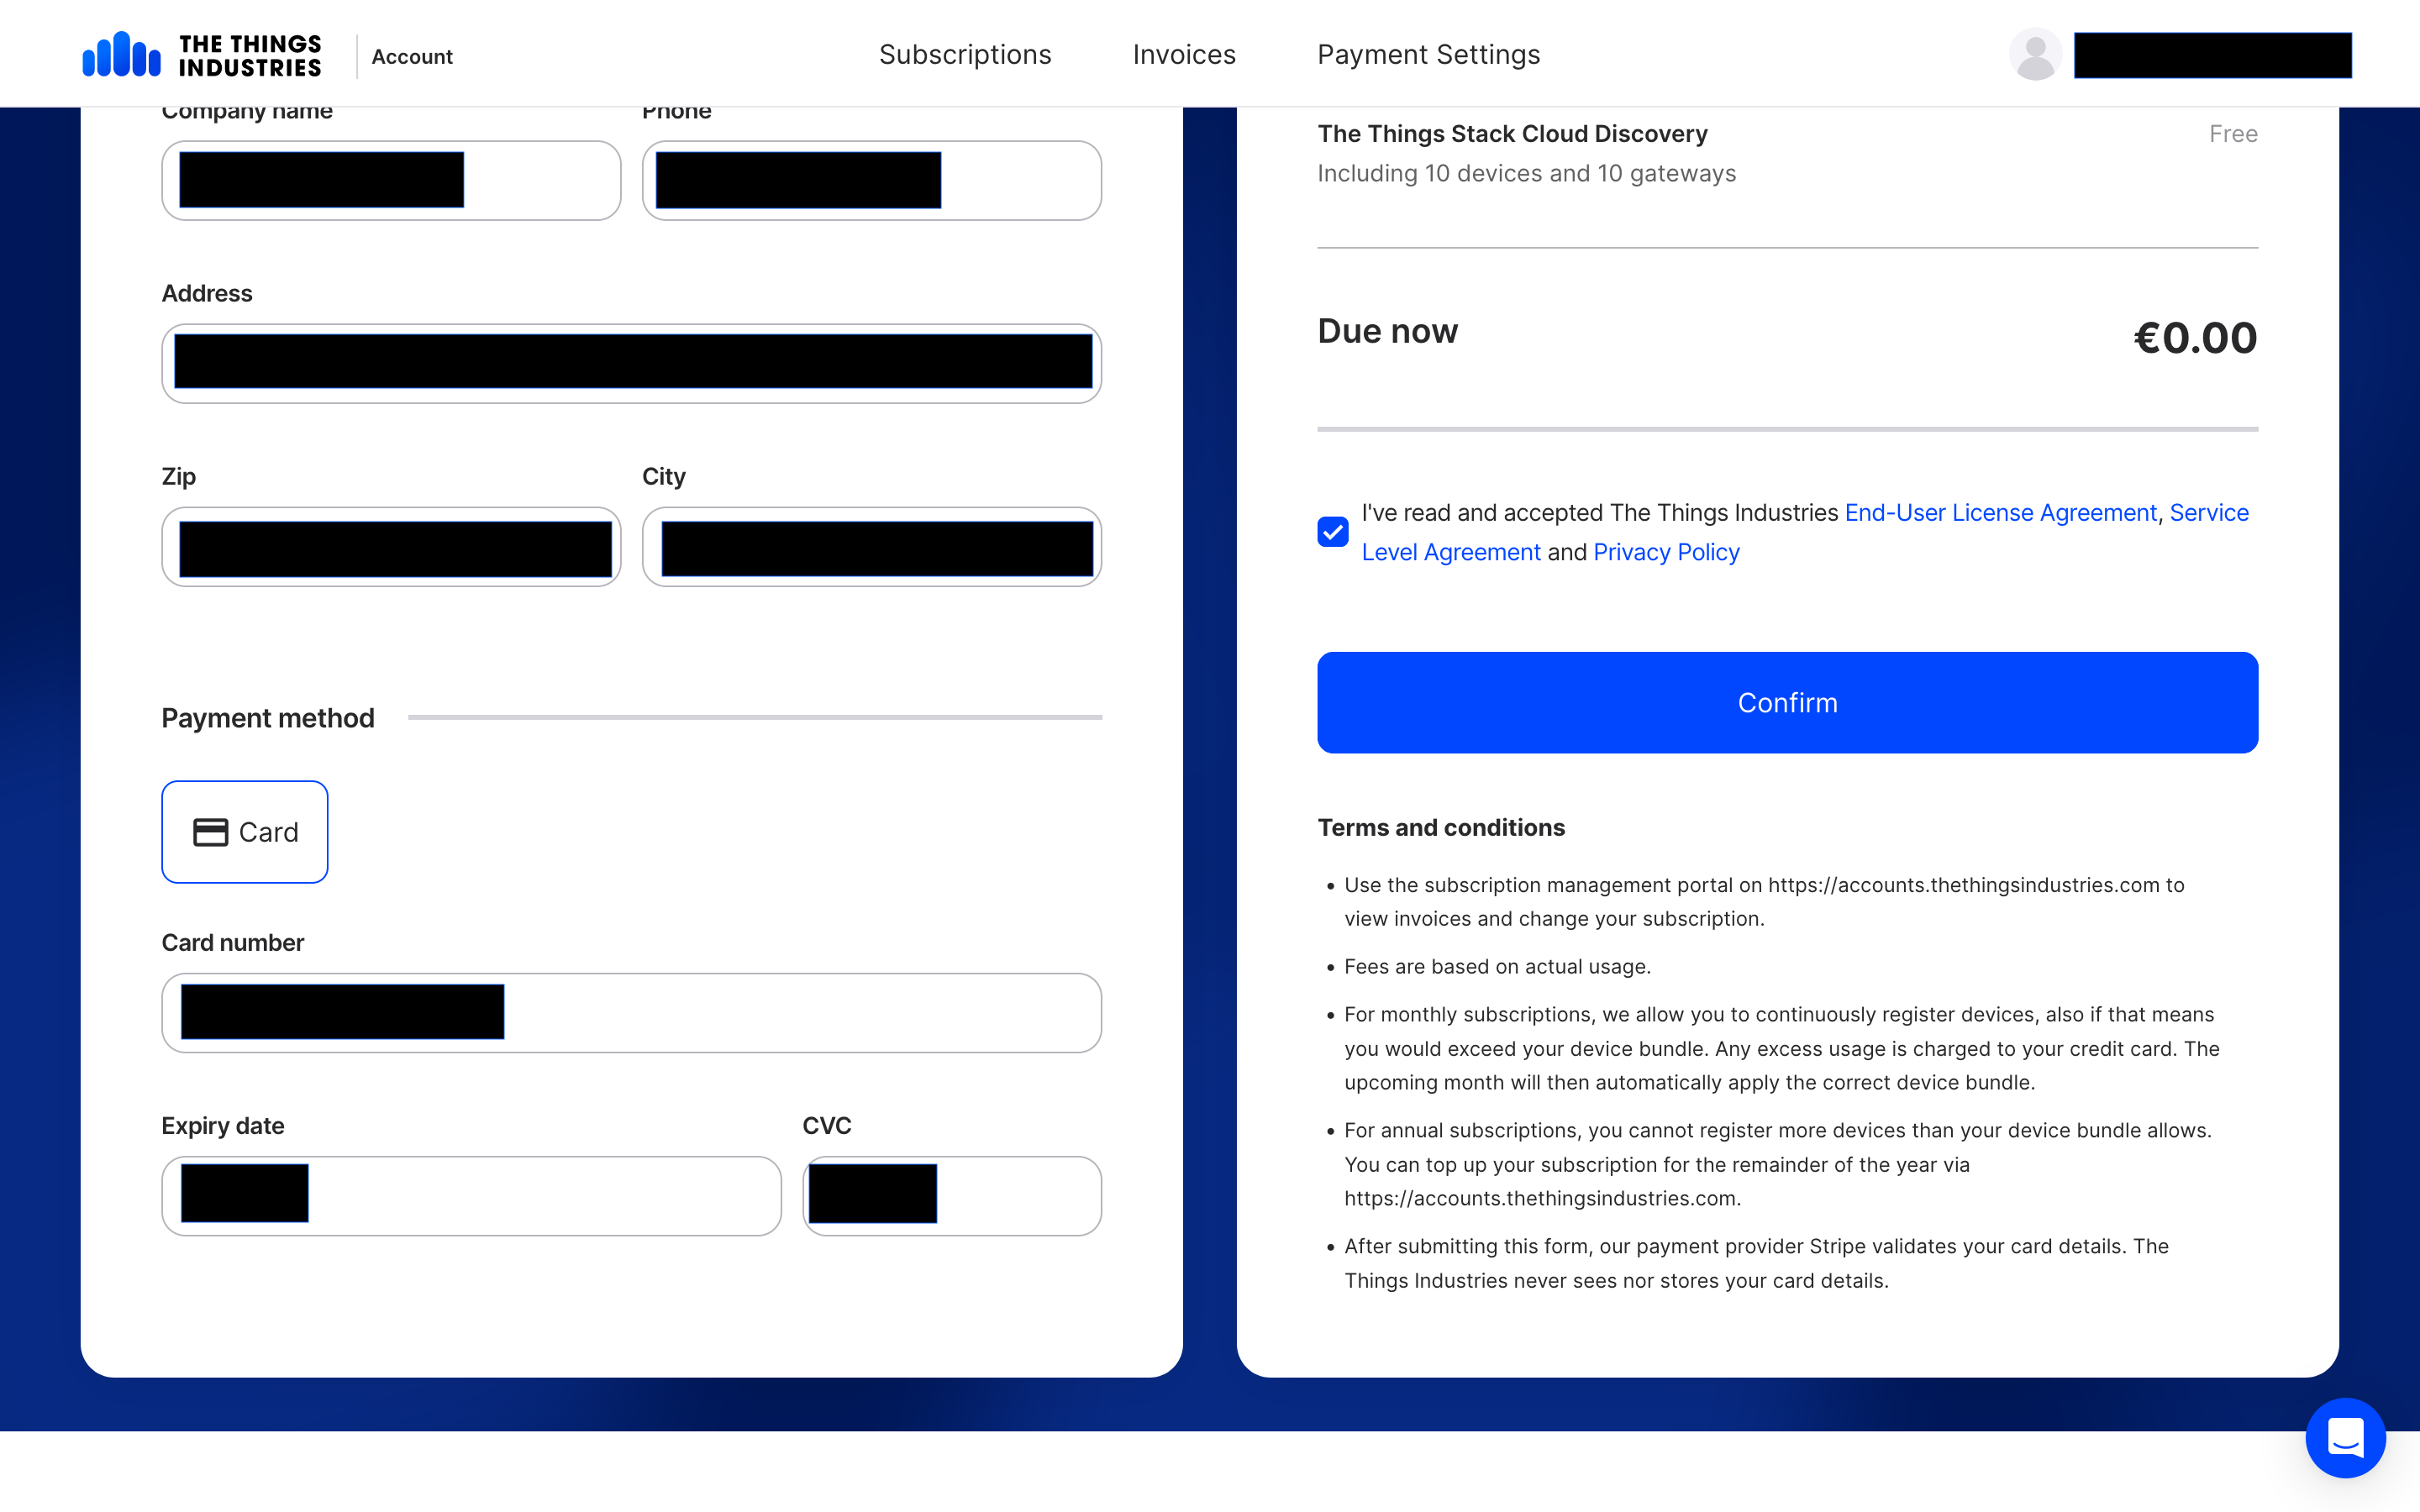
This page asks you for a Payment method. Fill in the relevant card details.
Note:
The payment information is used for verifying legitimacy and you will only be charged once you exceed the device limits of the Discovery plan.If your details are correct and verified successfully, you will reach the Accounts page.
Click on Set up my deployment to proceed.
In the subsequent window, choose a Network Name. This field supports valid alpha numeric characters with dashes/underscores and spaces.
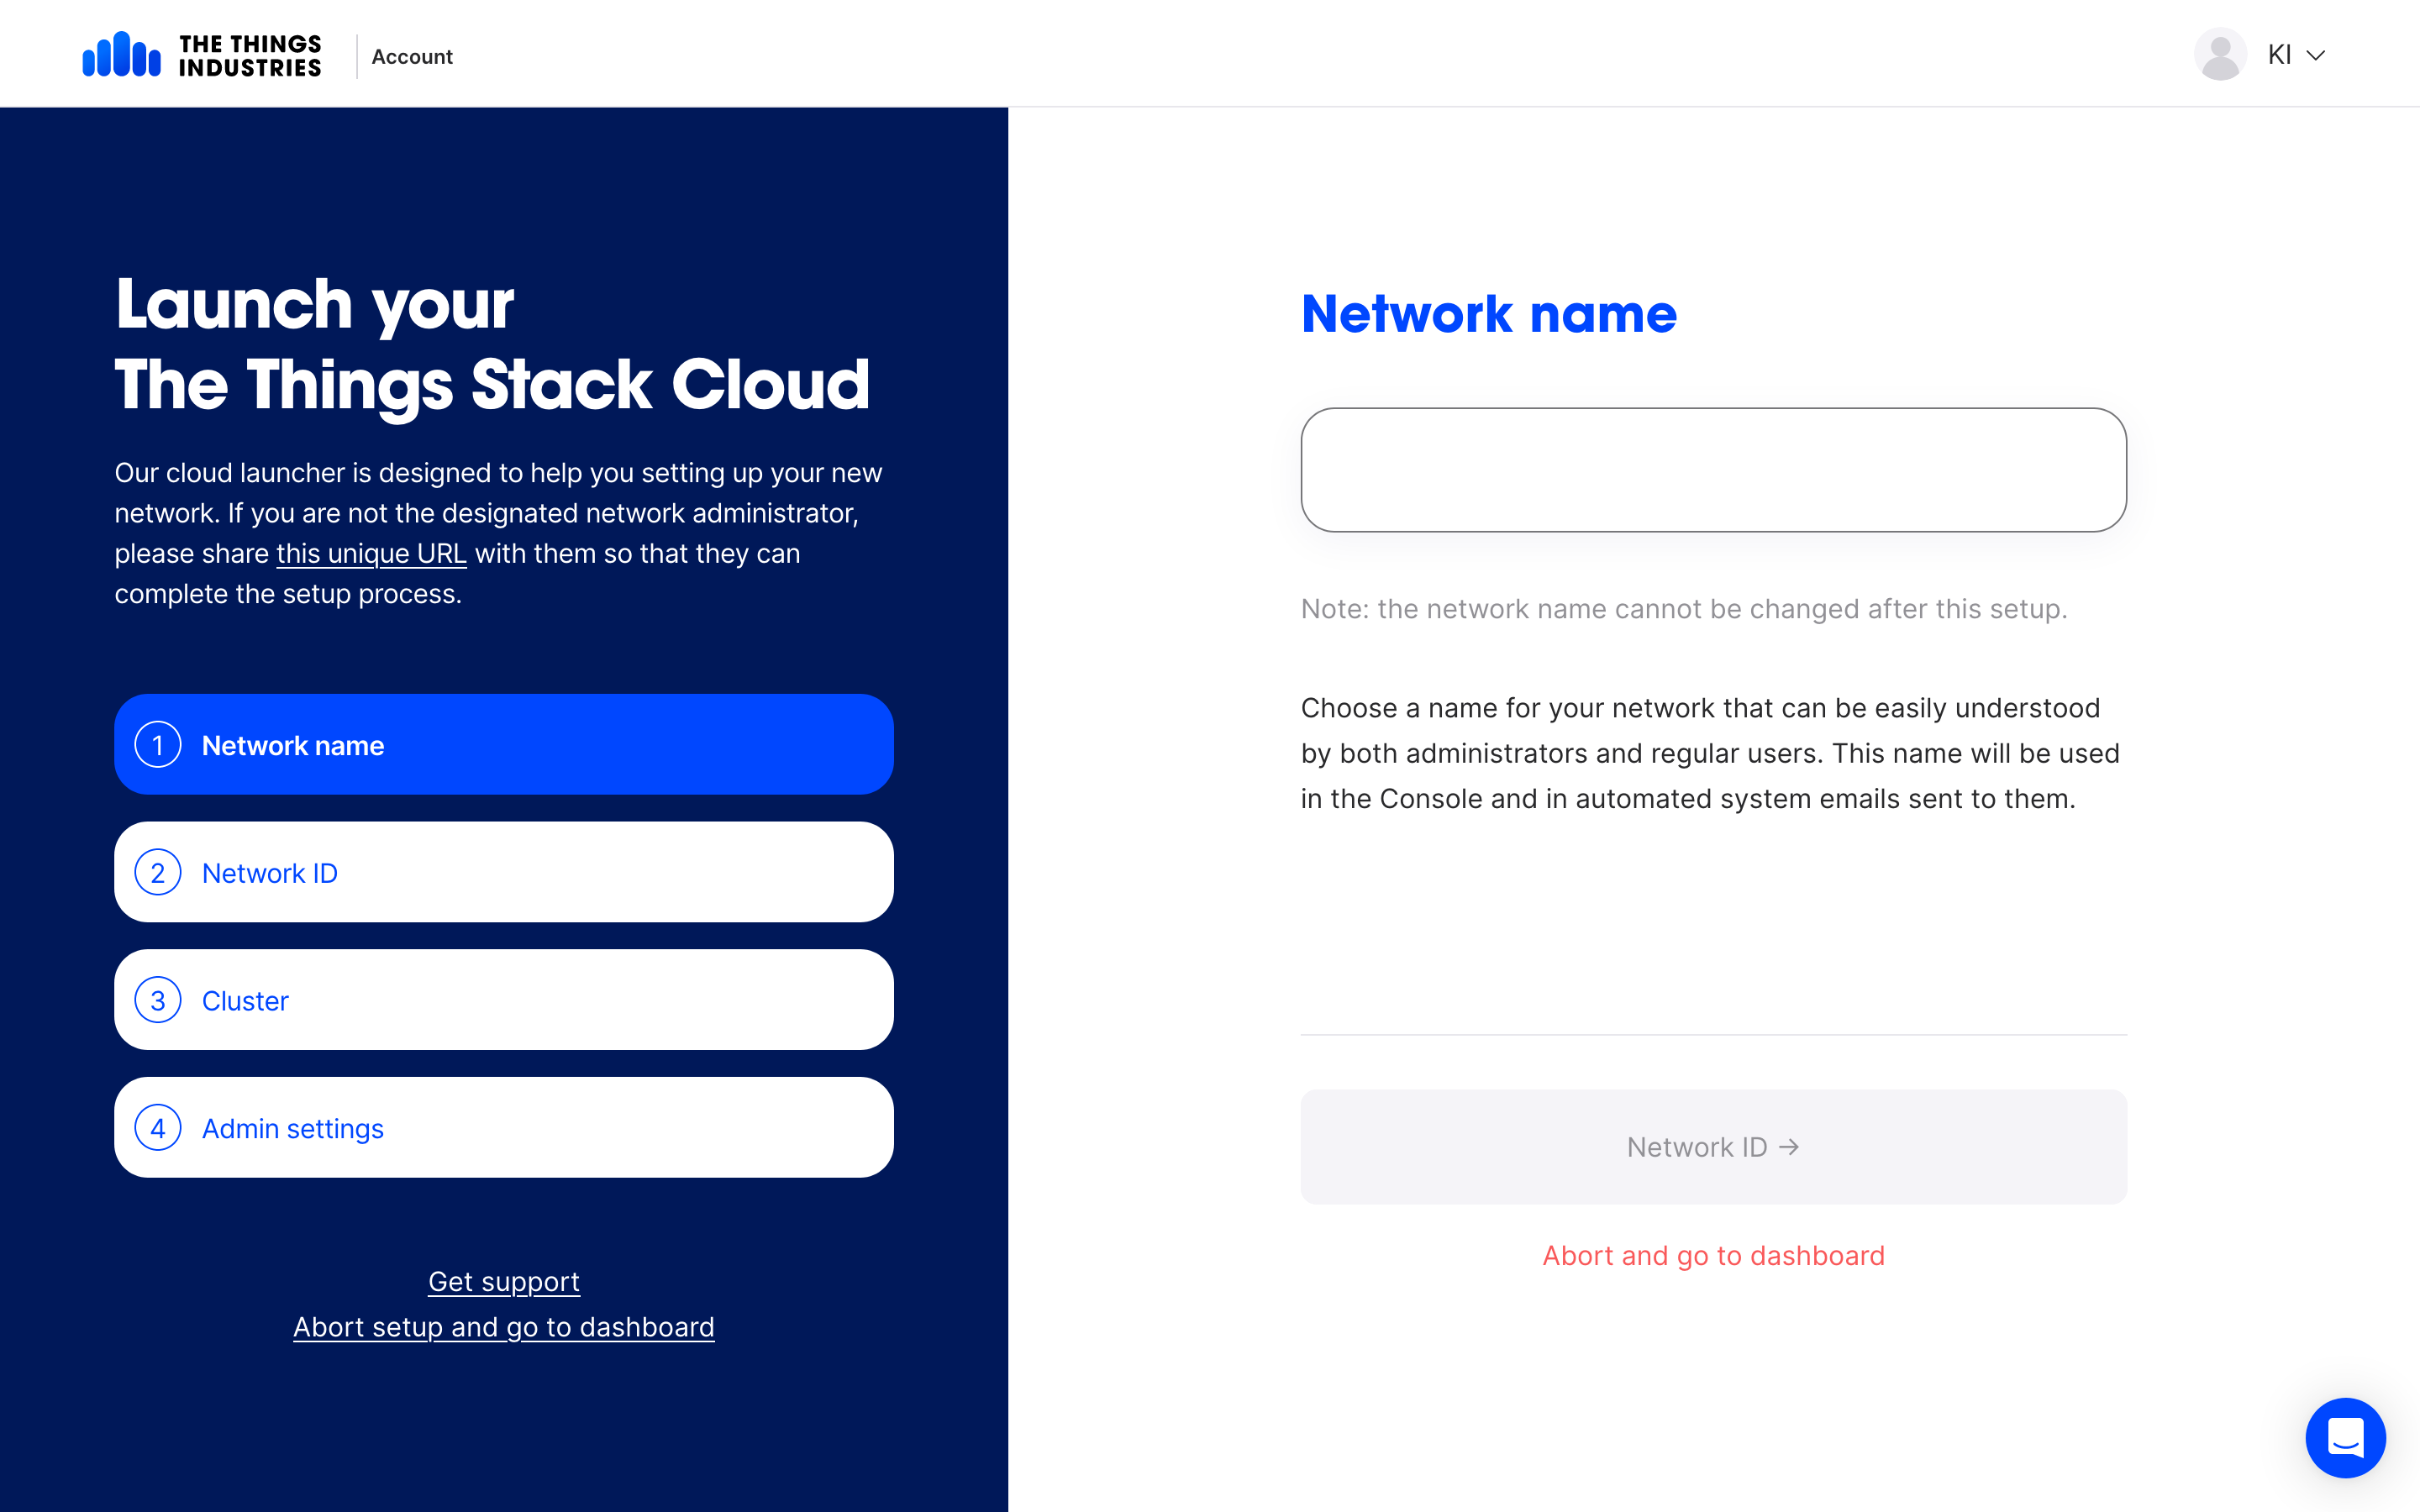
Choose a name for your network that can be easily understood by both administrators and regular users. This name will be used in the Console and in automated system emails sent to them.
Next Choose a Network ID. The Things Stack Cloud is a multi-tenant shared infrastructure and this is also referred to as your Tenant ID.
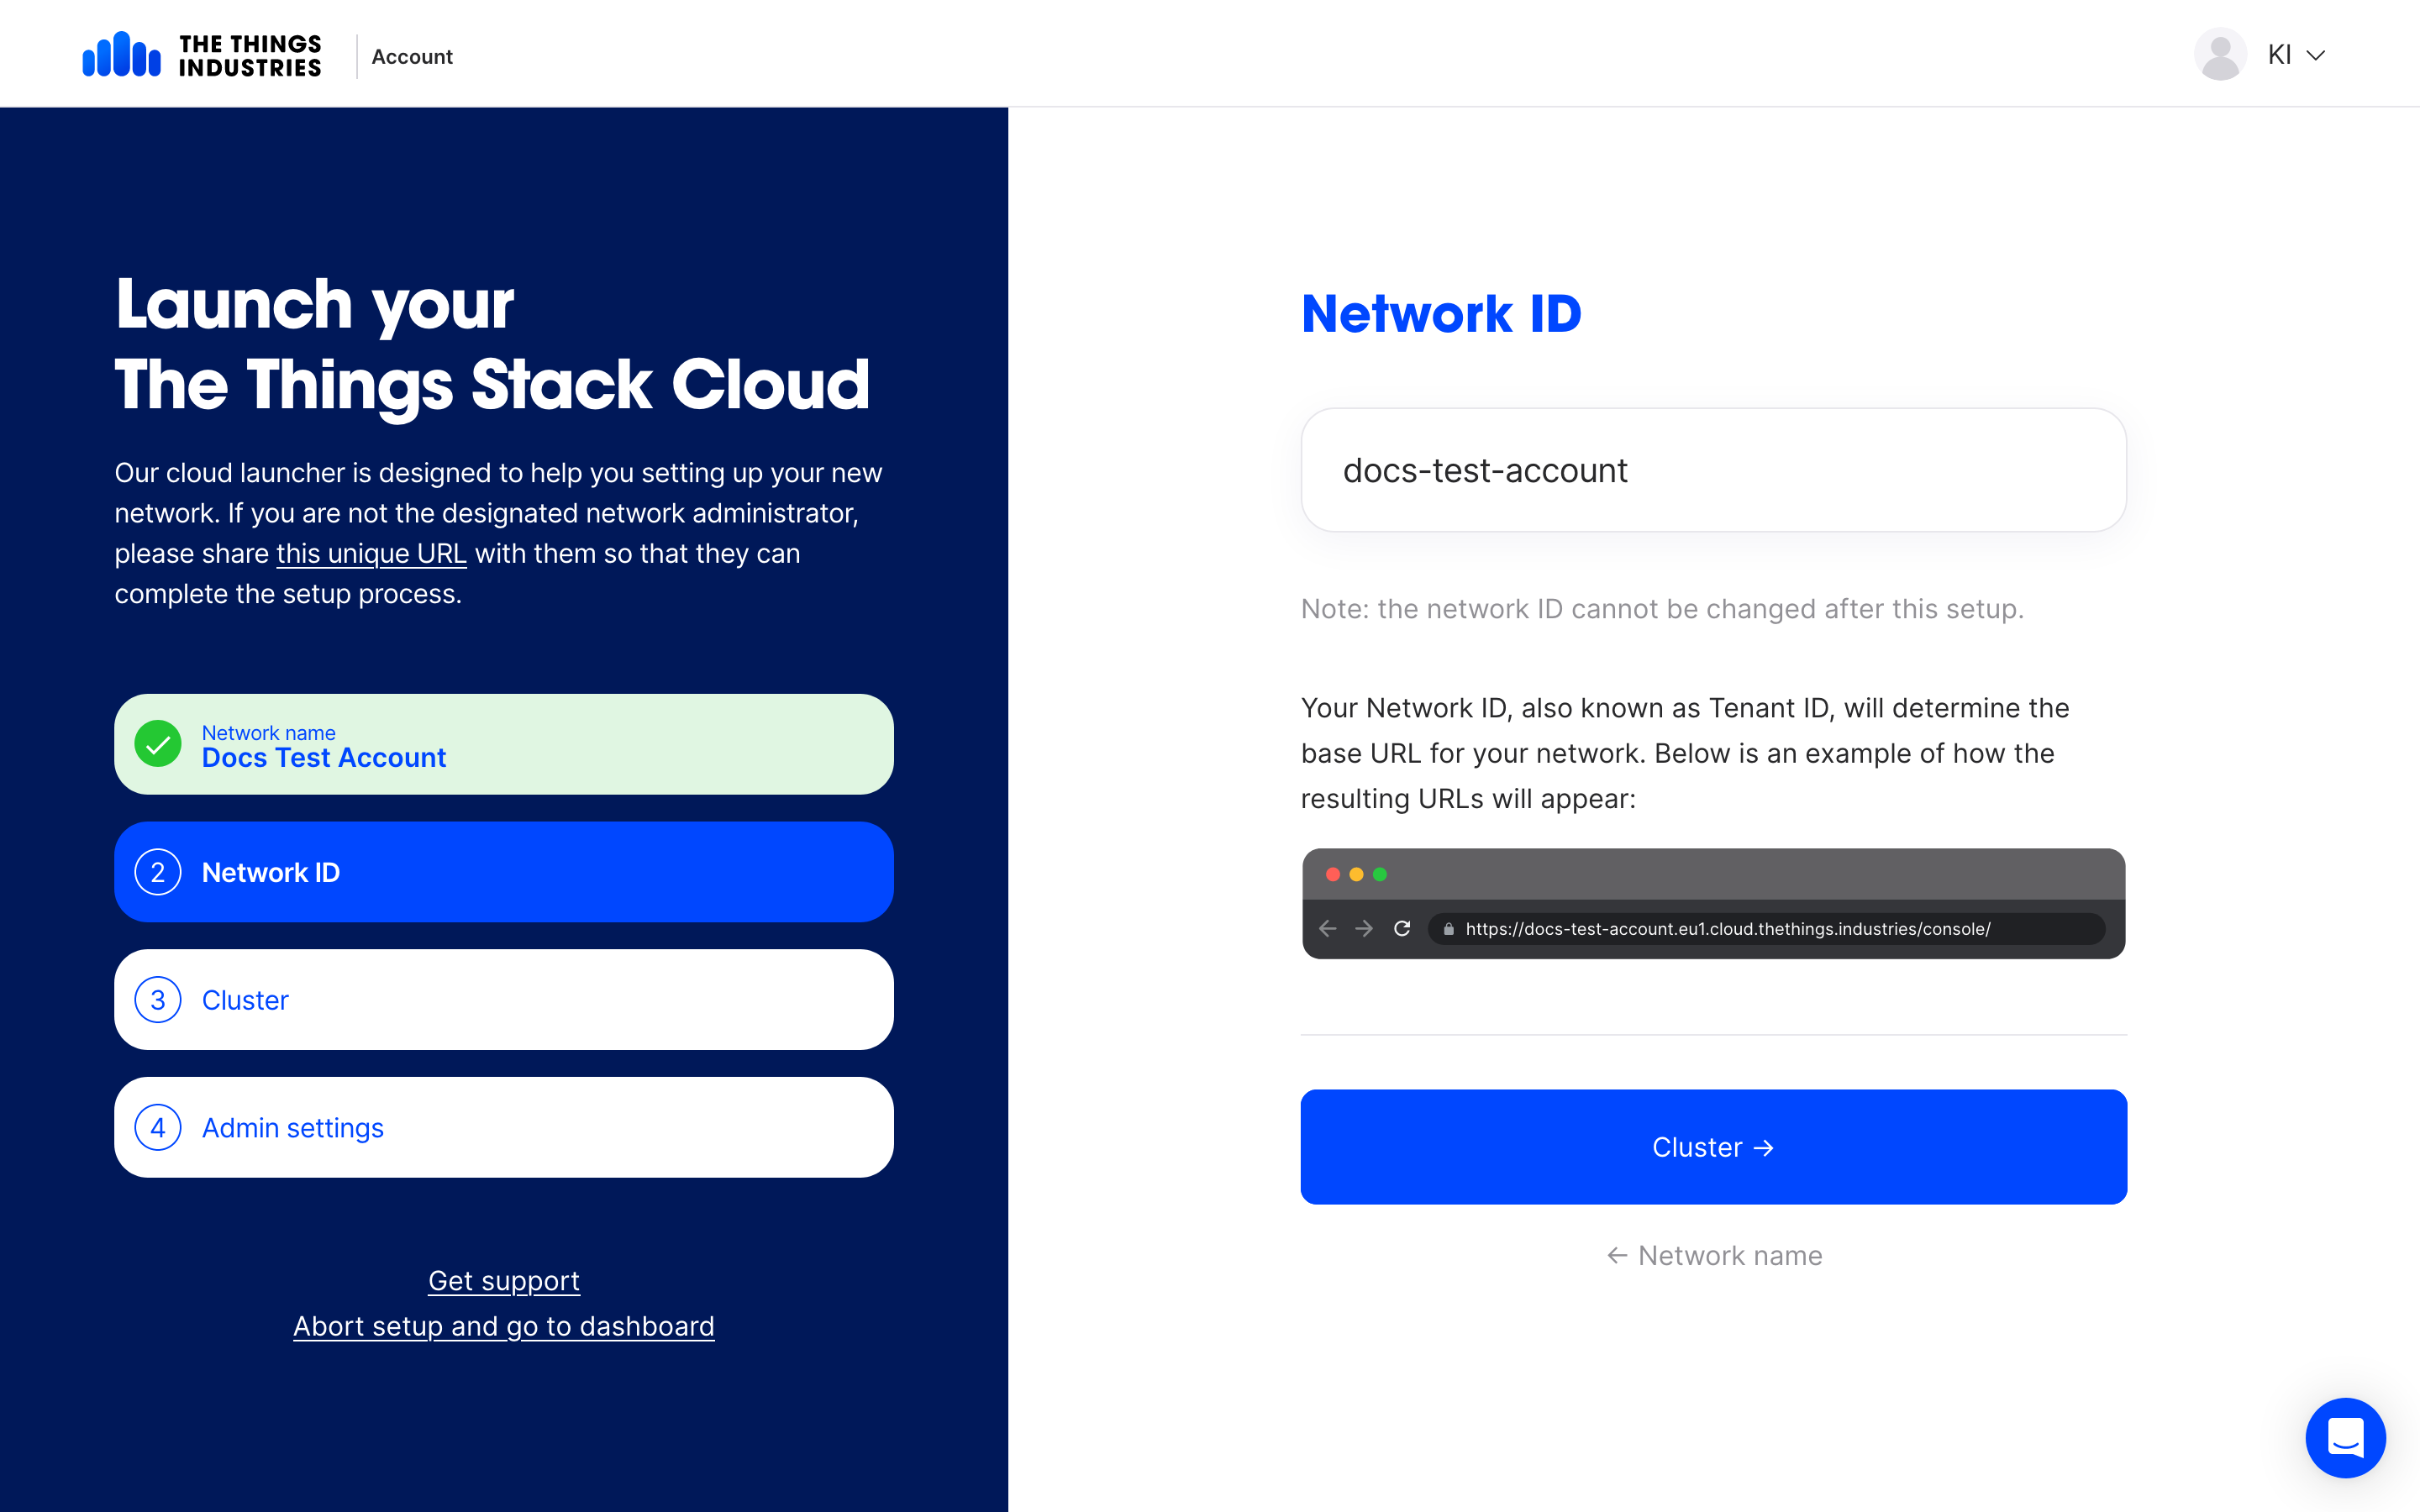
This field has some constraints. The Network ID field has to be between 3 and 36 characters and can contain only lower-case letters, numbers and dashes. Multiple, leading and/or trailing dashes are not allowed.
Next choose the geographical Cluster from the dropdown closest to your geographical region.
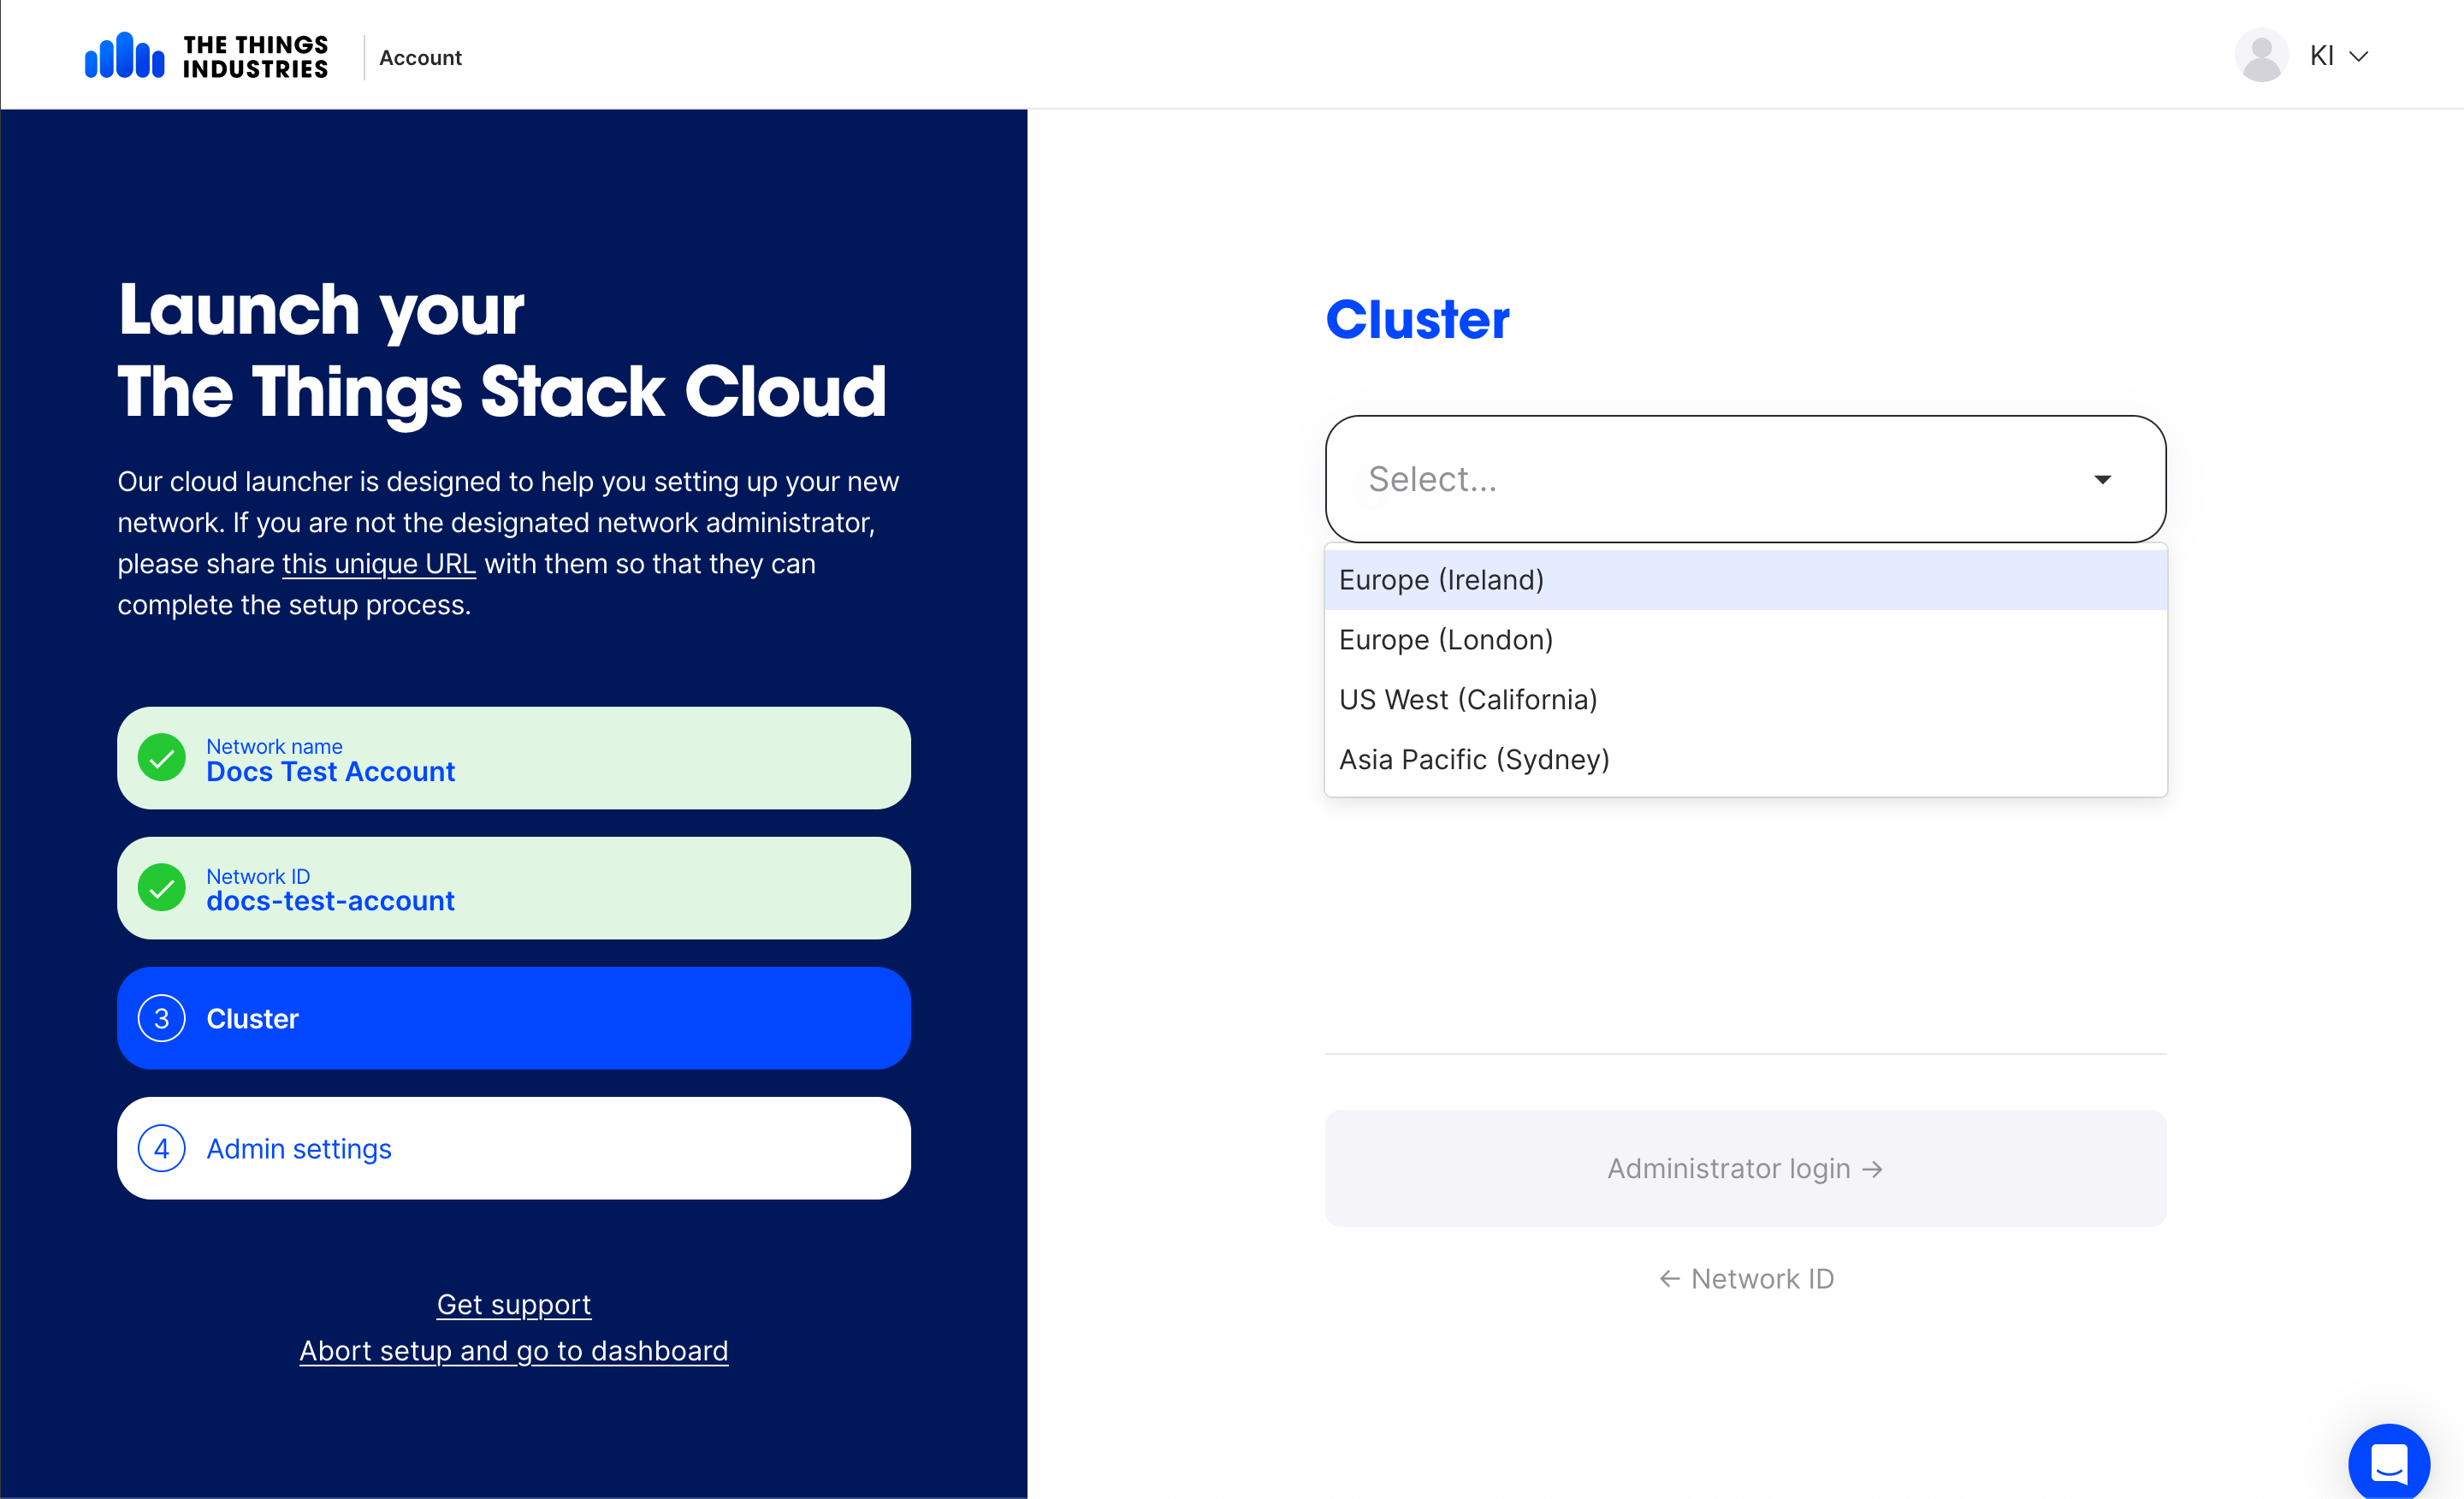
Note:
The Things Stack Cloud is a multi-region (cluster) deployment. Your account automatically provides you access to all the clusters. This cluster selection here is only the initial cluster to which the first gateways are connected for reducing geographical latency.In the subsequent window, select the details of the admin user. This user has full administrator access to your tenant.
Note:
The email ID chosen here can be the same as the billing email for individuals. For organizations, we recommend using separate emails for finance and the technical administrators.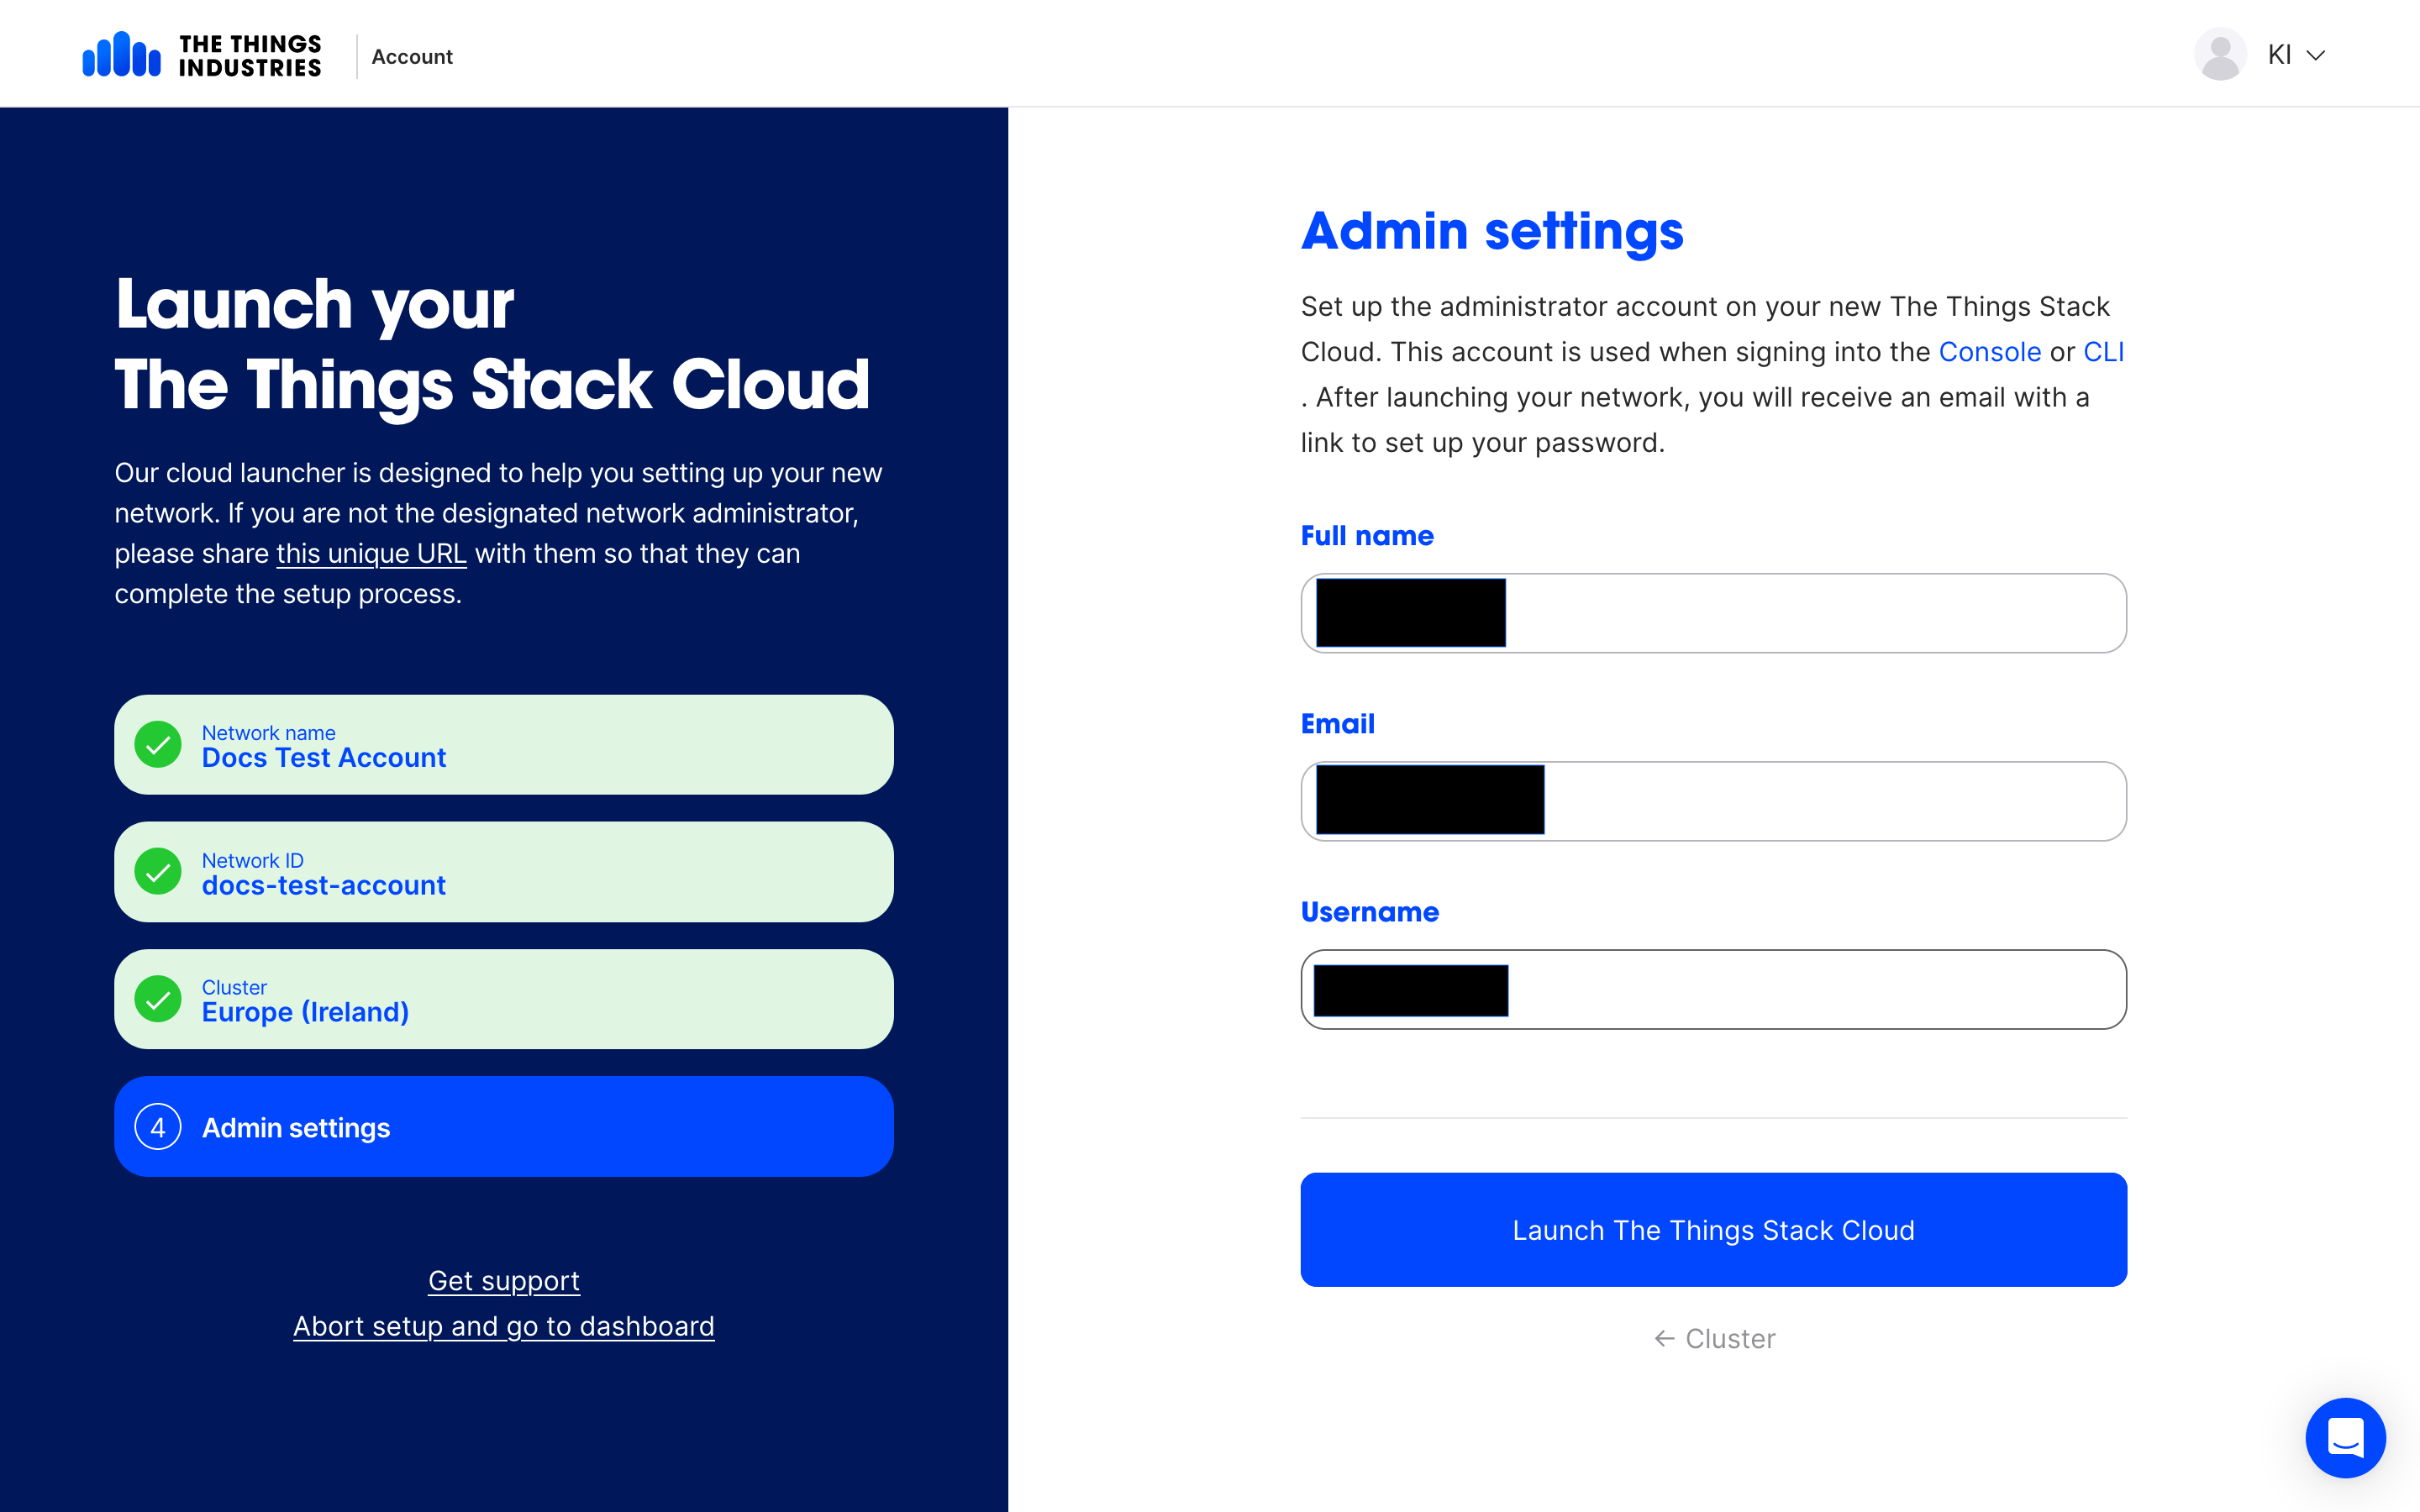
Click on Launch The Things Stack Cloud.
Now before proceeding, please make sure to check the admin email for two emails that you received from The Things Stack Cloud.
- The first one is used to validate the admin email address. Follow the instructions in the email to validate it.
- The second email contains a link to create the password for the admin user. Make sure to choose a strong password.
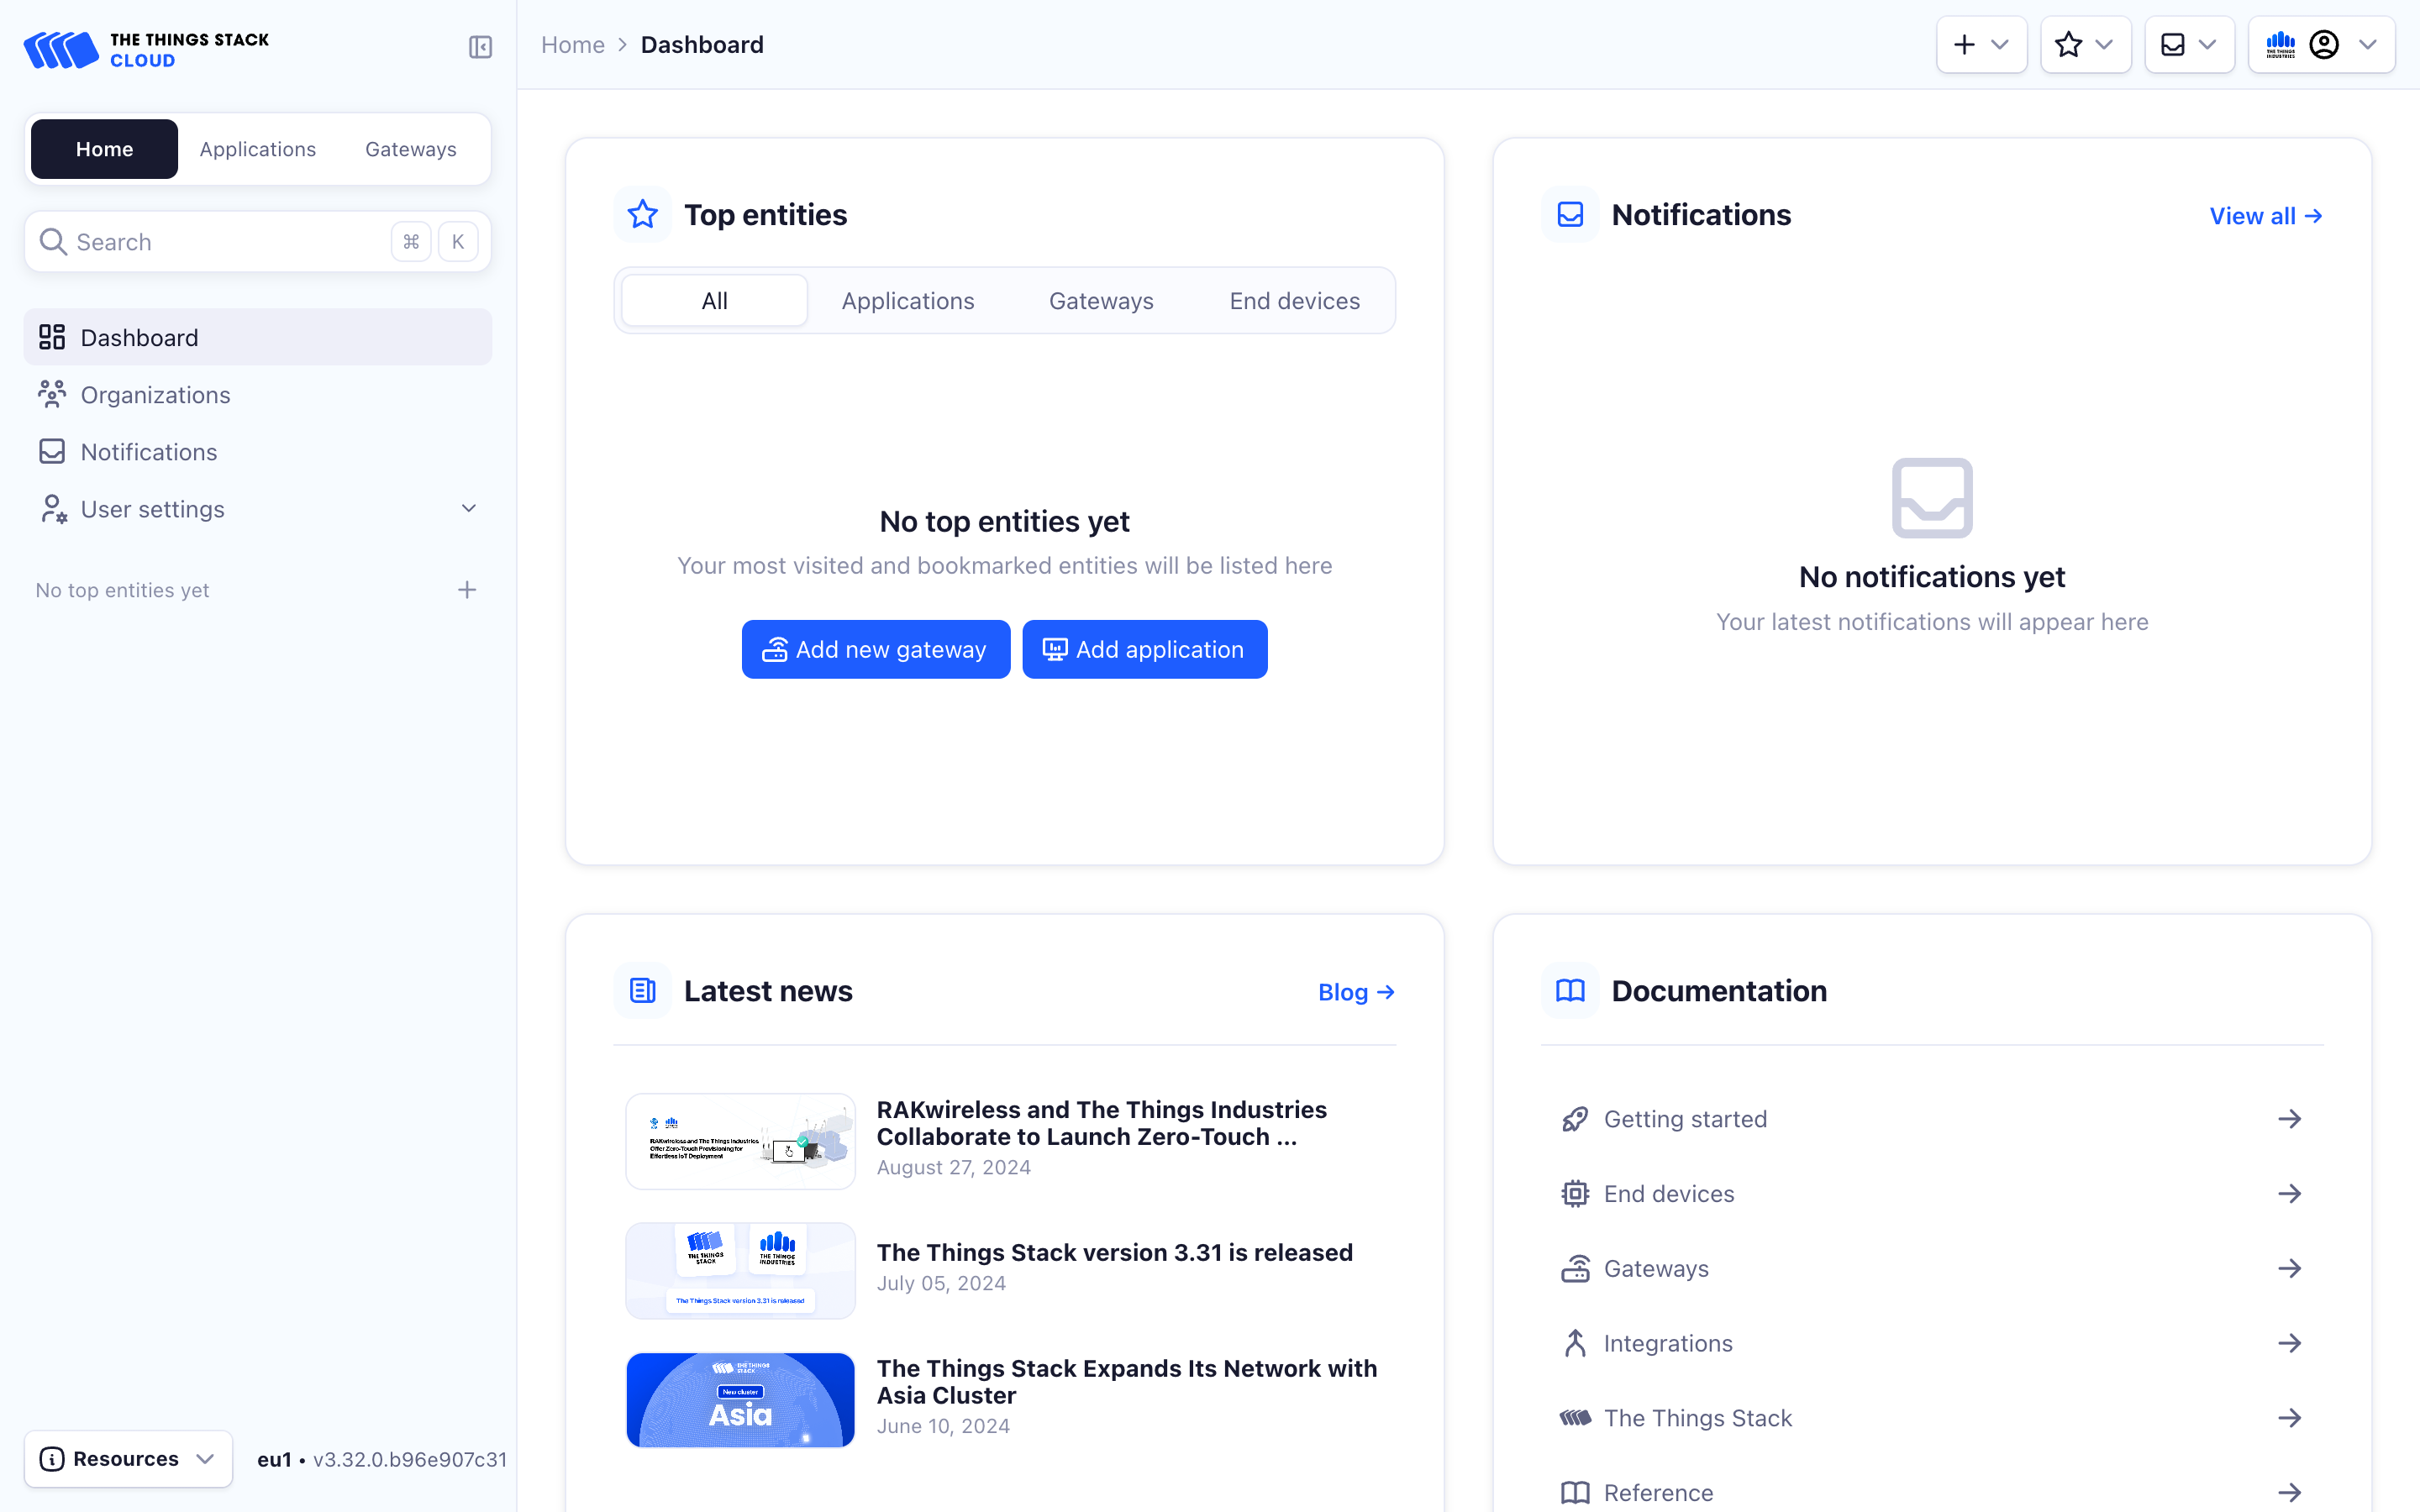
Back on the signup flow, click on Go to the console to head to the The Things Stack Cloud Console, which is the web UI that is used to interact with The Things Stack.
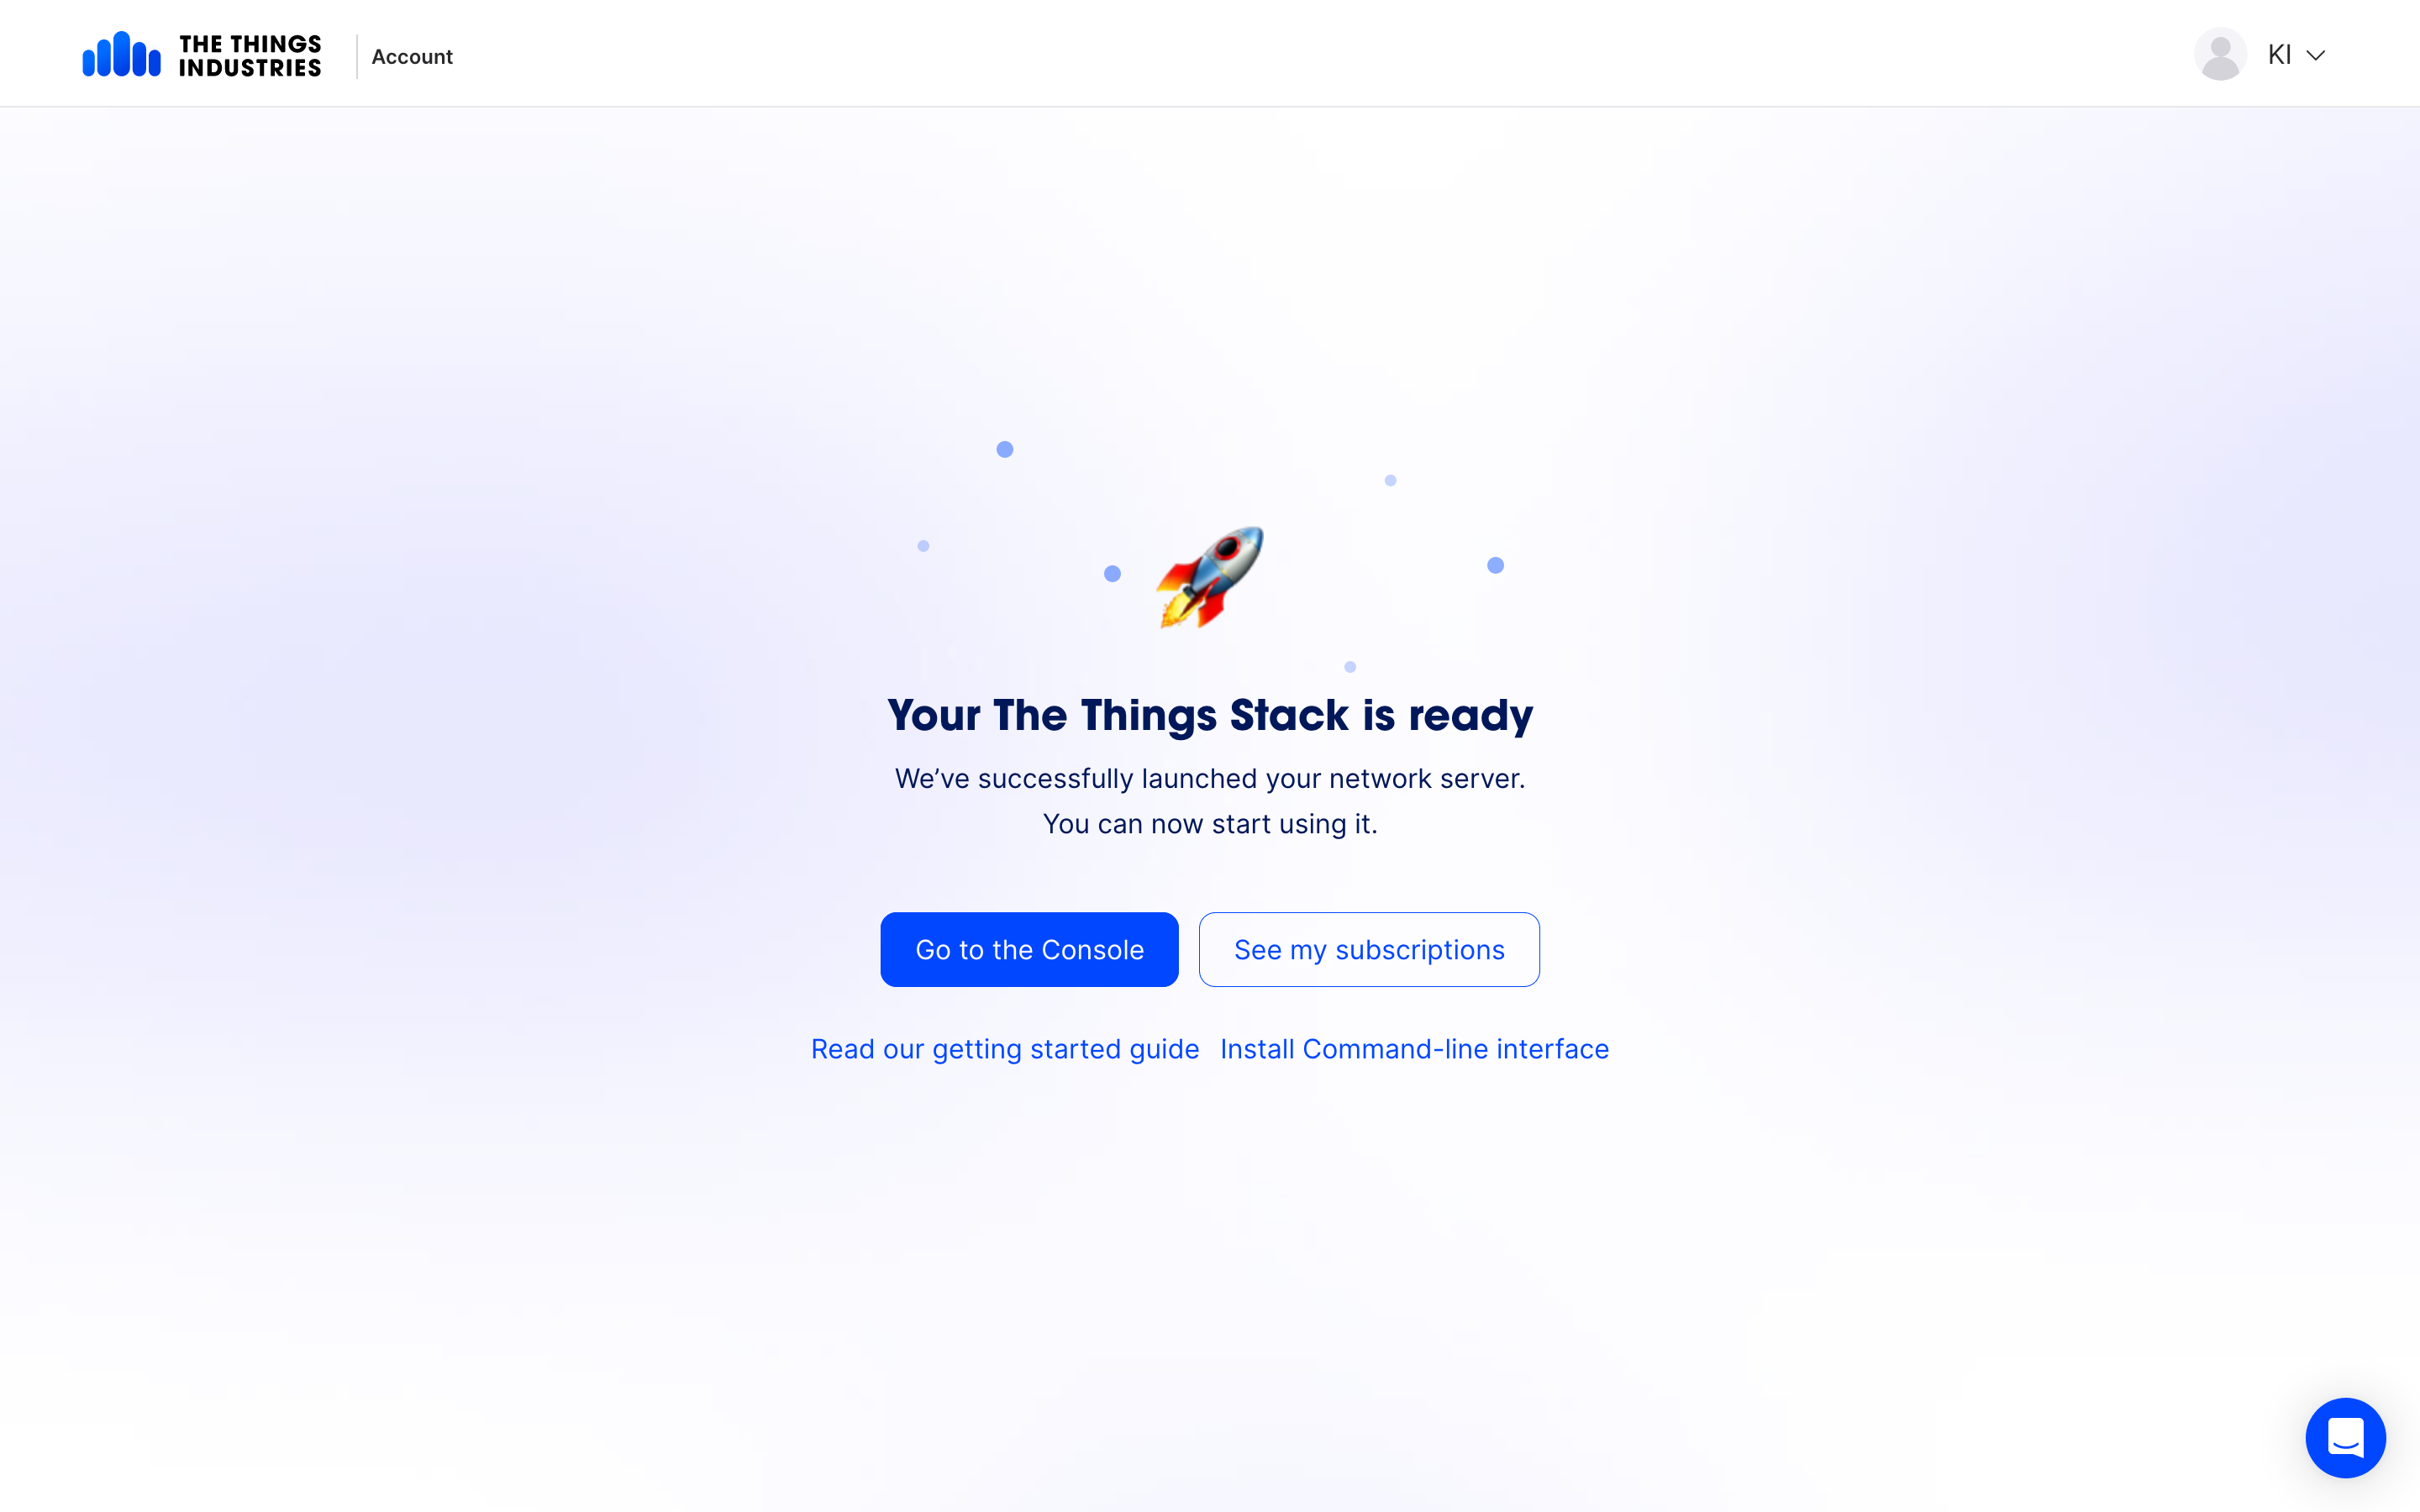
Use the Admin username (or email) and the password that you setup earlier to login.
Congratulations!!! You now have your own production-grade LoRaWAN Network.
