Skip to content
The Things Stack documentation home
Getting Started Concepts Cloud Enterprise Integrations API Hardware
Getting Started Concepts
Cloud Enterprise
Integrations API Hardware
Get The Things Stack

    Recent searches

      Popular pages

      • Getting Started
      • Adding Gateways
      • Adding Devices
      • Payload Formatters
      • Webhooks
      • Authentication

      No results for “”.

      • Check the spelling, or try fewer or more general words.
      • Ask the community on The Things Network Forum
      • Contact support
      ↑↓ to navigate ↵ to open Esc to close

      Hardware

      • Overview
      • Devices
        • Adding Devices
          • Manually adding devices
            • Over the Air Activation (OTAA)
            • Activation by Personalization (ABP)
          • Adding devices in bulk
          • Adding devices with ATECC608 Secure Elements
        • Configuring Devices
        • Concepts
        • Models
        • Troubleshooting Devices
      • Gateways
      • Works with The Things Stack

      Manually adding devices

      Updated 20 January 2025 Edit on GitHub
      Copy page
      • View as MarkdownThis page as plain text
      • Open in ChatGPTAsk questions about this page
      • Open in ClaudeAsk questions about this page

      If your devices are not yet part of the LoRaWAN® Device Repository or you want to set advanced fields, you can add devices manually in The Things Stack.

      This guide lists the common fields required for registering OTAA and ABP devices via the console. If you want to use the CLI, go to the OTAA/ABP guide at the bottom of the page.

      Choose the Enter end device specifics manually input method. Please refer to your device’s datasheet to ensure entering the following information correctly.

      Choose the Enter end device specifics manually option of the input method.

      Choose an appropriate Frequency Plan. Your device and gateway must use the same frequency plan to communicate.

      Select LoRaWAN Version and Regional Parameters version fields for your specific device. These values are usually found in the end device documentation either on the vendor/manufacturer’s website or on the data sheet. If this data is not available, check with the device vendor/manufacturer.

      Warning:

      Choosing the incorrect LoRaWAN version can lead to complex errors. Activation may work, but the device will not be able to communicate consistently. If you are unsure about the LoRaWAN version you have selected, watch the event log for errors!
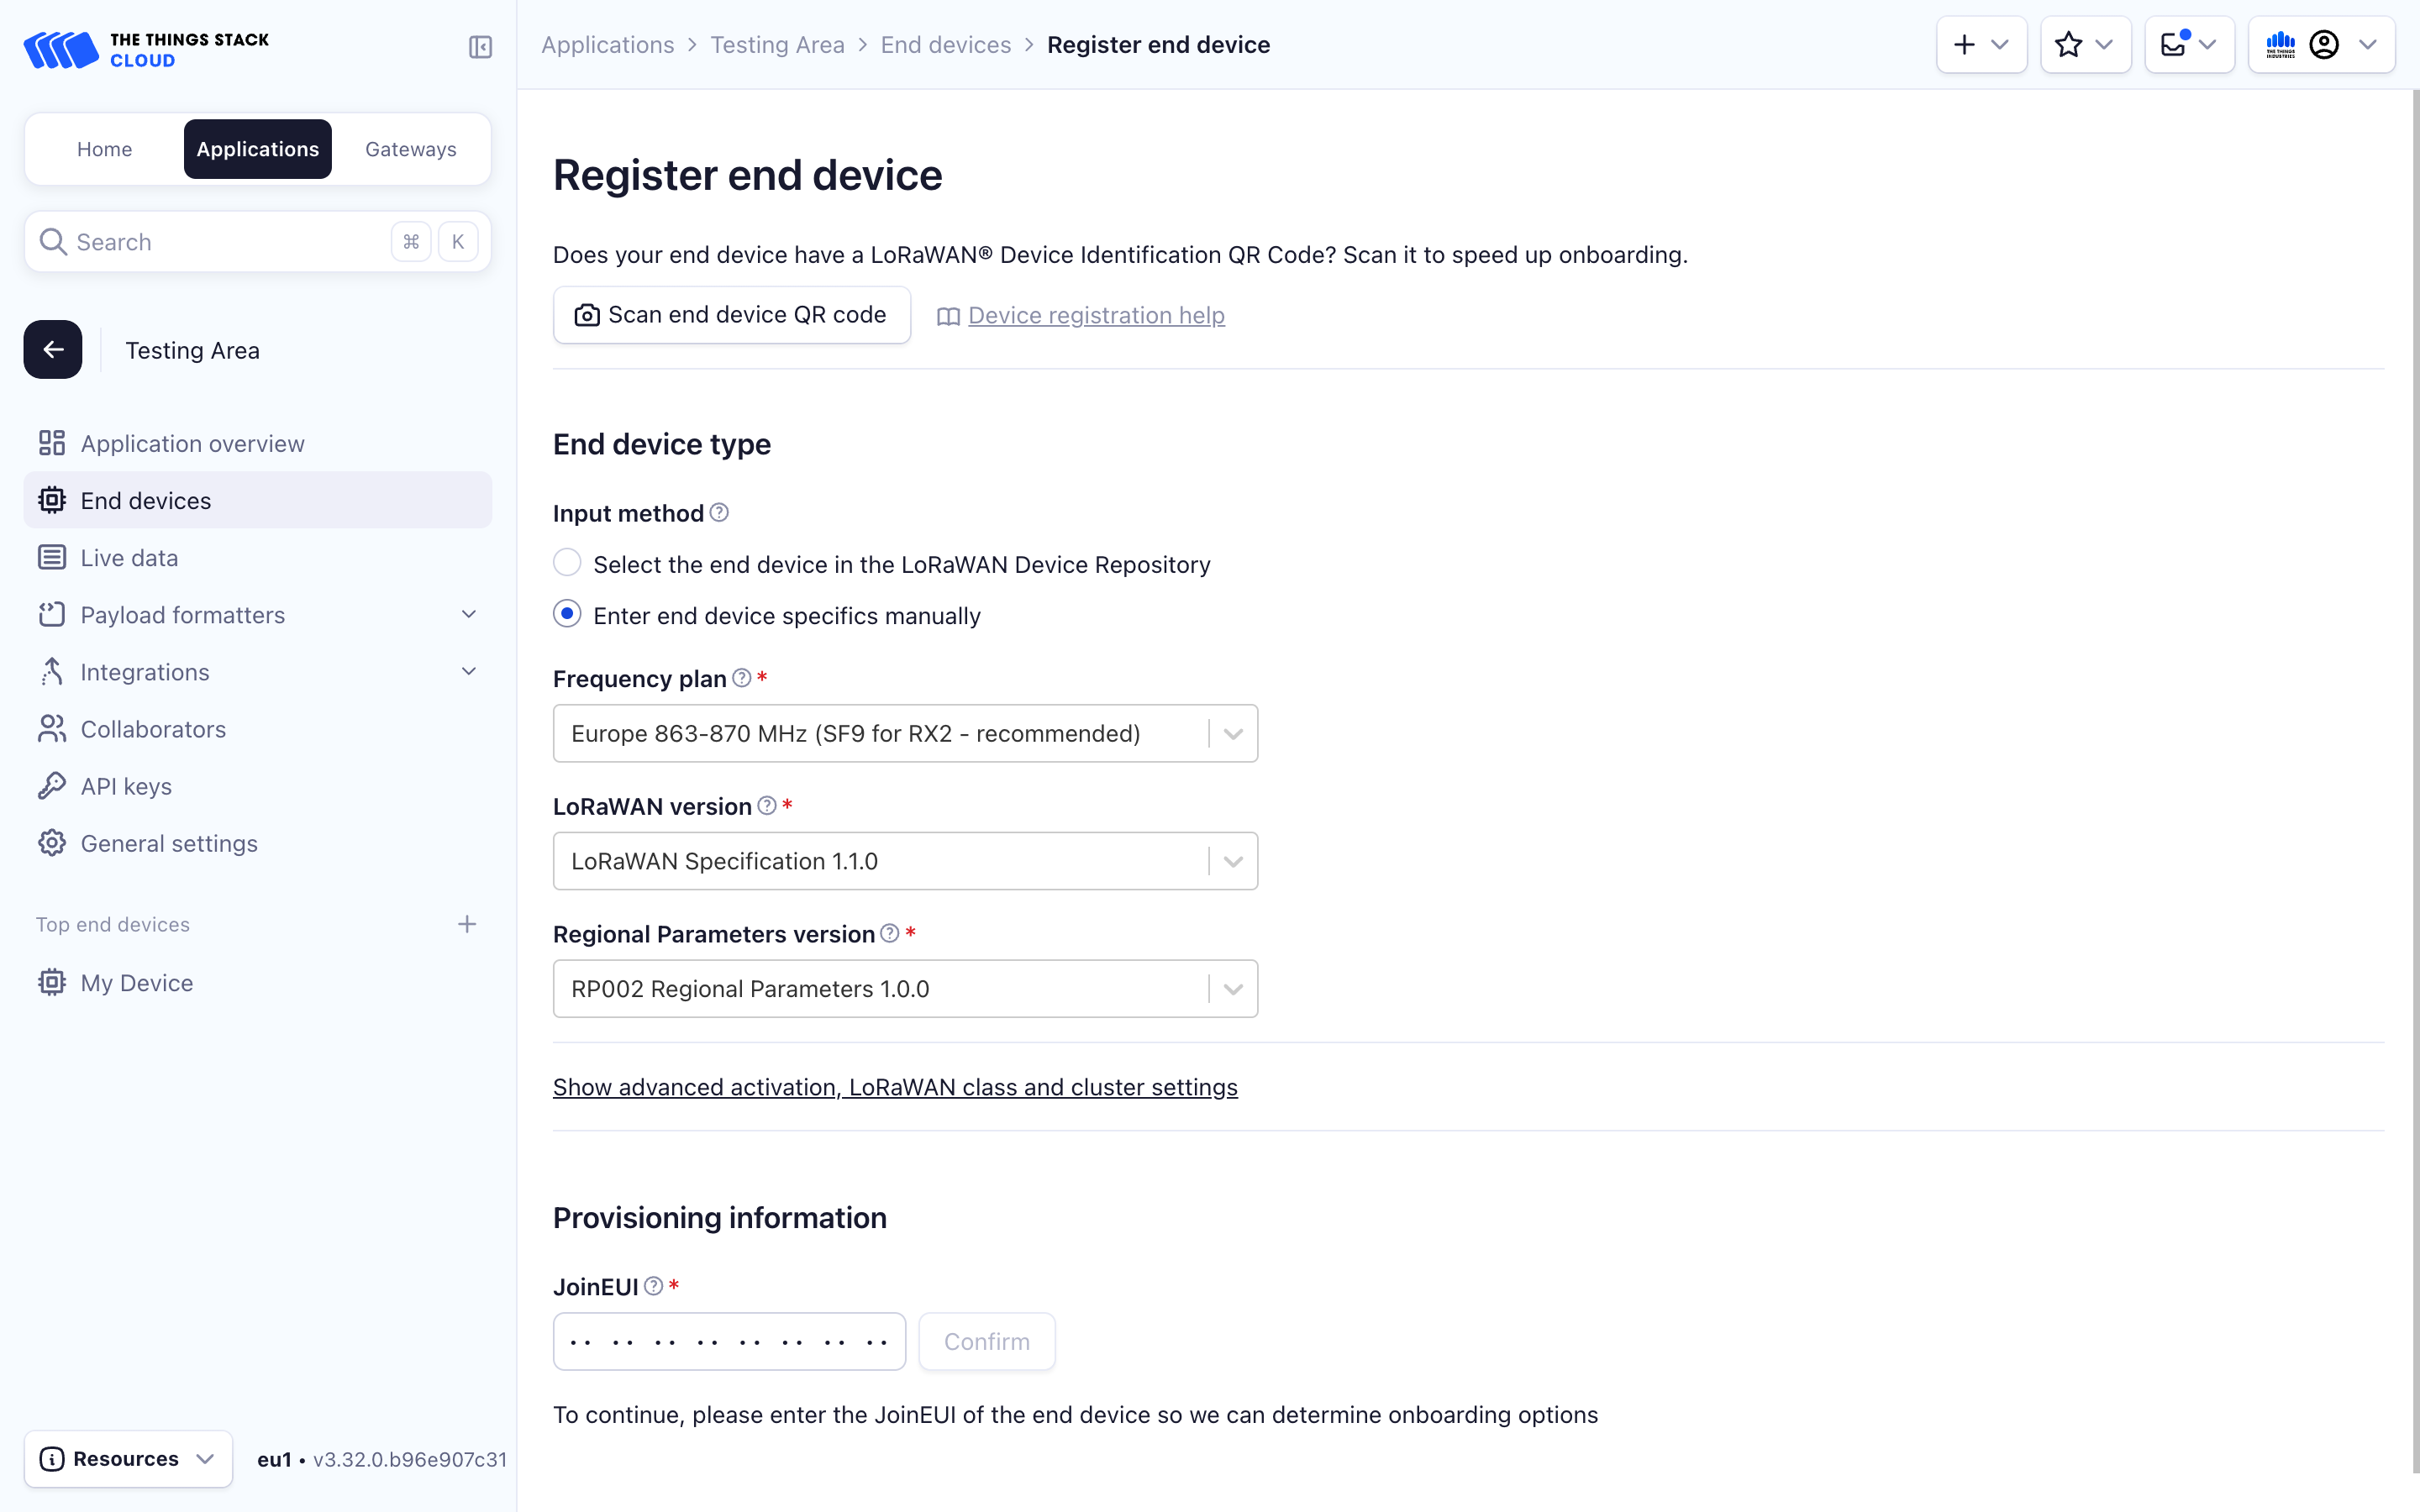
      ABP input method

      The above fields are common for both OTAA and ABP devices. Now, based on the device you are trying to add, choose the specific guide for OTAA or ABP below.

      Over the Air Activation (OTAA)

      Over-the-Air-Activation (OTAA) is the secure, scalable way to activate LoRaWAN devices. All commercially available LoRaWAN devices support OTAA, and it is selected by default. This guide explains how to add OTAA devices manually.
      Read

      Activation by Personalization (ABP)

      If your device cannot be activated using the more secure OTAA, you may manually activate it by programming security keys it, i.e. using ABP. This guide explains how to add ABP devices manually.
      Read
      ← Adding Devices Over the Air Activation (OTAA) →

      Sections

      Getting Started

      Concepts

      Cloud

      Enterprise

      Integrations

      API

      Hardware

      Sitemap

      View our Sitemap

      Contributing

      GitHub

      About Us

      The Things Industries

      Privacy Policy

      Cookie settings

      Cookie Settings

      We use cookies to enhance your experience, analyze site traffic and deliver personalized content. Read our Privacy Policy.

      Cookie categories