Heltec HTCC-AB01
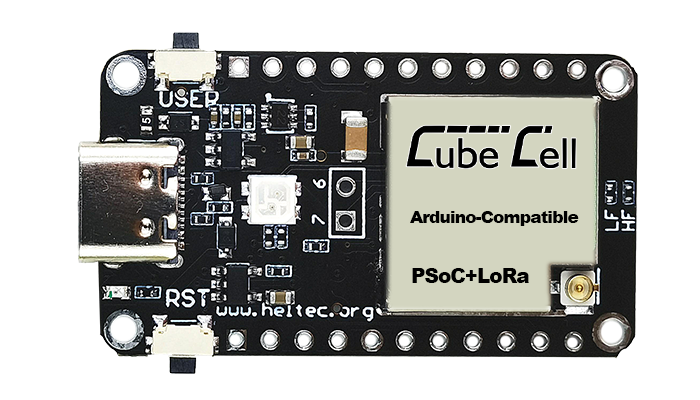
The Heltec HTCC-AB01 (V2) is a development board based on the ASR6052, which has an integrated PSoC® 4000 series MCU (ARM® Cortex® M0+ Core) and SX1262 transceiver. It features Arduino compatibility, an ultra low power design and an onboard SH1.25 for lithium batteries or solar panels.
In this guide, we will set this module up for usage in the Arduino IDE and use an example code to connect it to The Things Stack.
Installing CubeCell Framework
In order to use the CubeCell in Arduino, we need to install a framework created by Heltec.
Download the latest release of the Arduino Software (IDE), install it on your operating system and run it.
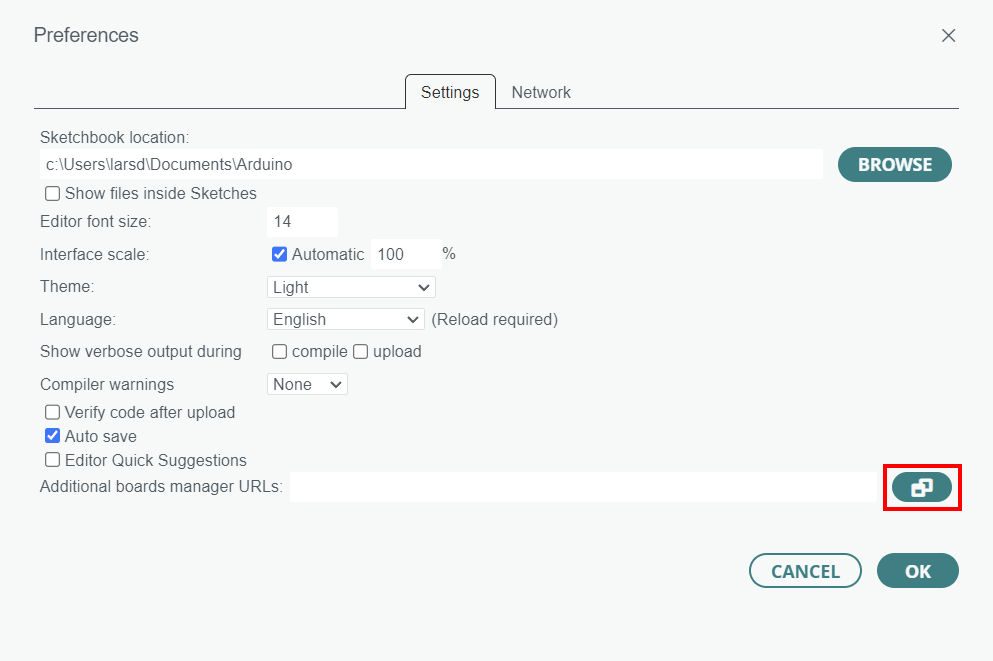
Open Arduino IDE, and click File->Preferences->Settings and click the button next to Additional Boards Manager URLs.
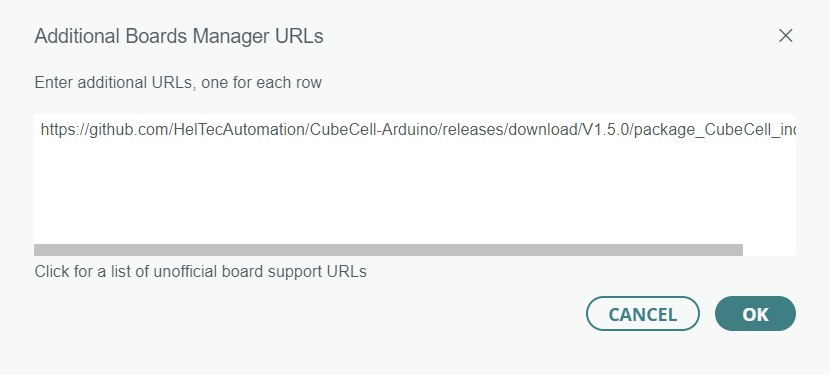
In a new line, enter https://github.com/HelTecAutomation/CubeCell-Arduino/releases/download/V1.5.0/package_CubeCell_index.json and click OK.
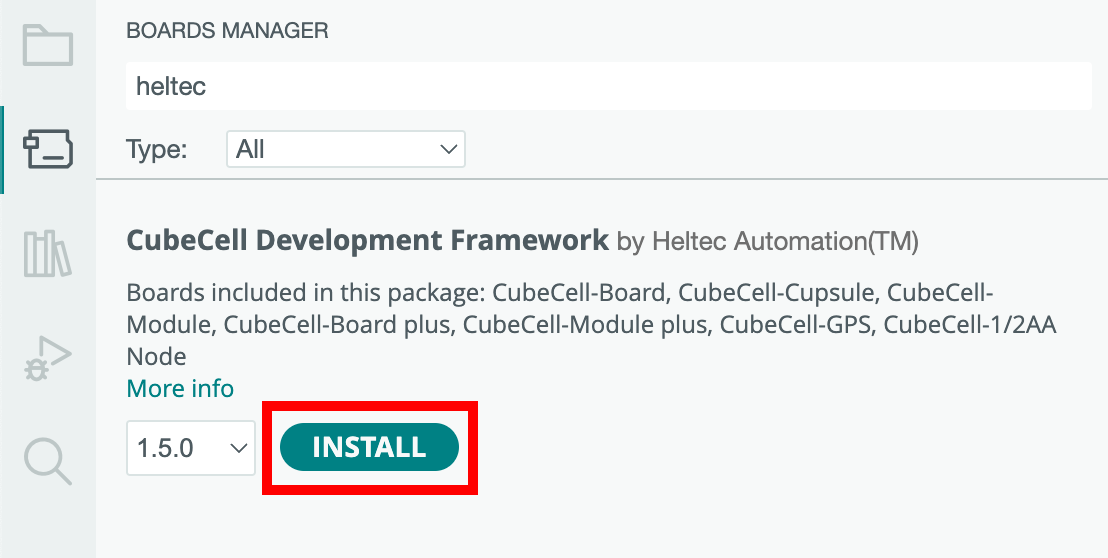
Click the second icon in the left-hand menu or select Tools->Board->Boards Manager, then search Heltec in the search field, select the latest releases and click Install.
Connecting the Device
Connect the board to your computer with a high quality USB-C cable.
Click the Select Board drop down (or go to the Tools menu) and select the right COM port and board.
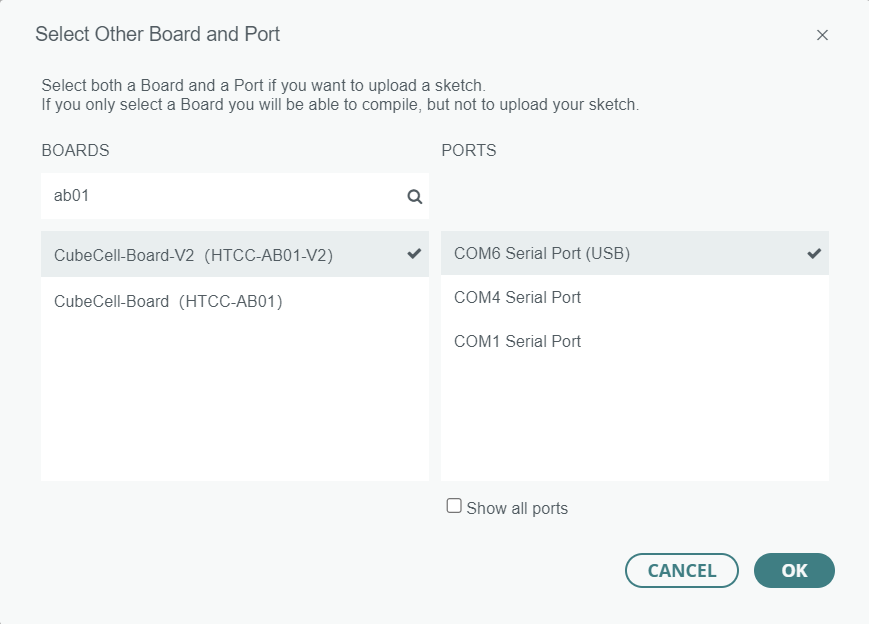
Then go to the Tools menu and you will see a couple of options. Let’s run through the important ones that you have to check:
- LORAWAN_CLASS – Class A (for more info check here)
- LORAWAN_DEVEUI – Generate by ChipID (which generates a DevEUI based on the ASR650x’s unique Chip ID)
- LORAWAN_NETMODE – OTAA
- LORAWAN_REGION – Select the region your device is operating in.
If you want to know what the other options do check here.
Then go to File -> Examples and you should see a separate section for the Heltec board. Select LoRa -> LoRaWAN -> LoRaWan.
Once the file is open, upload it and when it is done uploading, open the Serial Monitor. Set the baud rate to 115200. If no information shows up you might need to press the Reset button on the Heltec board itself.
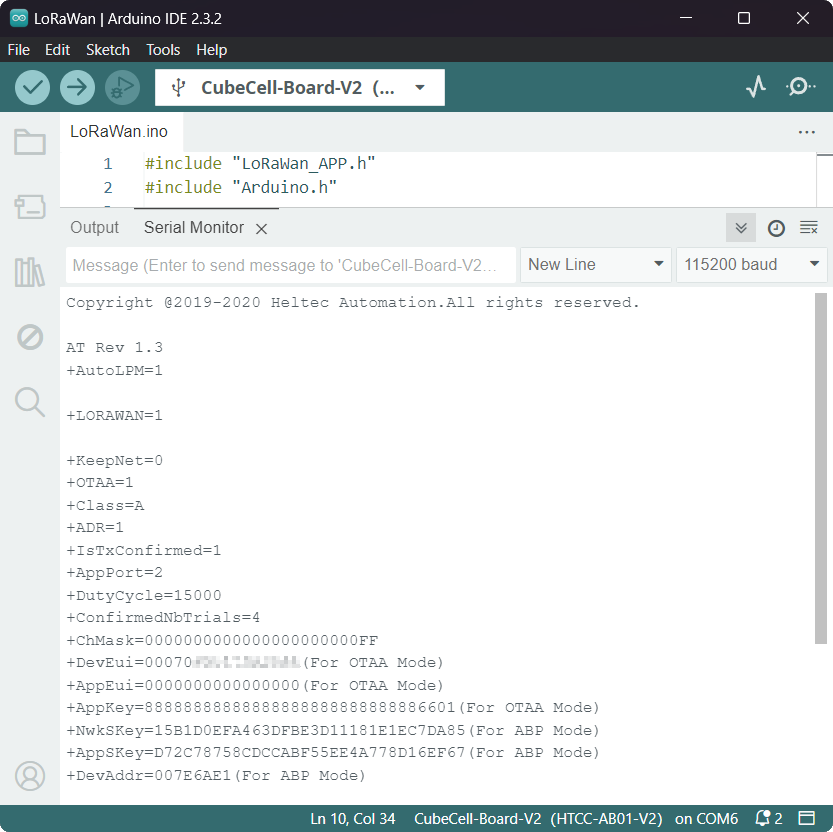
From the information that shows up, copy the DevEui, as you will need it in the next step.
Onboarding to The Things Stack
The device can be onboarded using the Device Repository or manually.
The LoRaWAN® Device repository comprises over 800 end-device profiles, including the AB01, which enables quick and easy registration with The Things Stack.
In the End device type section, under Input method, select either the Select the end device in the LoRaWAN Device Repository or Enter end device specifics manually option. The Onboarding devices without QR codes section of the Adding Devices guide explains this procedure in detail. Following details are AB01-specific:
- End device brand: HelTec AutoMation
- Model: HTCC-AB01(Class A OTAA)
- Hardware Ver.: Unknown ver.
- Firmware Ver.:
1.0
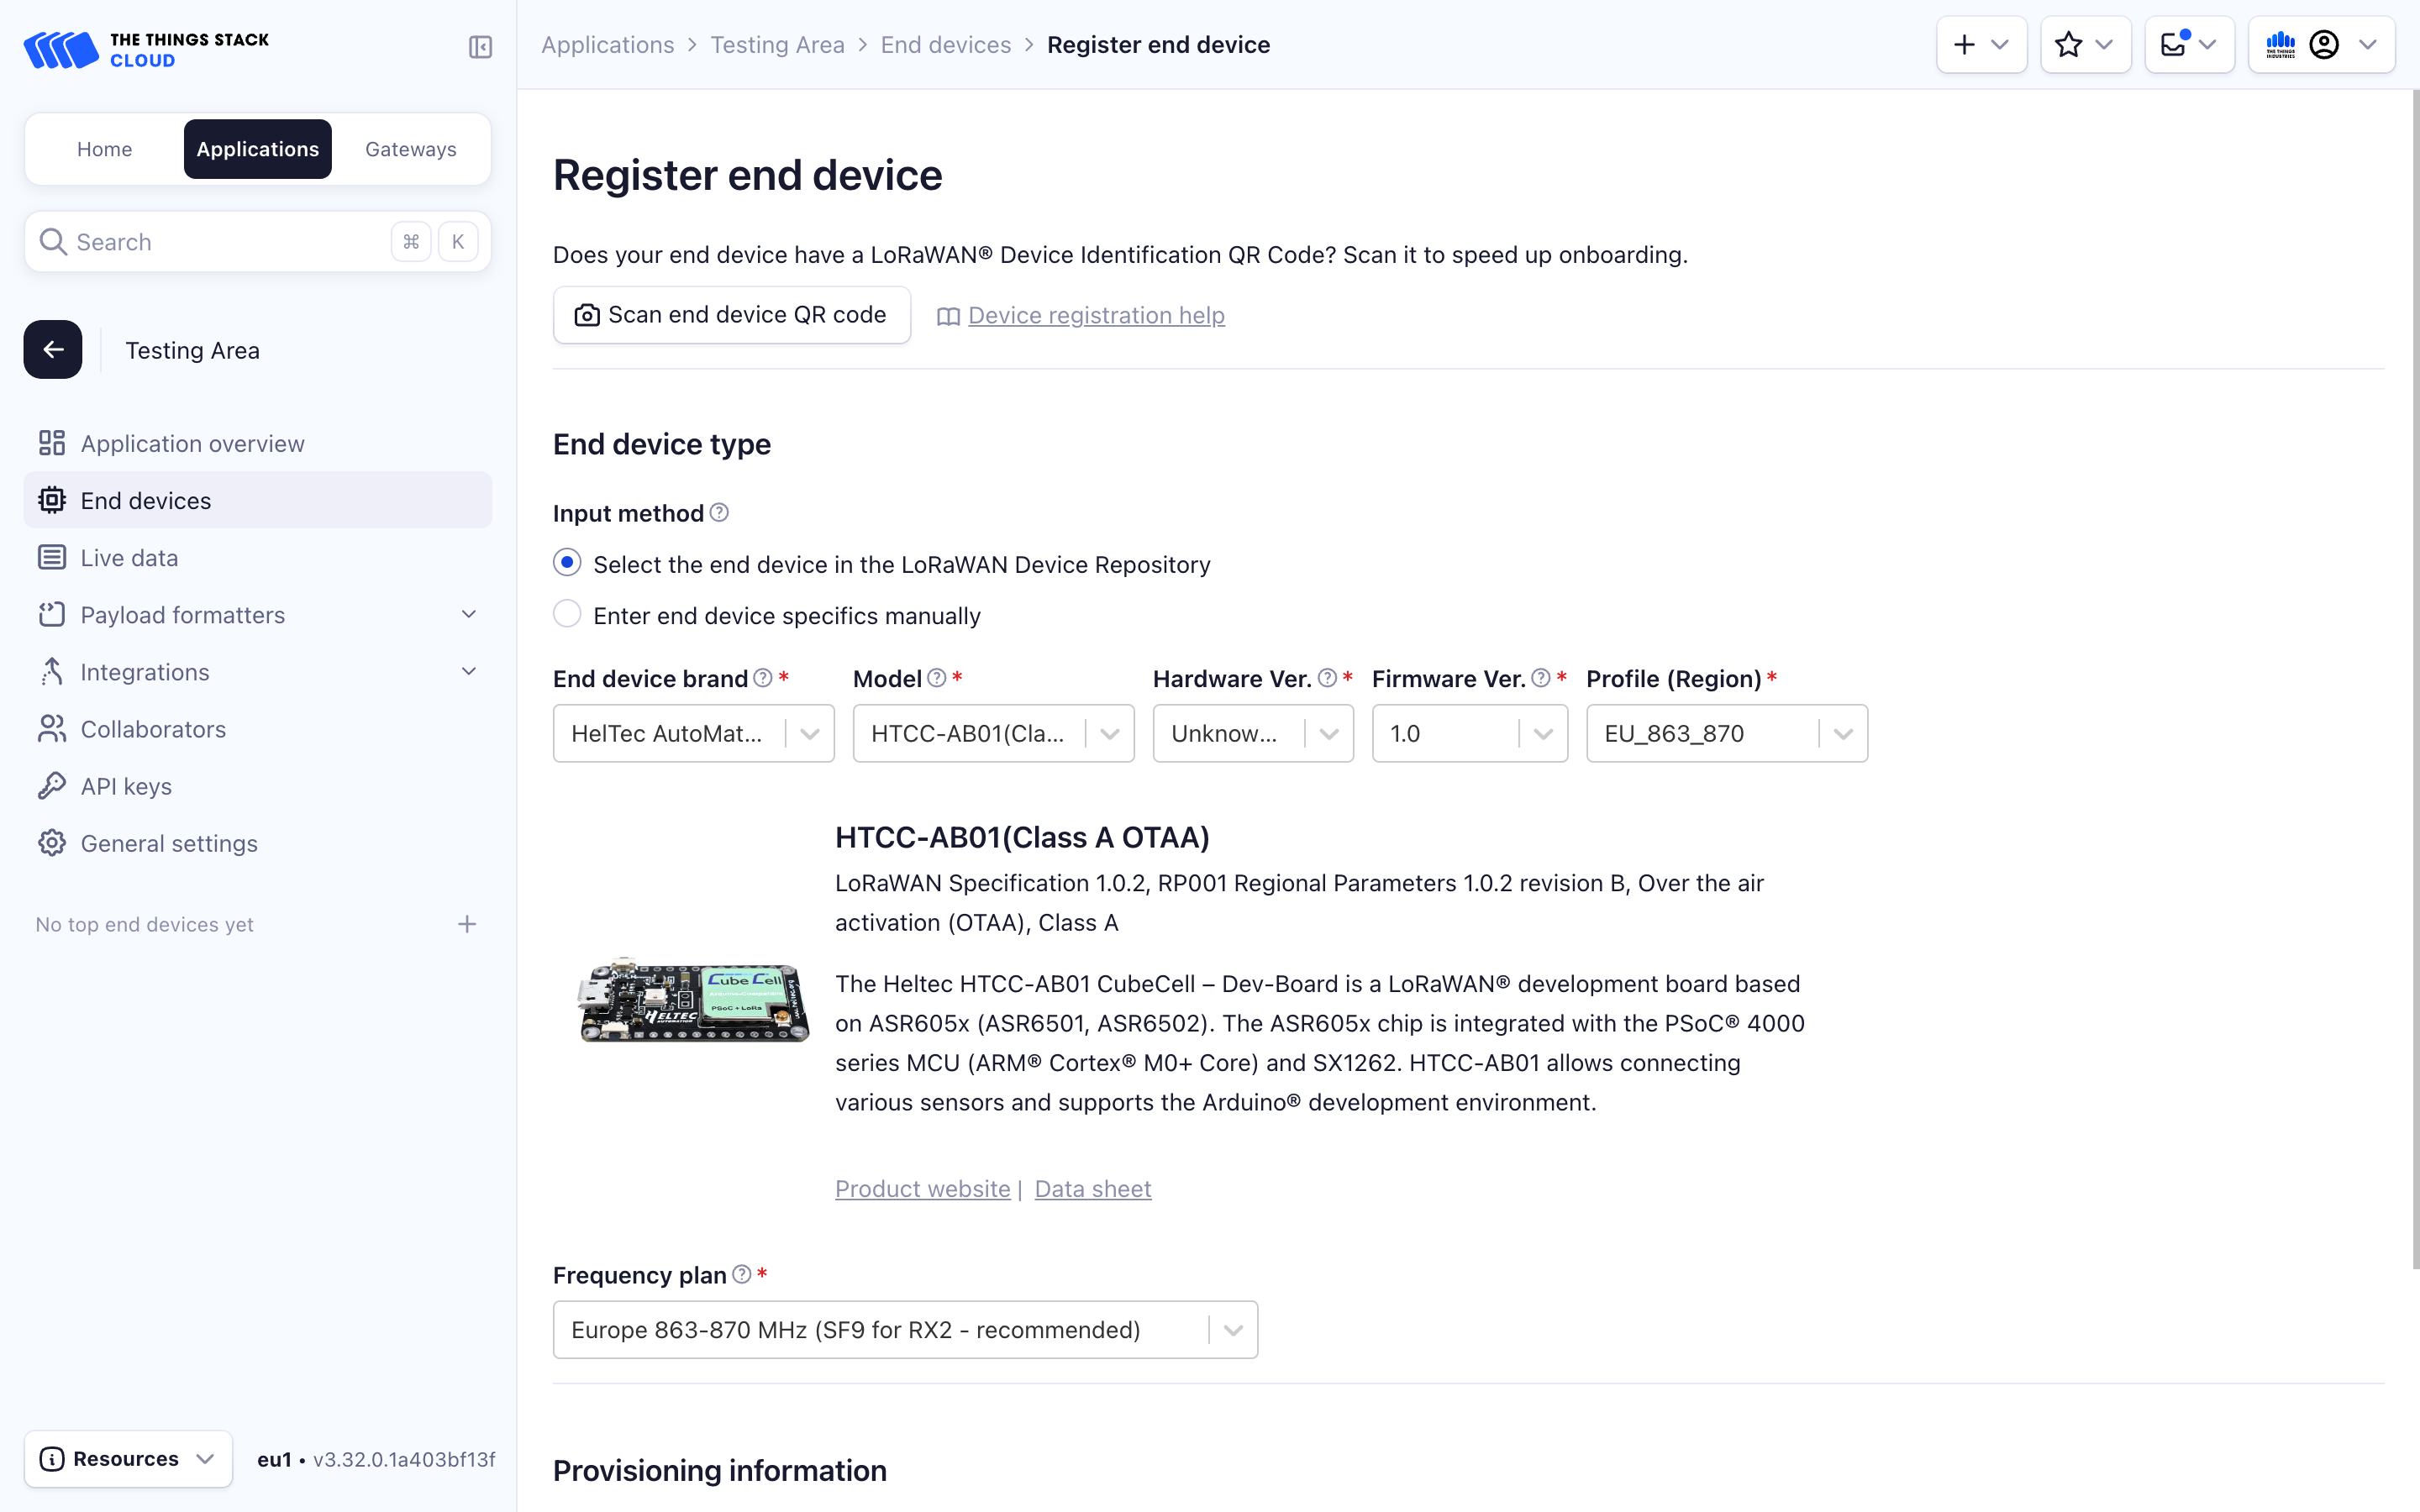
For the Provisioning information, enter the following details:
- JoinEUI:
0000000000000000 - DevEUI: The DevEui that was previously copied from Arduino IDE Serial Monitor.
- AppKey: Generate by clicking the Generate button.
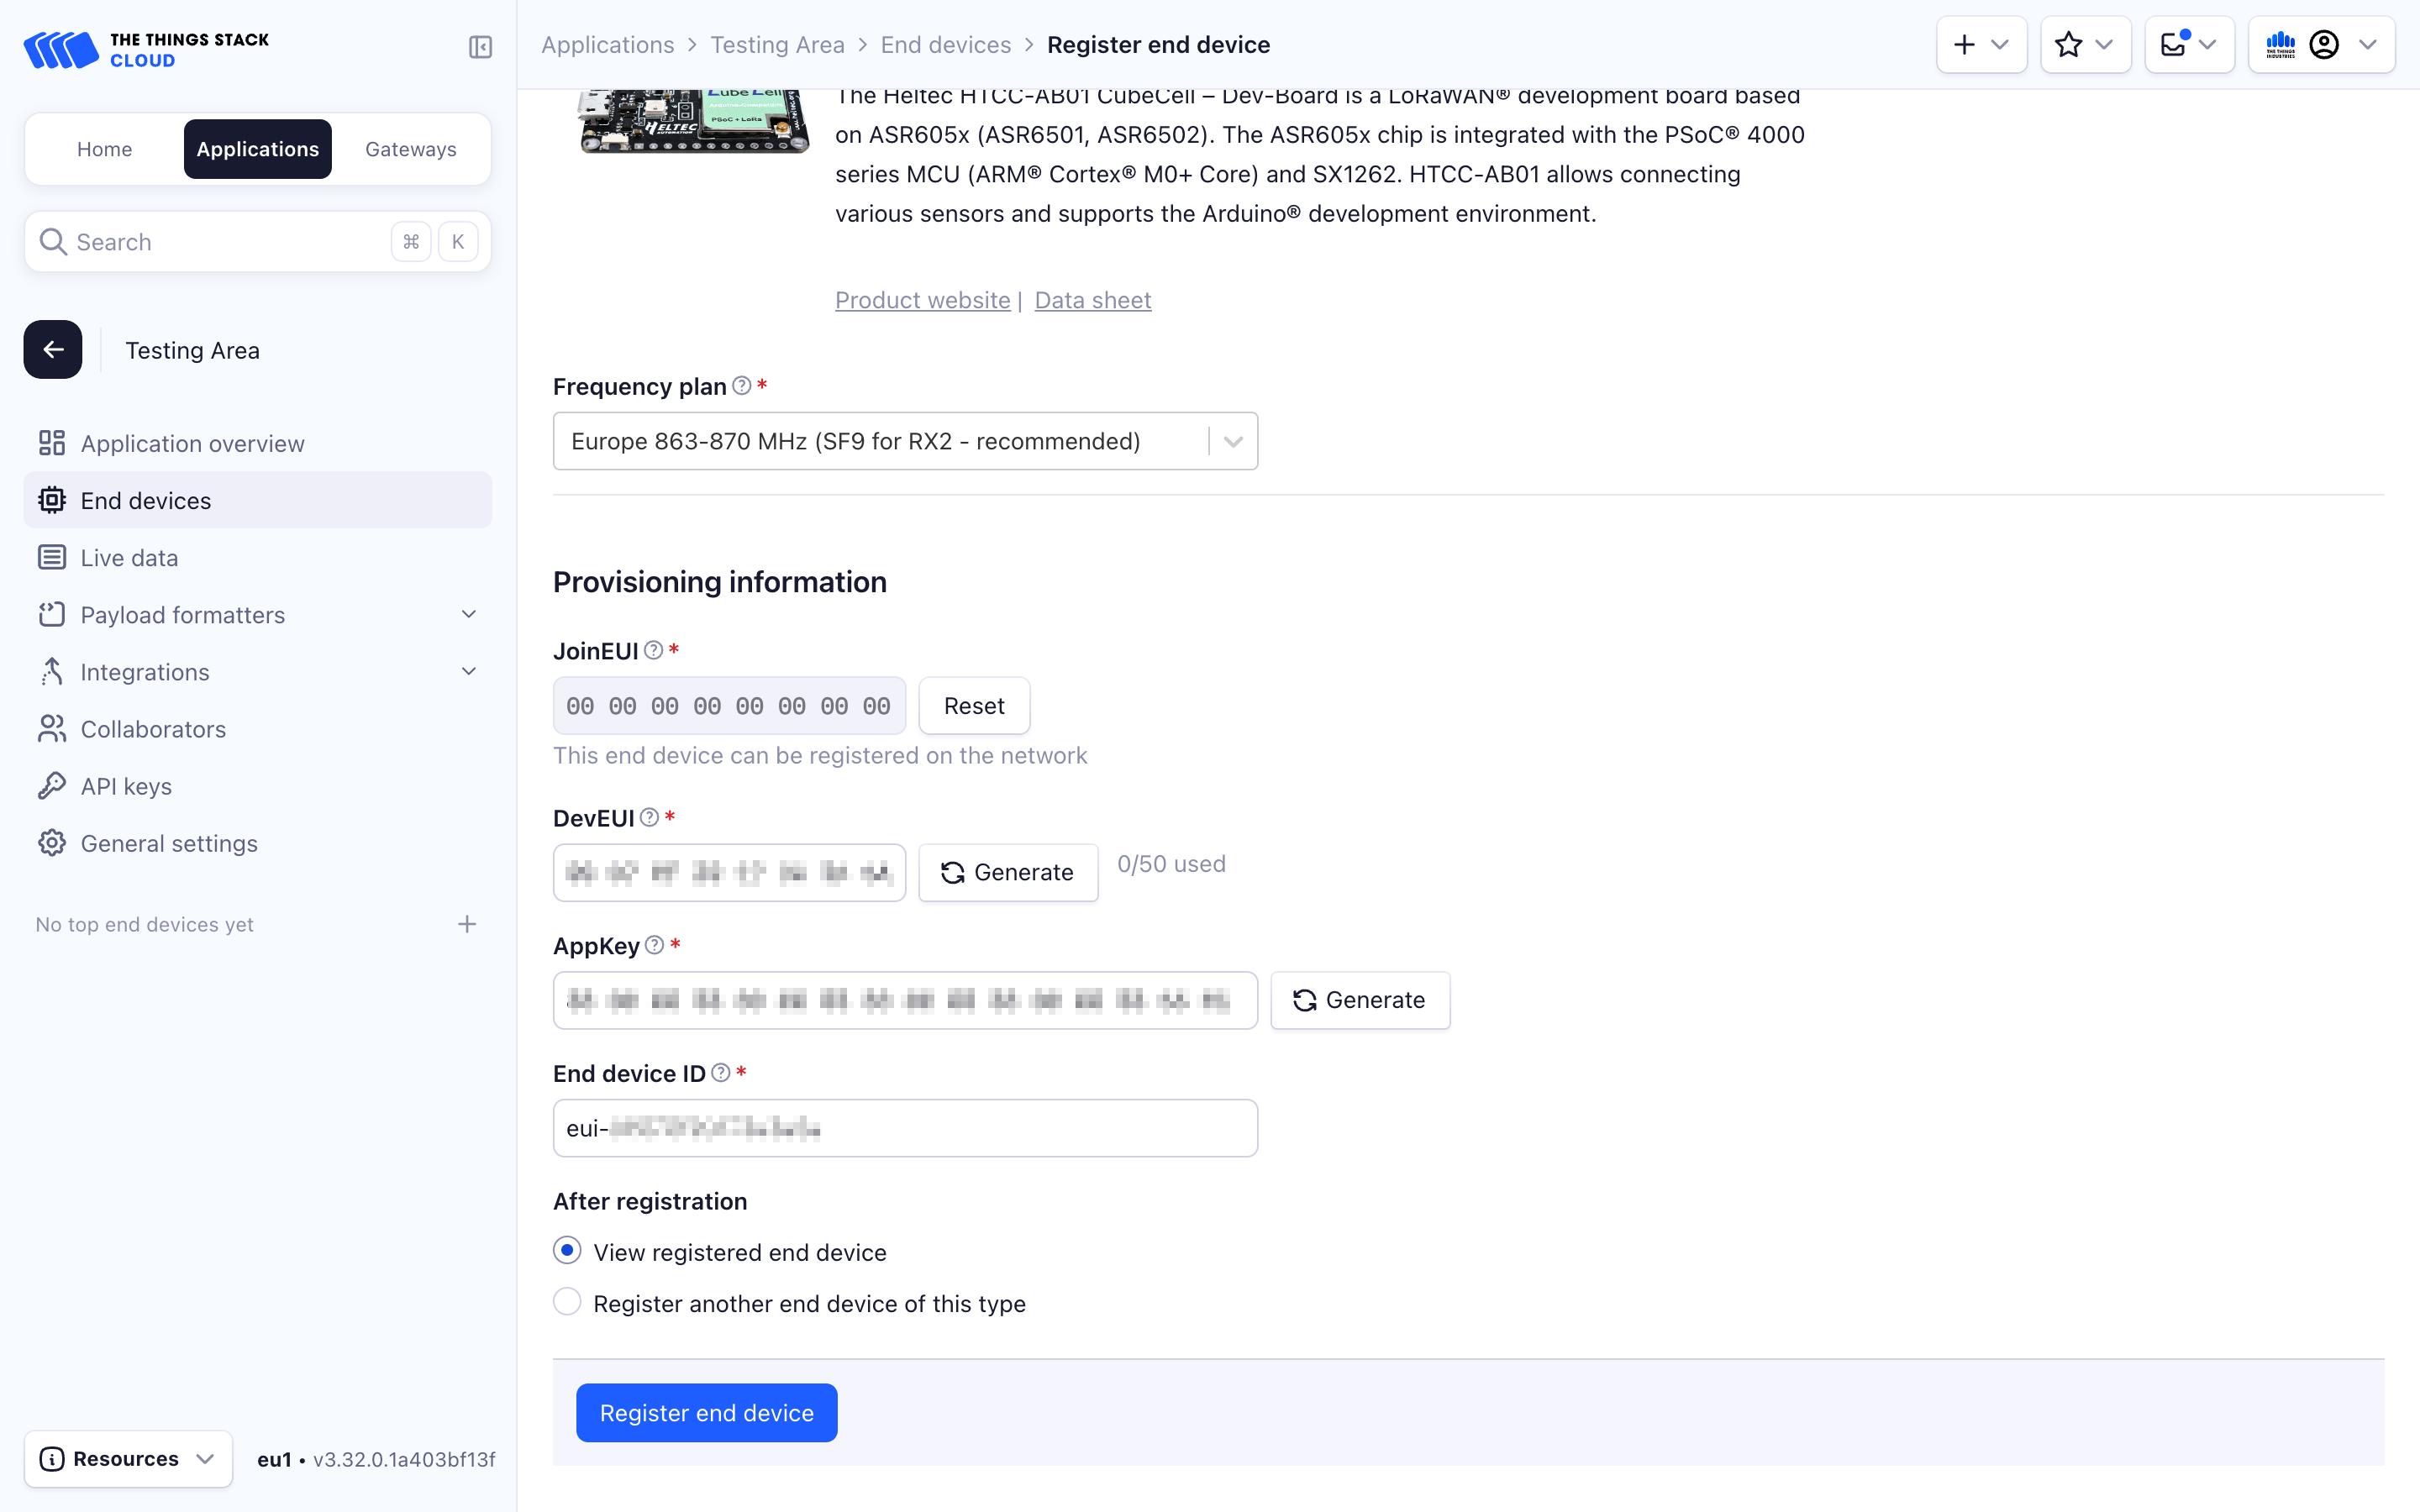
After configuring your device, select the Register end device button.
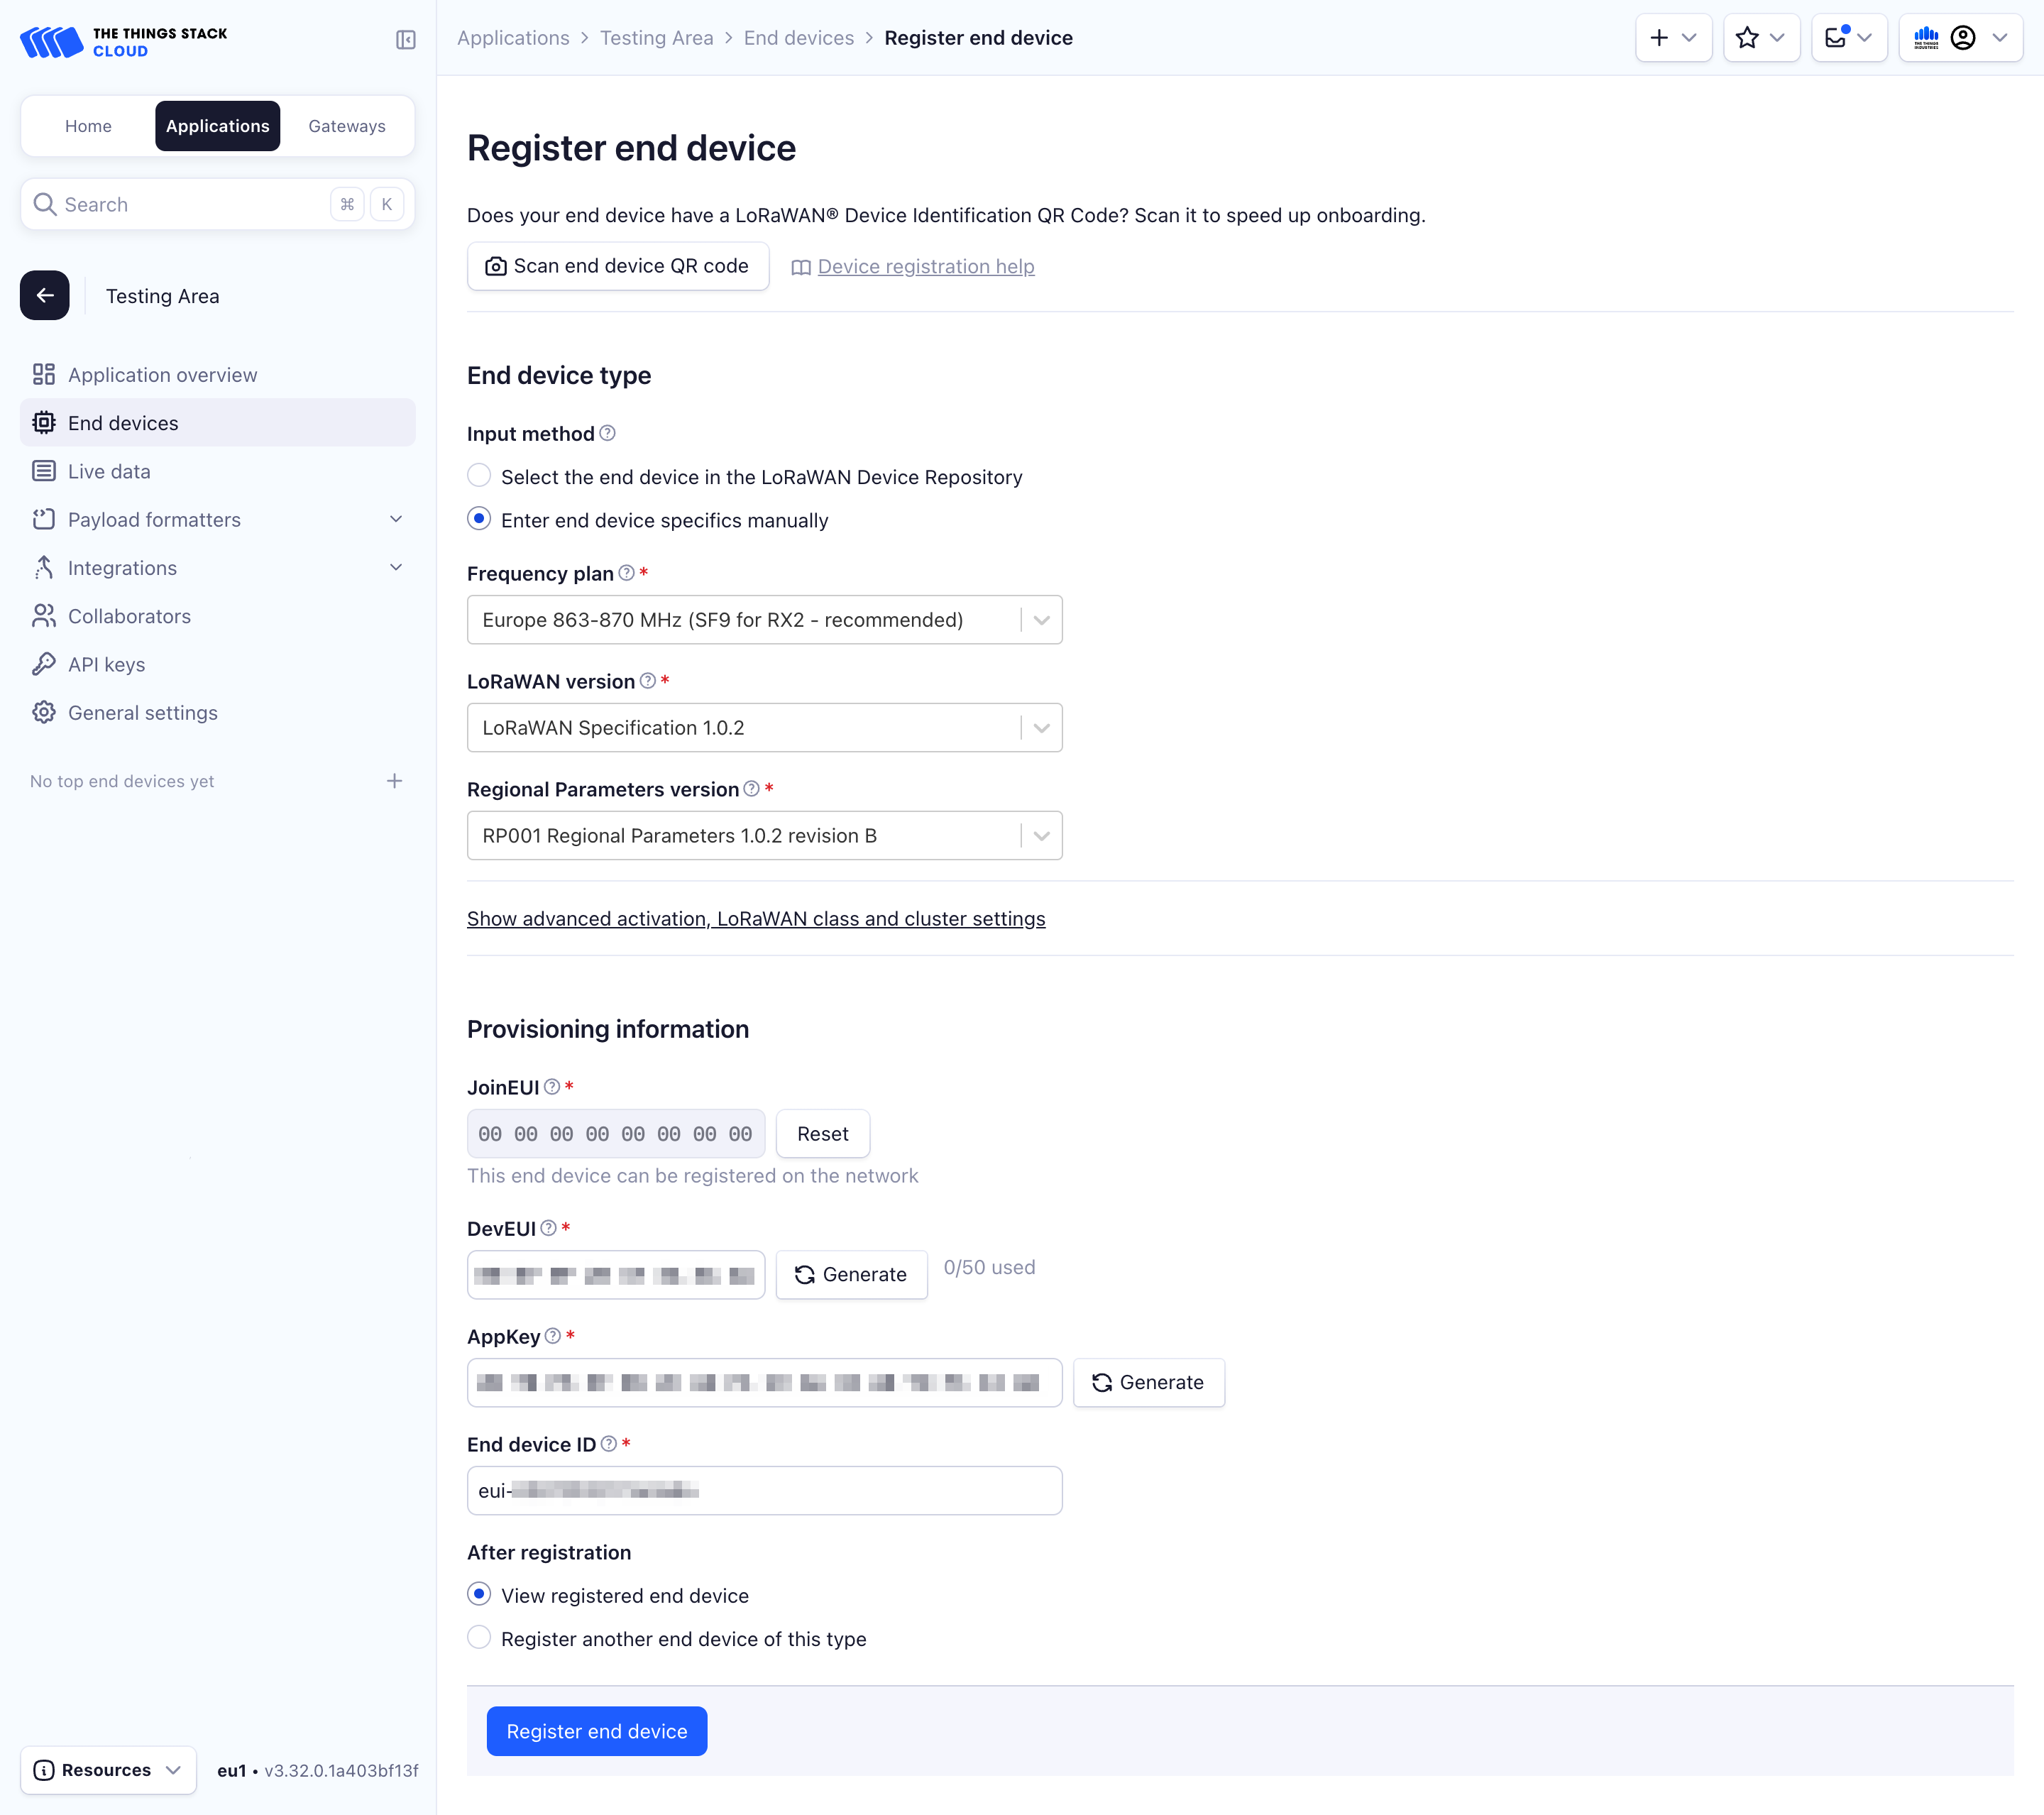
If you prefer onboarding manually, in the End device type section, under Input Method, select the Enter end device specifics manually option. The Manually adding devices and Over the Air Activation (OTAA) guides explain this procedure in detail. Following details are specific to the AB01:
- LoRaWAN version: LoRaWAN Specification 1.0.2
- Regional parameters version: RP001 Regional Parameters 1.0.2 revision B
After configuring your device, select the Register end device button.
Configuring the Device
The device is now registered with The Things Stack, but it still needs lacks the AppKey info in order to connect.
Go back to your code, and at the top you should see these lines:
/* OTAA para*/
uint8_t devEui[] = { 0x22, 0x32, 0x33, 0x00, 0x00, 0x88, 0x88, 0x02 };
uint8_t appEui[] = { 0x00, 0x00, 0x00, 0x00, 0x00, 0x00, 0x00, 0x00 };
uint8_t appKey[] = { 0x88, 0x88, 0x88, 0x88, 0x88, 0x88, 0x88, 0x88, 0x88, 0x88, 0x88, 0x88, 0x88, 0x88, 0x66, 0x01 };
In The Things Stack, under Activation Information, click the eye icon next to AppKey and then selecting the </> icon. Then copy the AppKey by clicking the Copy to clipboard button.
Replace the AppKey string between the brackets in your code with the AppKey copied from The Things Stack.
Now upload the code again to your device.
Monitoring Live Data
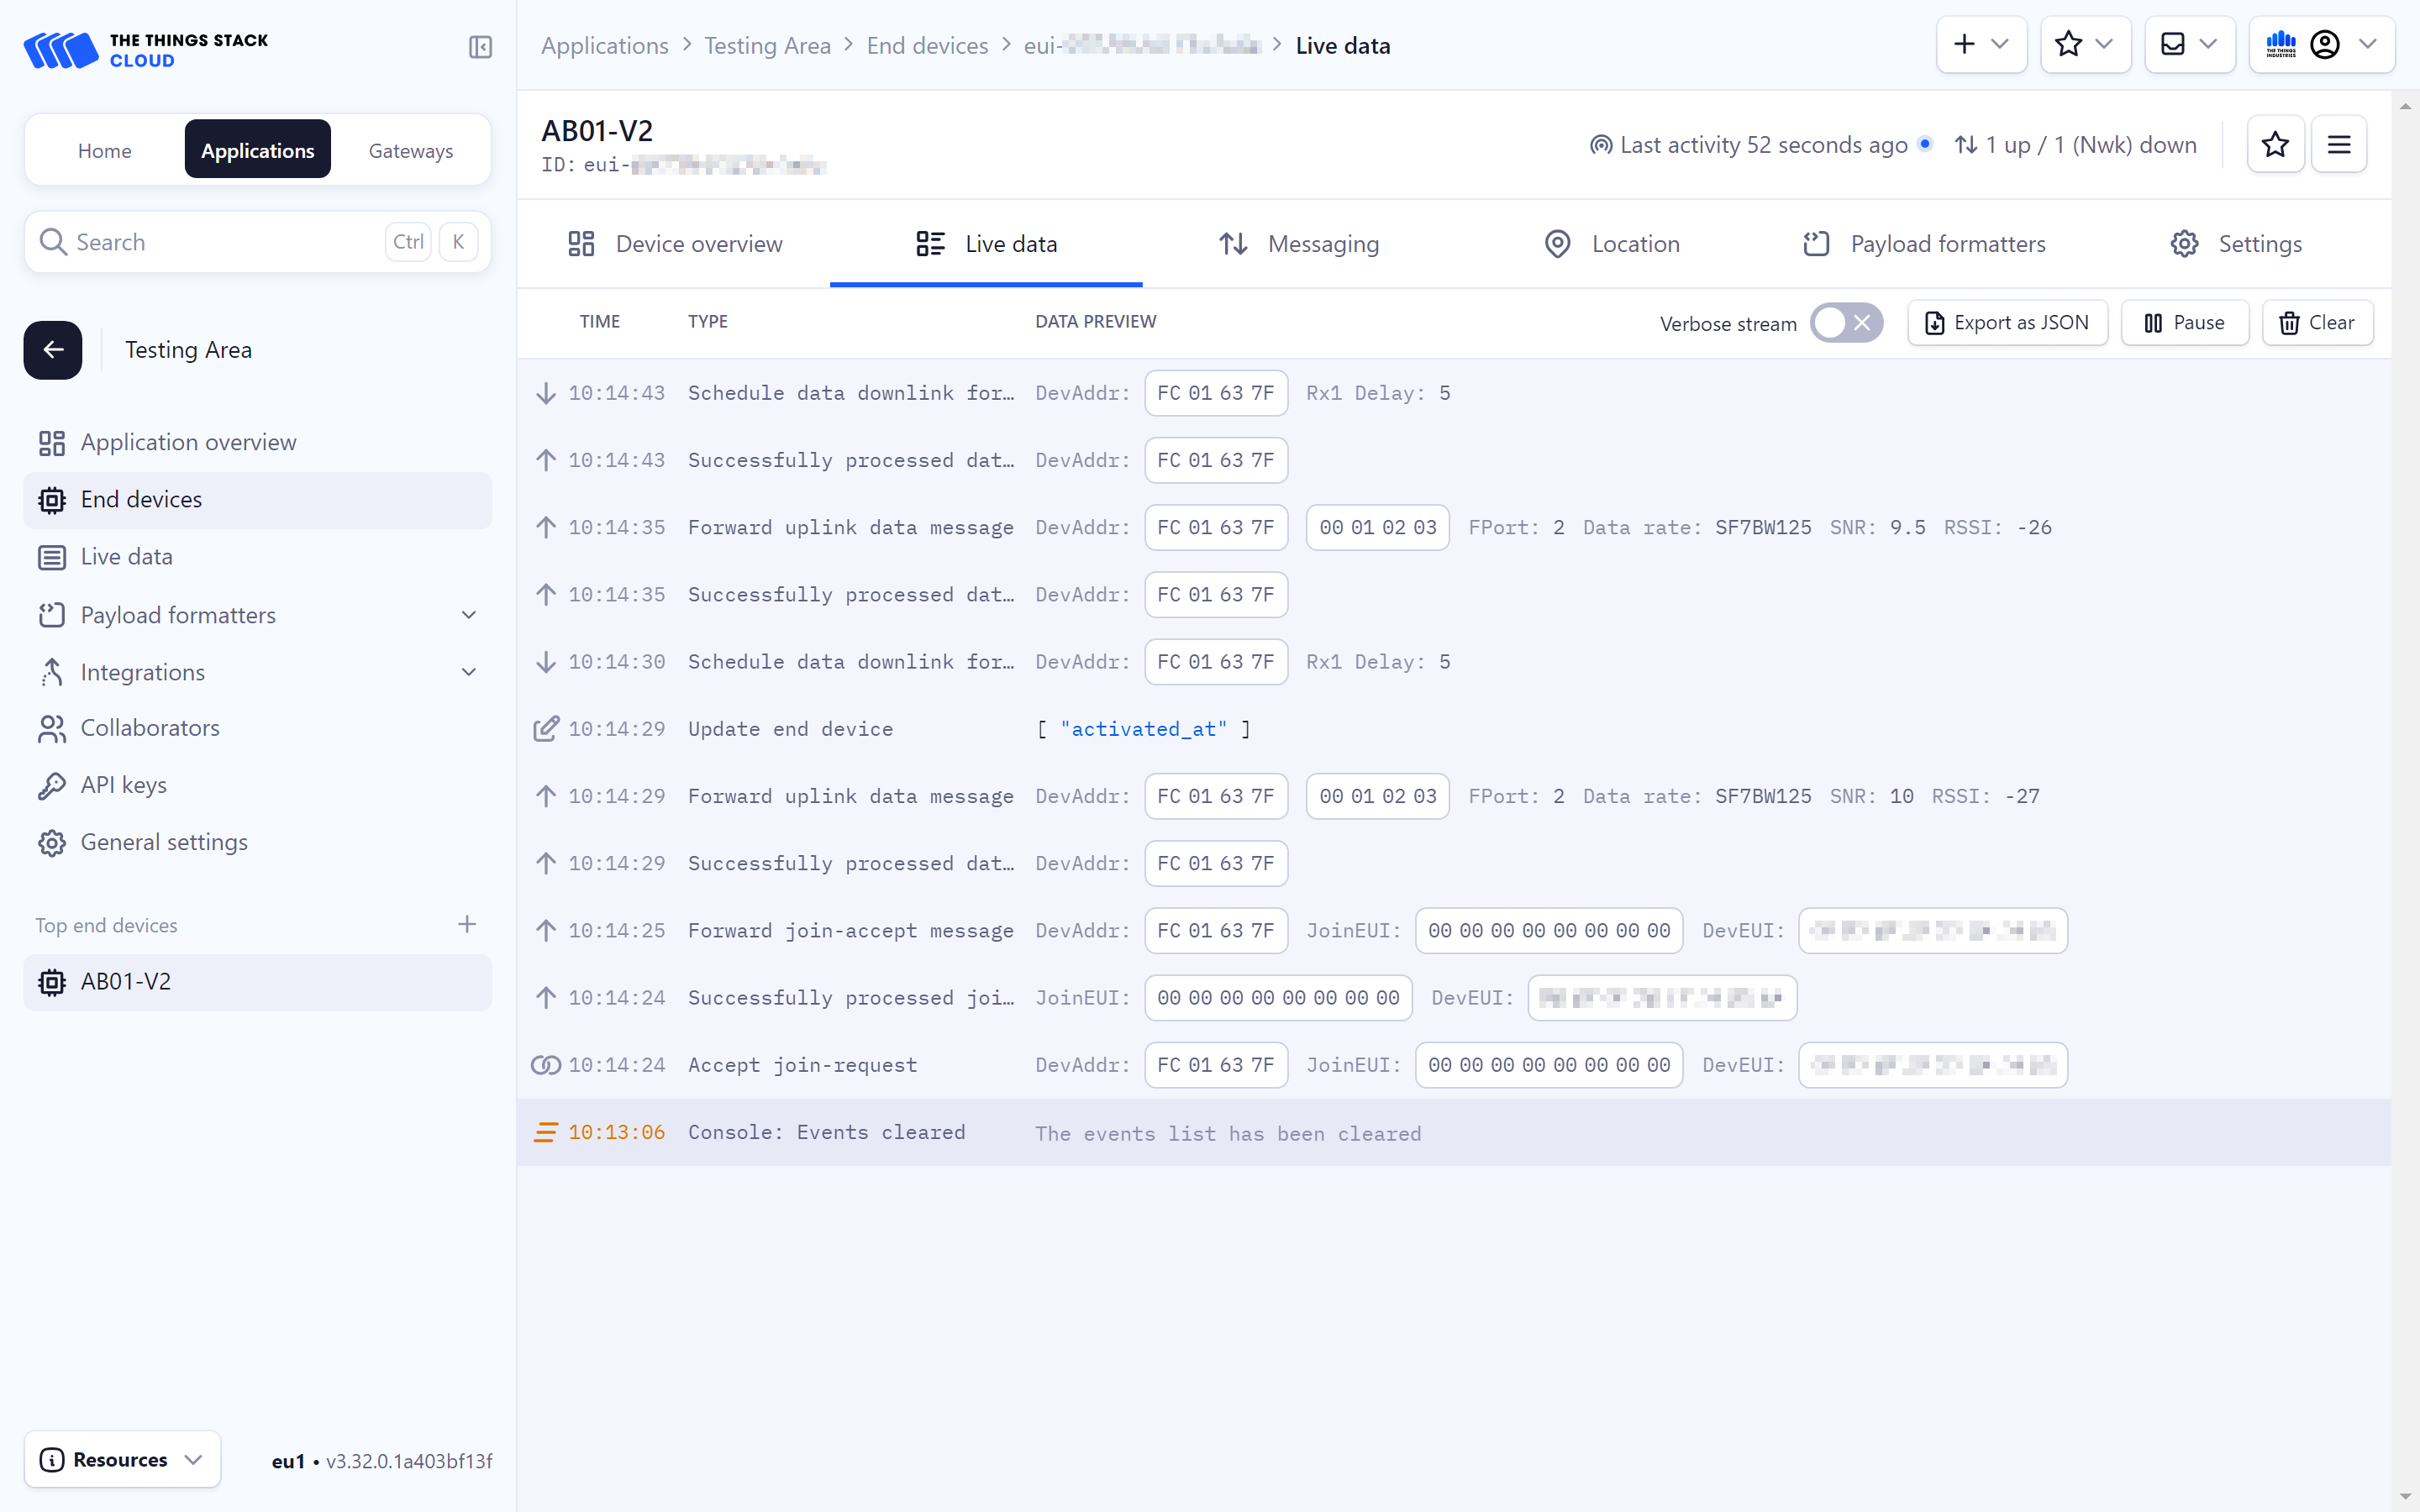
When your device is registered, select the Live Data tab to view all messages exchanged between the end device and The Things Stack.