Datacake is a multi-purpose IoT platform, which provides the possibility of building custom IoT applications, without requiring programming skills.
Prerequisites
Setup Datacake
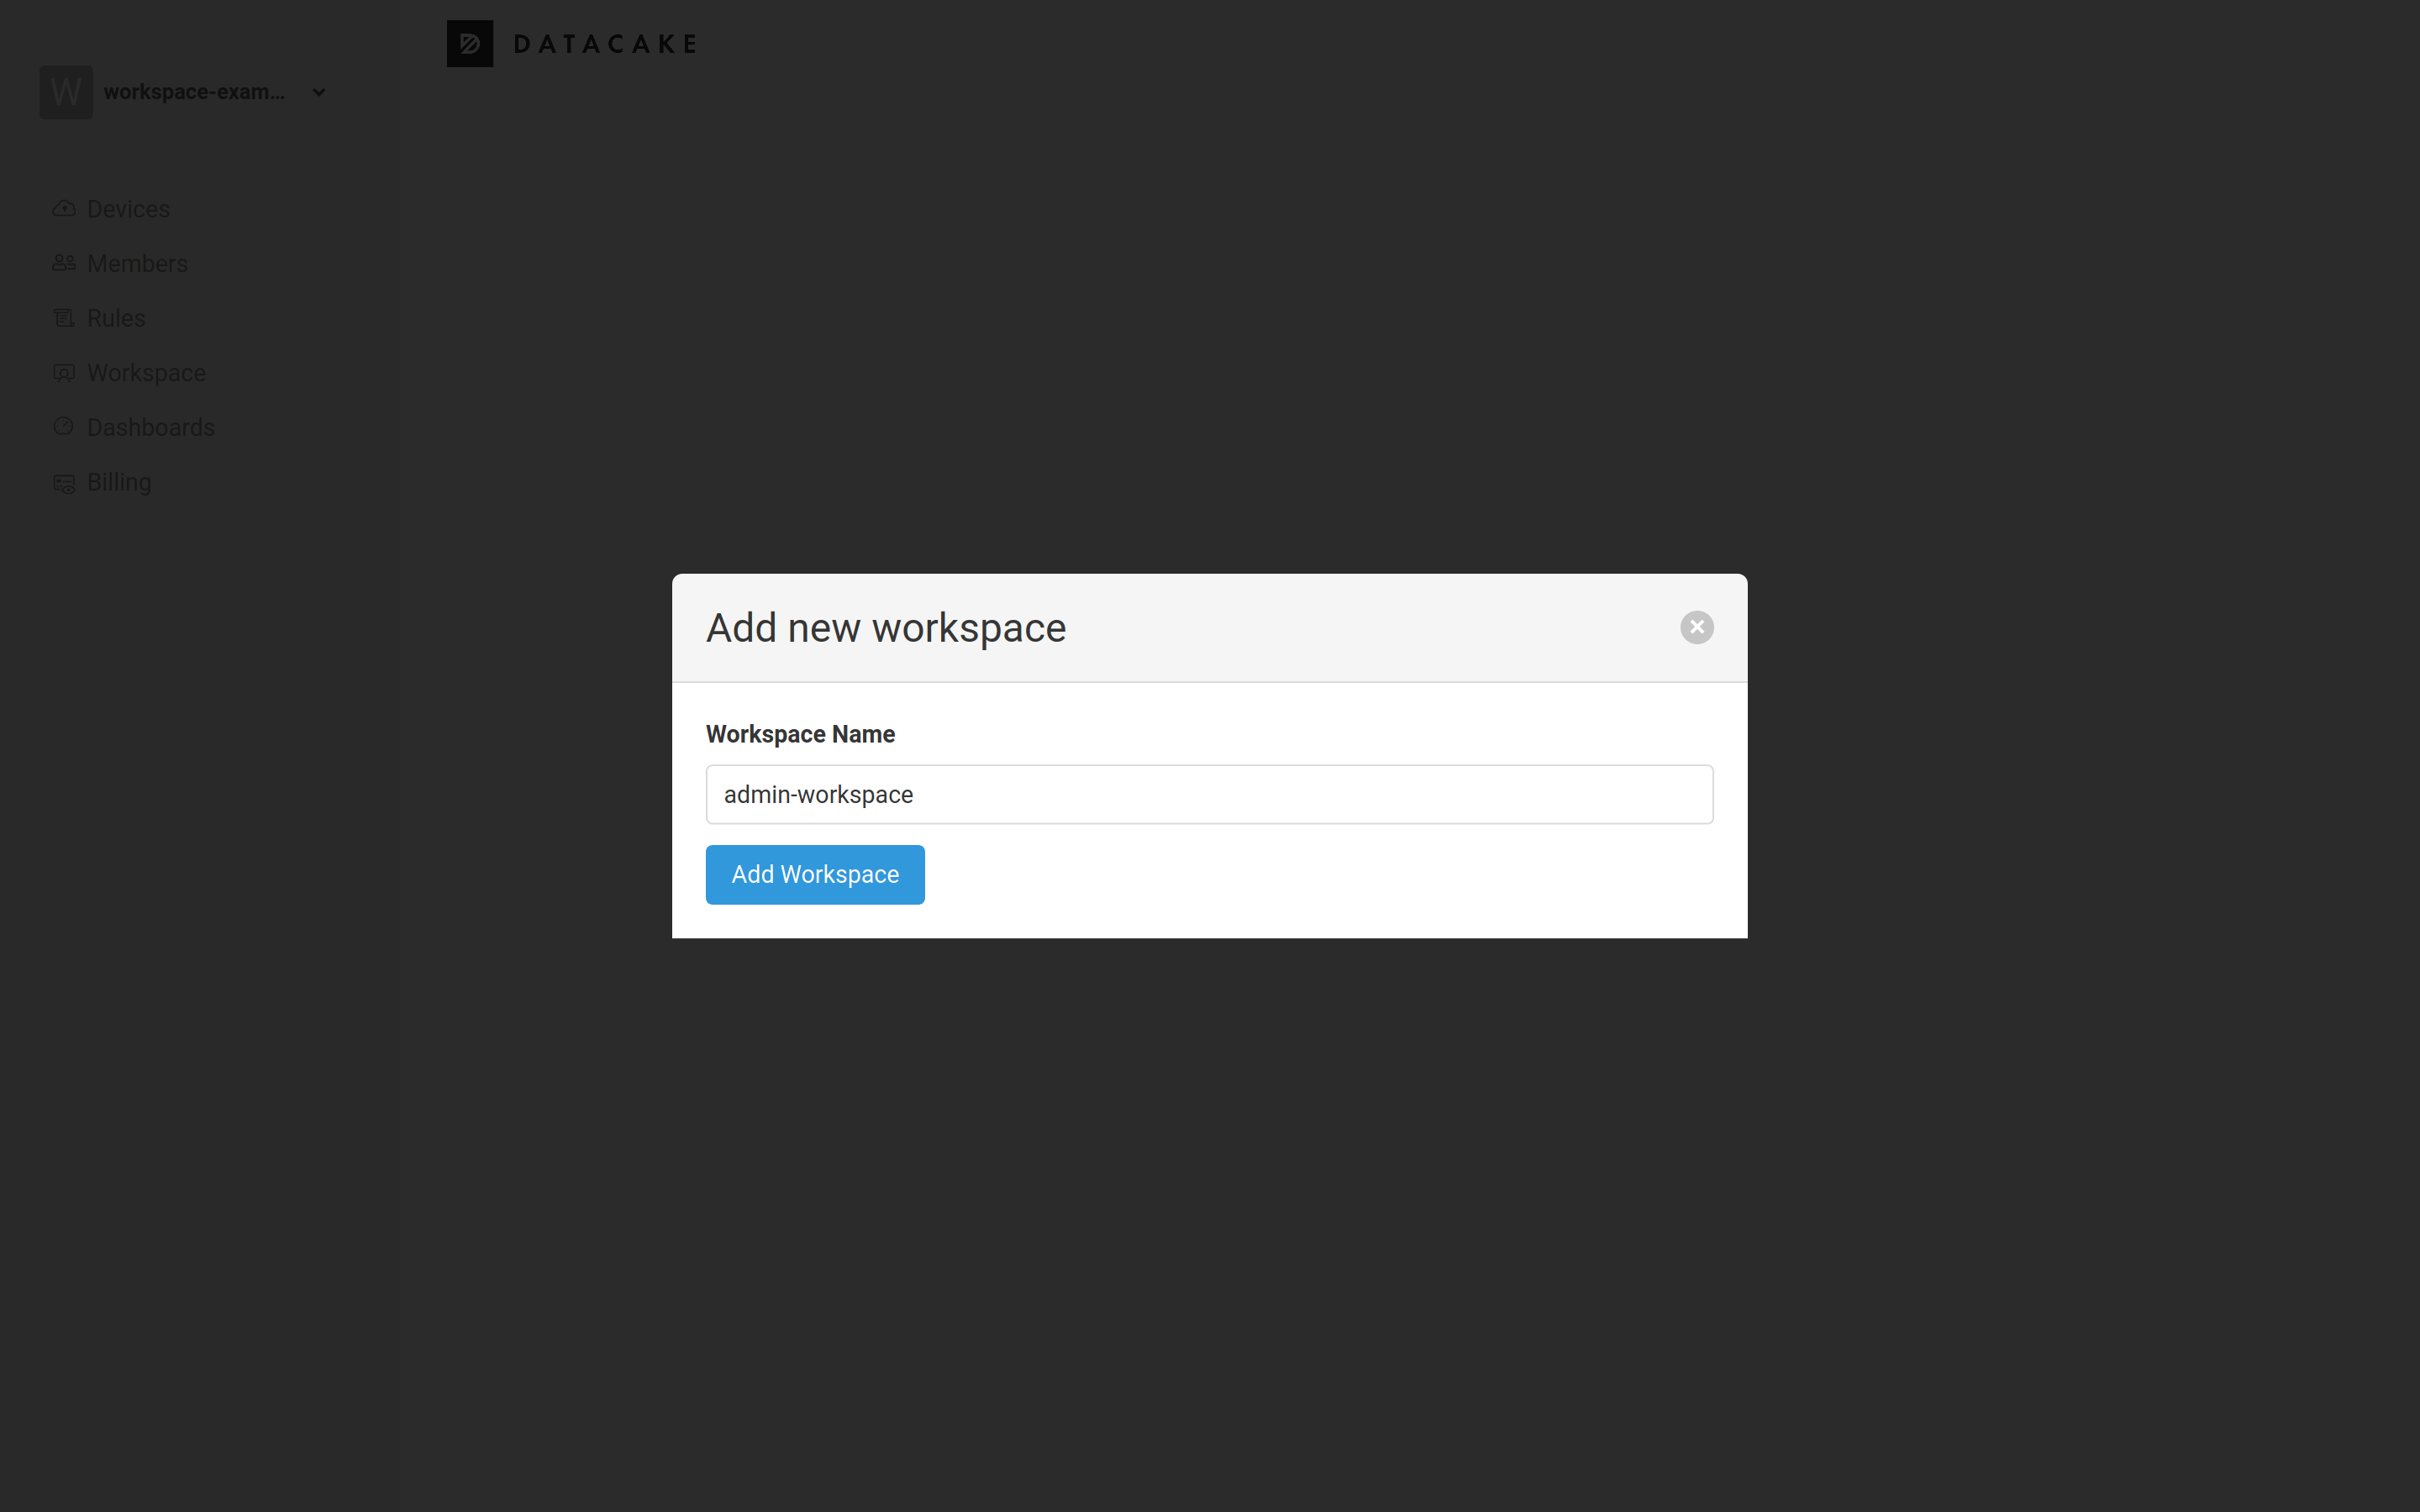
First, create a Workspace on Datacake by navigating to the Create Workspace button in the upper left corner.
On the left hand menu, click Devices. To add a new device, click the Add Device button on the right.
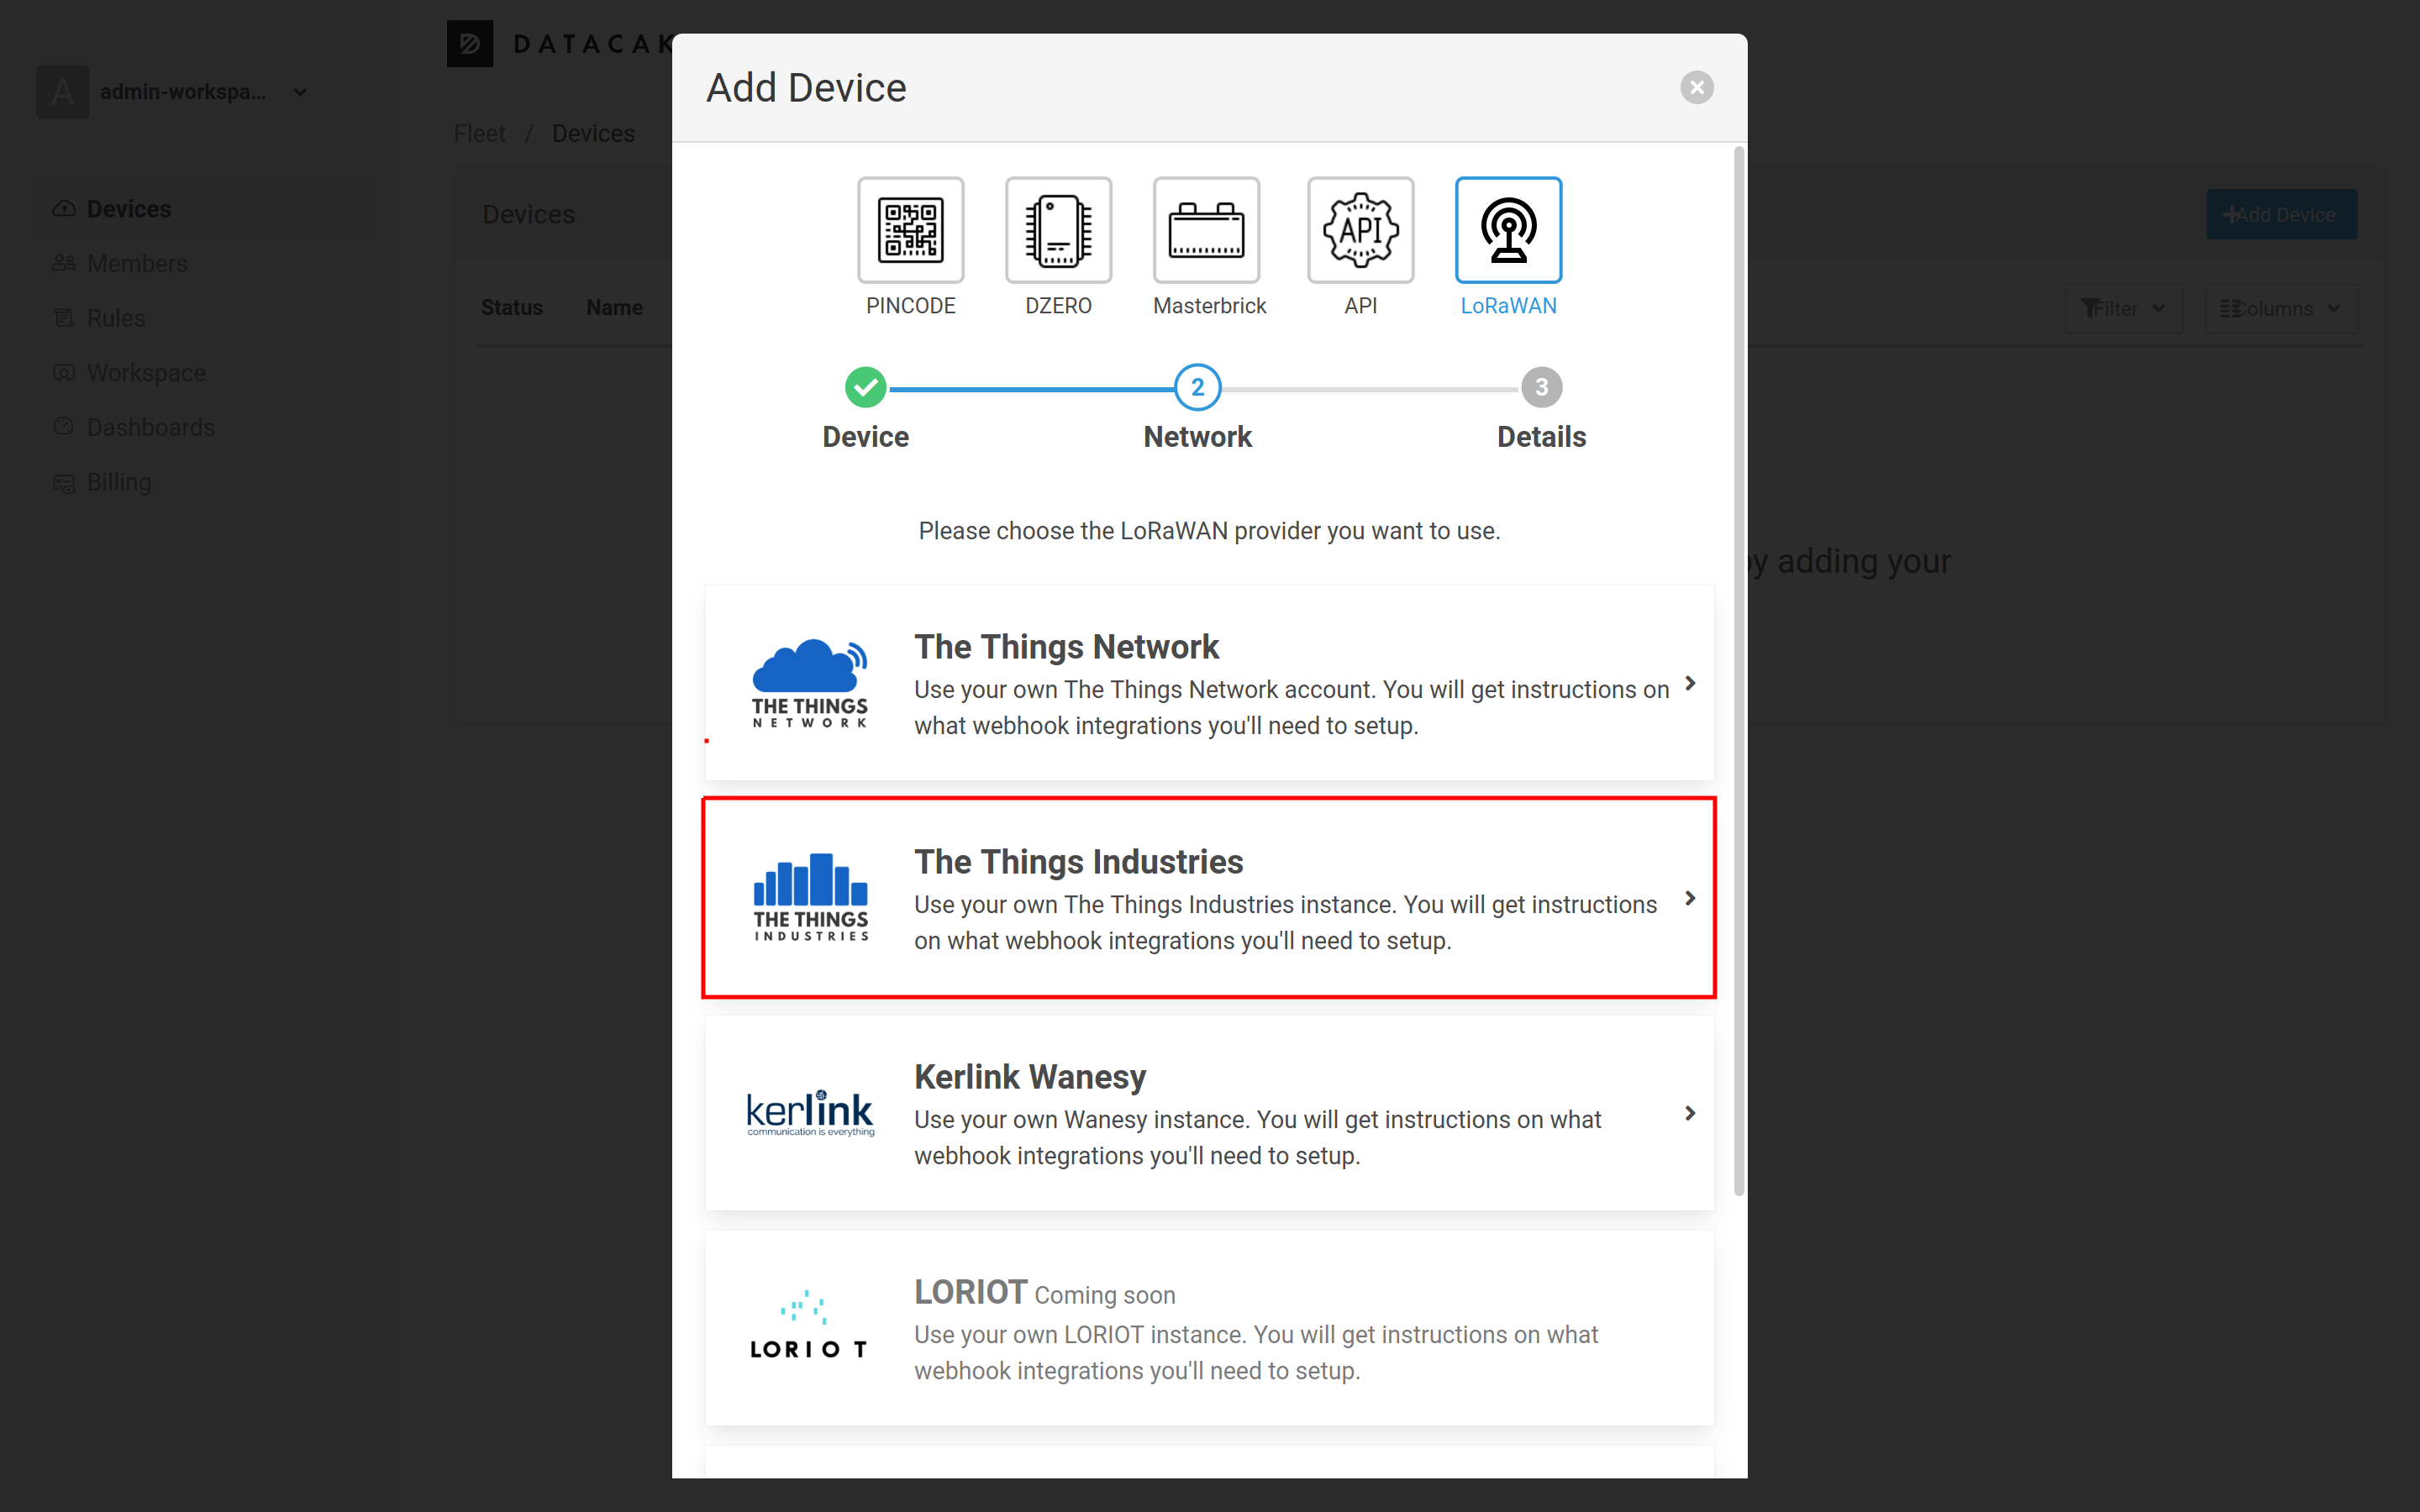
In the Add Device pop-up menu, choose LoRaWAN → Generic LoRa Device. When asked Which device are you missing?, just click Skip and then select The Things Industries adapter.
After selecting your subscription plan, fill in Name and DevEUI for your device, then click on Add Device to finish.
Once the device is created, you can click on it in the Devices menu to enter its settings.
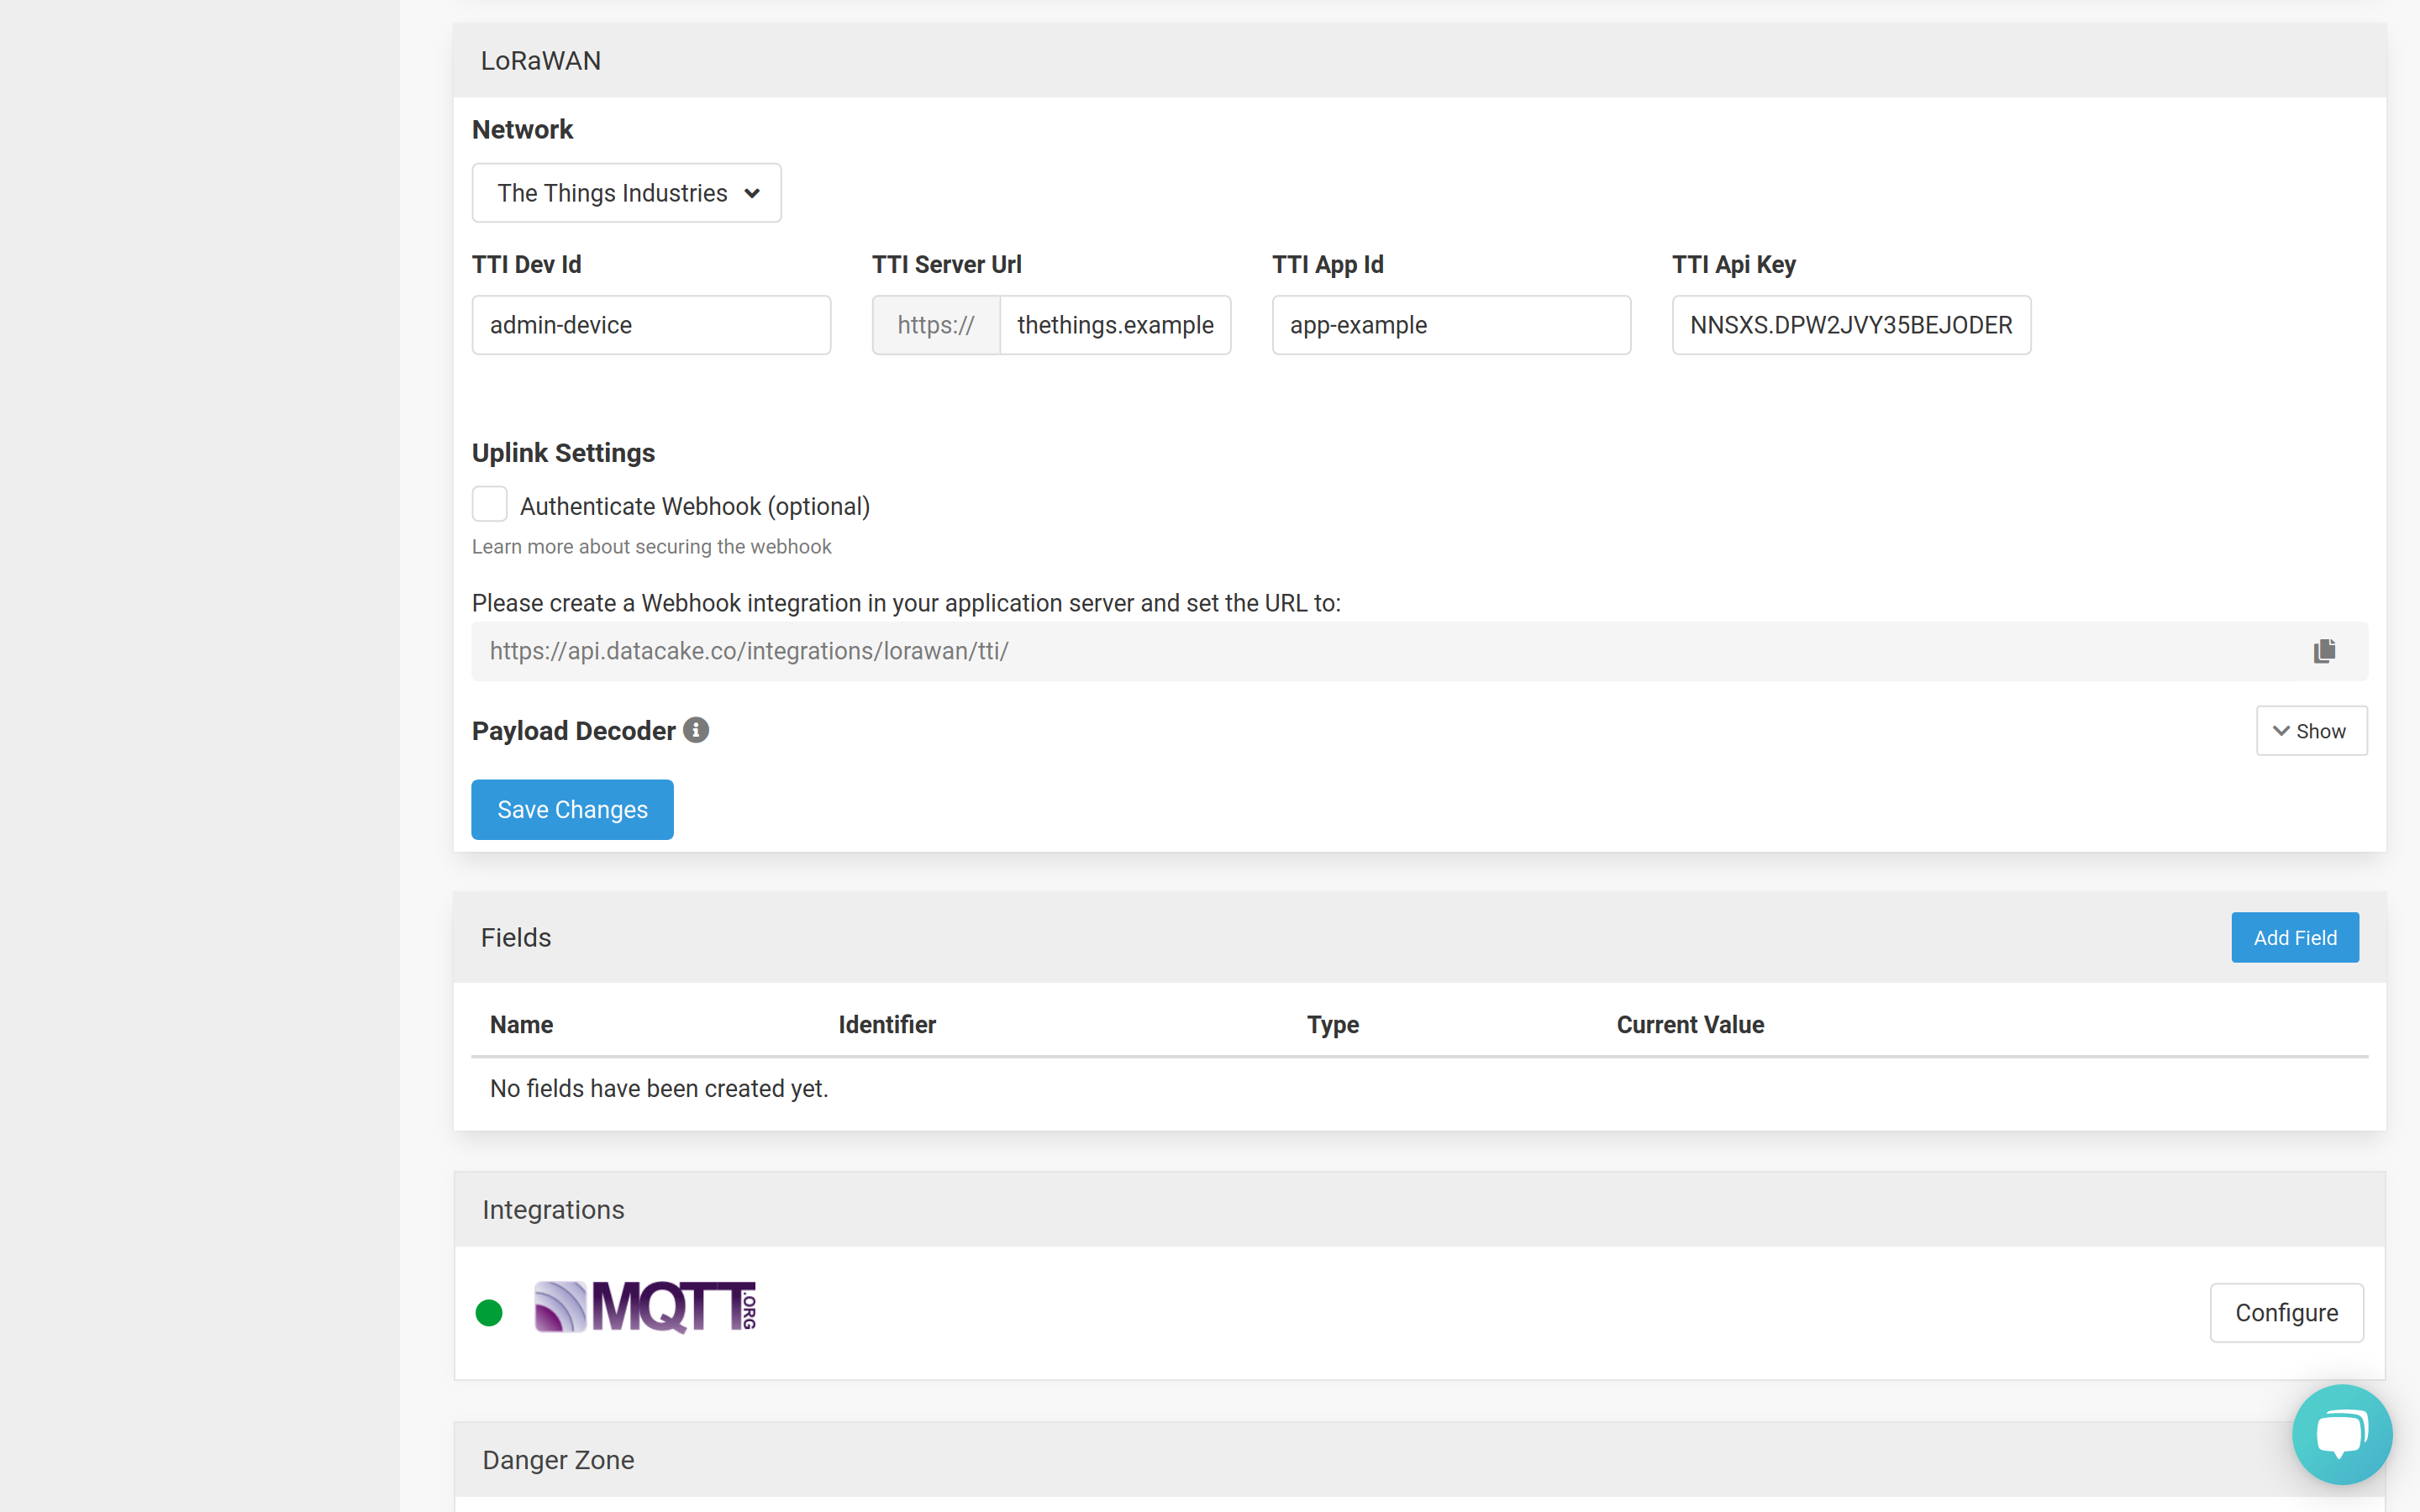
In the Configuration tab, you can find the LoRaWAN section, where you can configure Network settings, choose to Authenticate Webhook or define Payload Decoder.
Under Network, choose The Things Industries from the drop-down menu.
Paste your device’s End device ID from The Things Stack in the TTI Dev Id field.
The TTI Server Url field should contain the URL of your The Things Stack deployment. See the Server Addresses section for more info.
Paste your Application ID from The Things Stack in the TTI App Id field.
In The Things Stack, navigate to API keys on the left hand menu, click the Add API key button, give it a Name and confirm that you have copied it to finish. Paste the copied API key into the TTI Api Key field on Datacake.
Configure The Things Stack
After finishing Datacake setup, use the Datacake Webhook template to create a Webhook integration on The Things Stack.
To integrate, you only need to fill out the Webhook ID field and provide an API token from Datacake for the authorization.
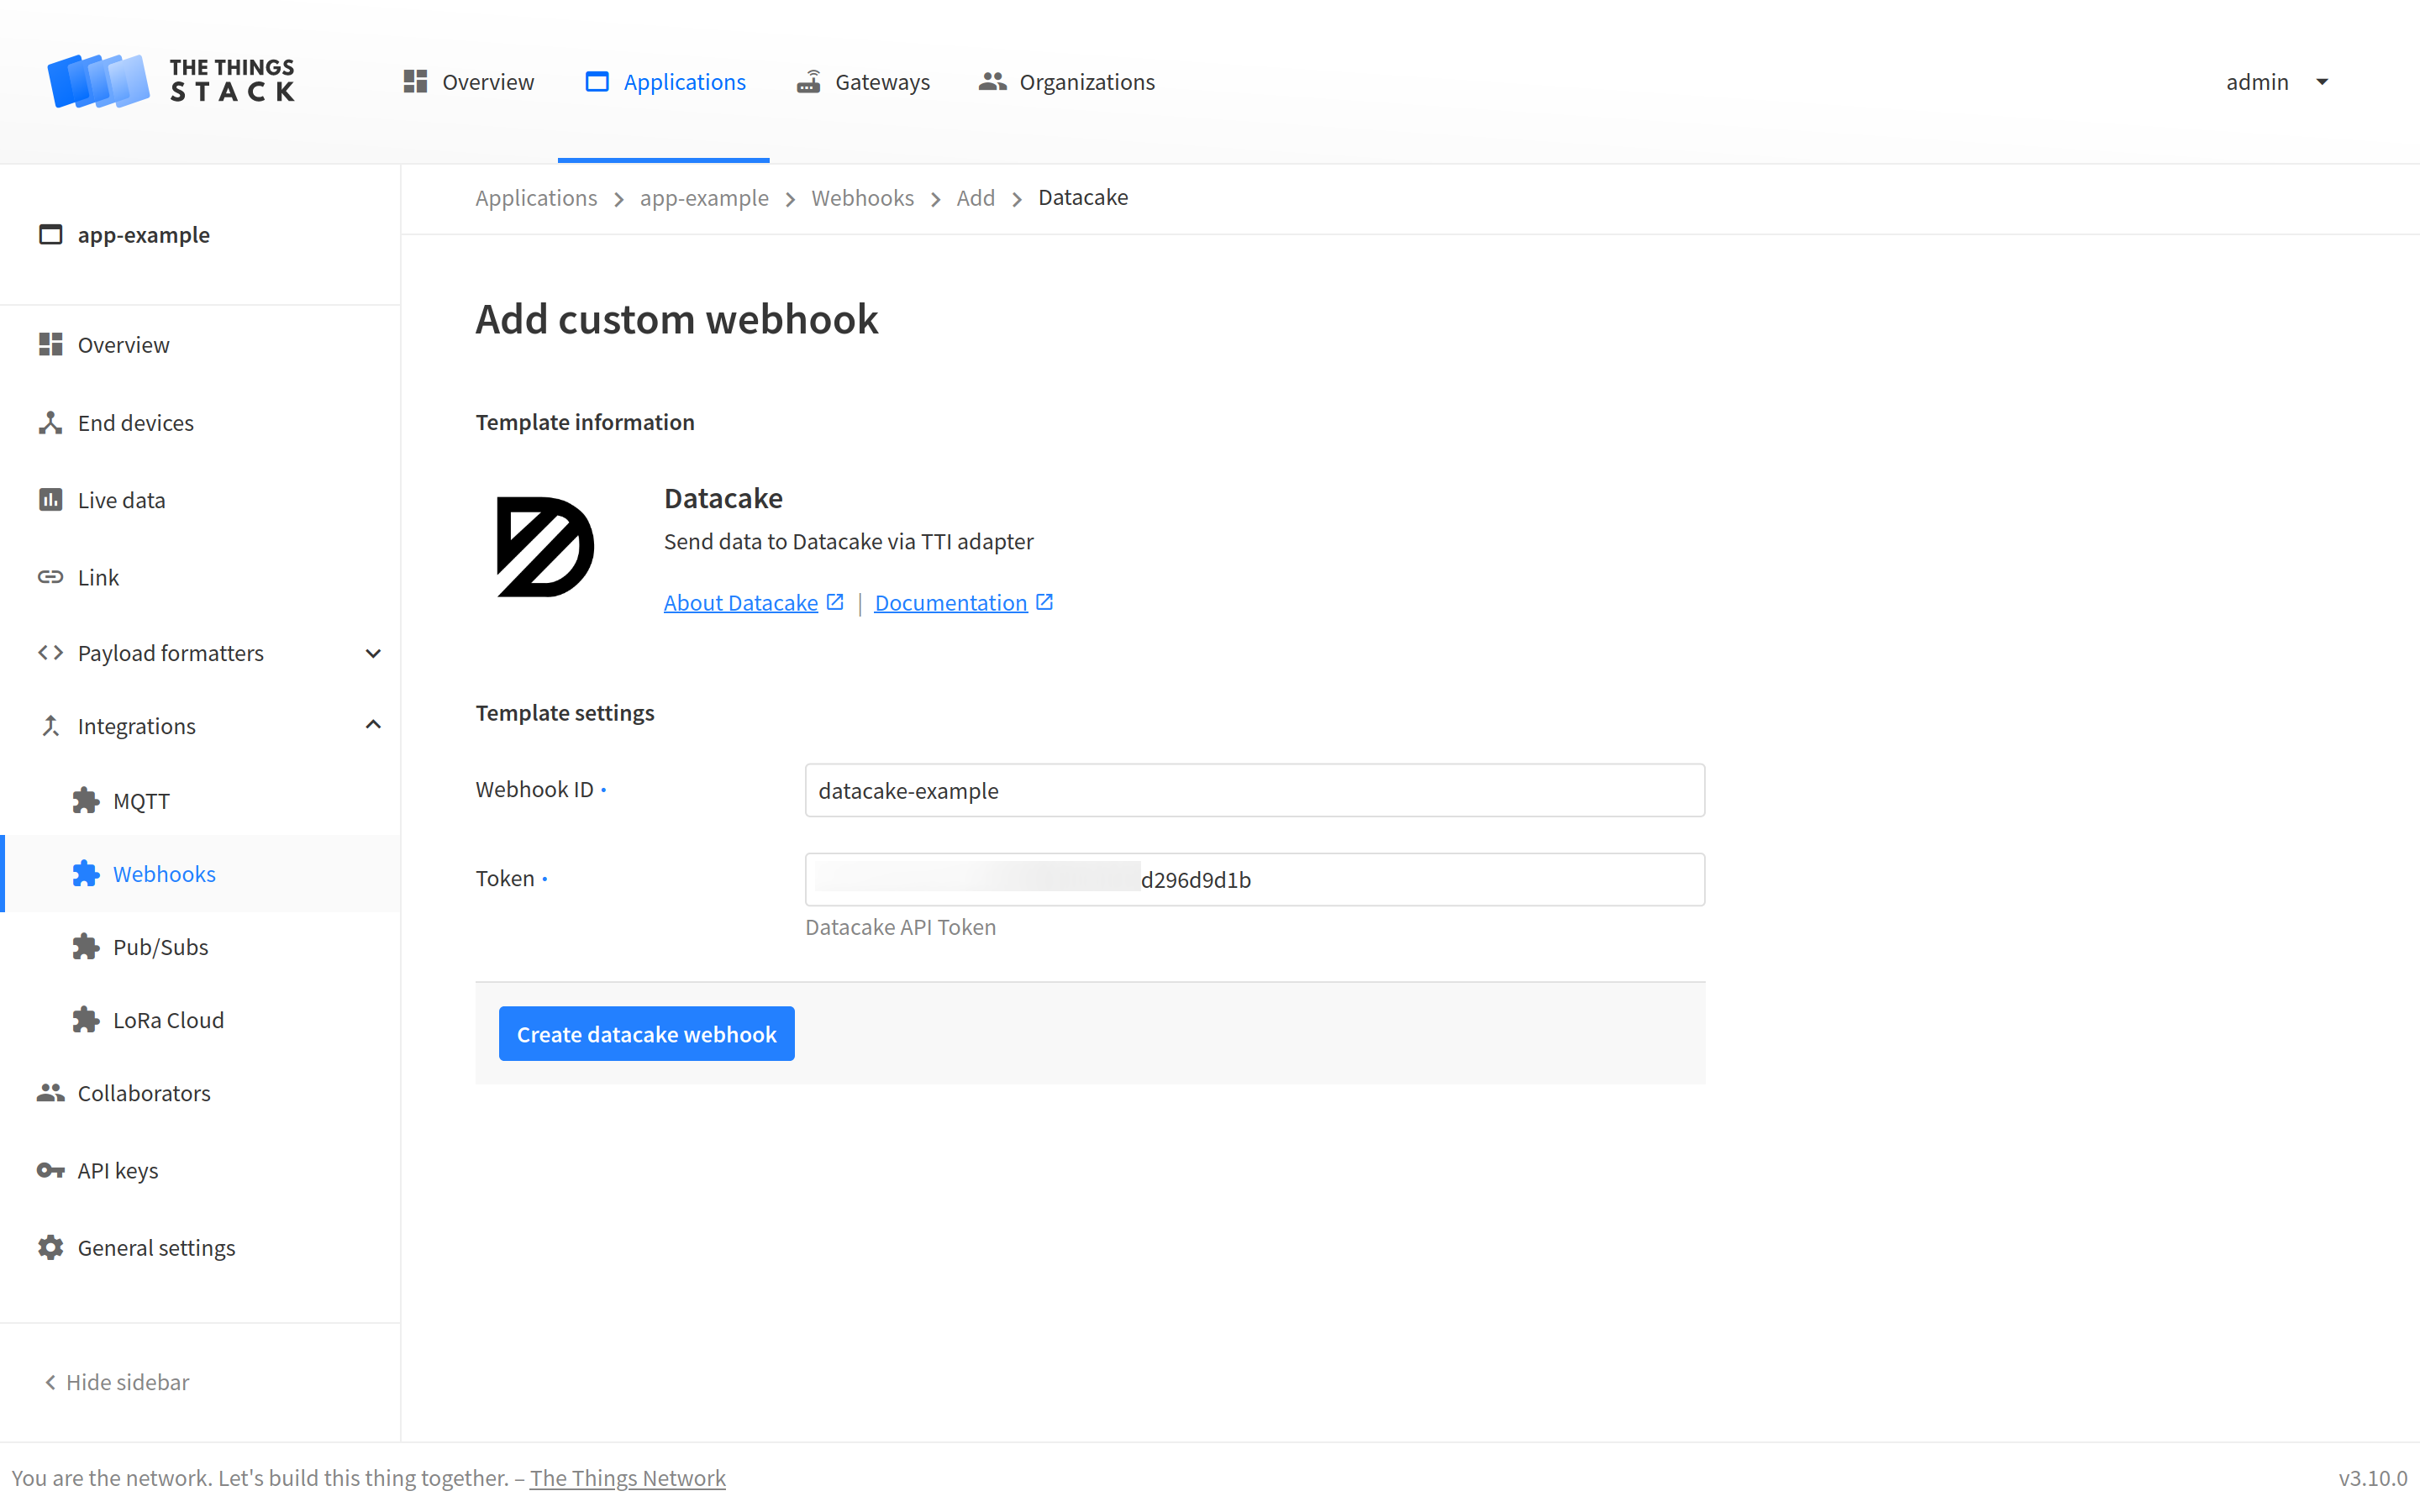
To see the values of all parameters of the Datacake integration, click on the integration after you created it with the Webhook template.
Once the setup is finished, you can navigate to device’s Debug tab on Datacake, where you can see the incoming messages and manipulate or monitor your data.
Check the official Datacake documentation to learn how to decode the payload received from The Things Stack.
Scheduling Downlinks
In addition to forwarding messages from The Things Stack to Datacake, you can also schedule downlink messages to be sent from Datacake to your end device.
Enter your device’s settings page on Datacake and go to the Downlinks tab.
Click the Add Downlink button.
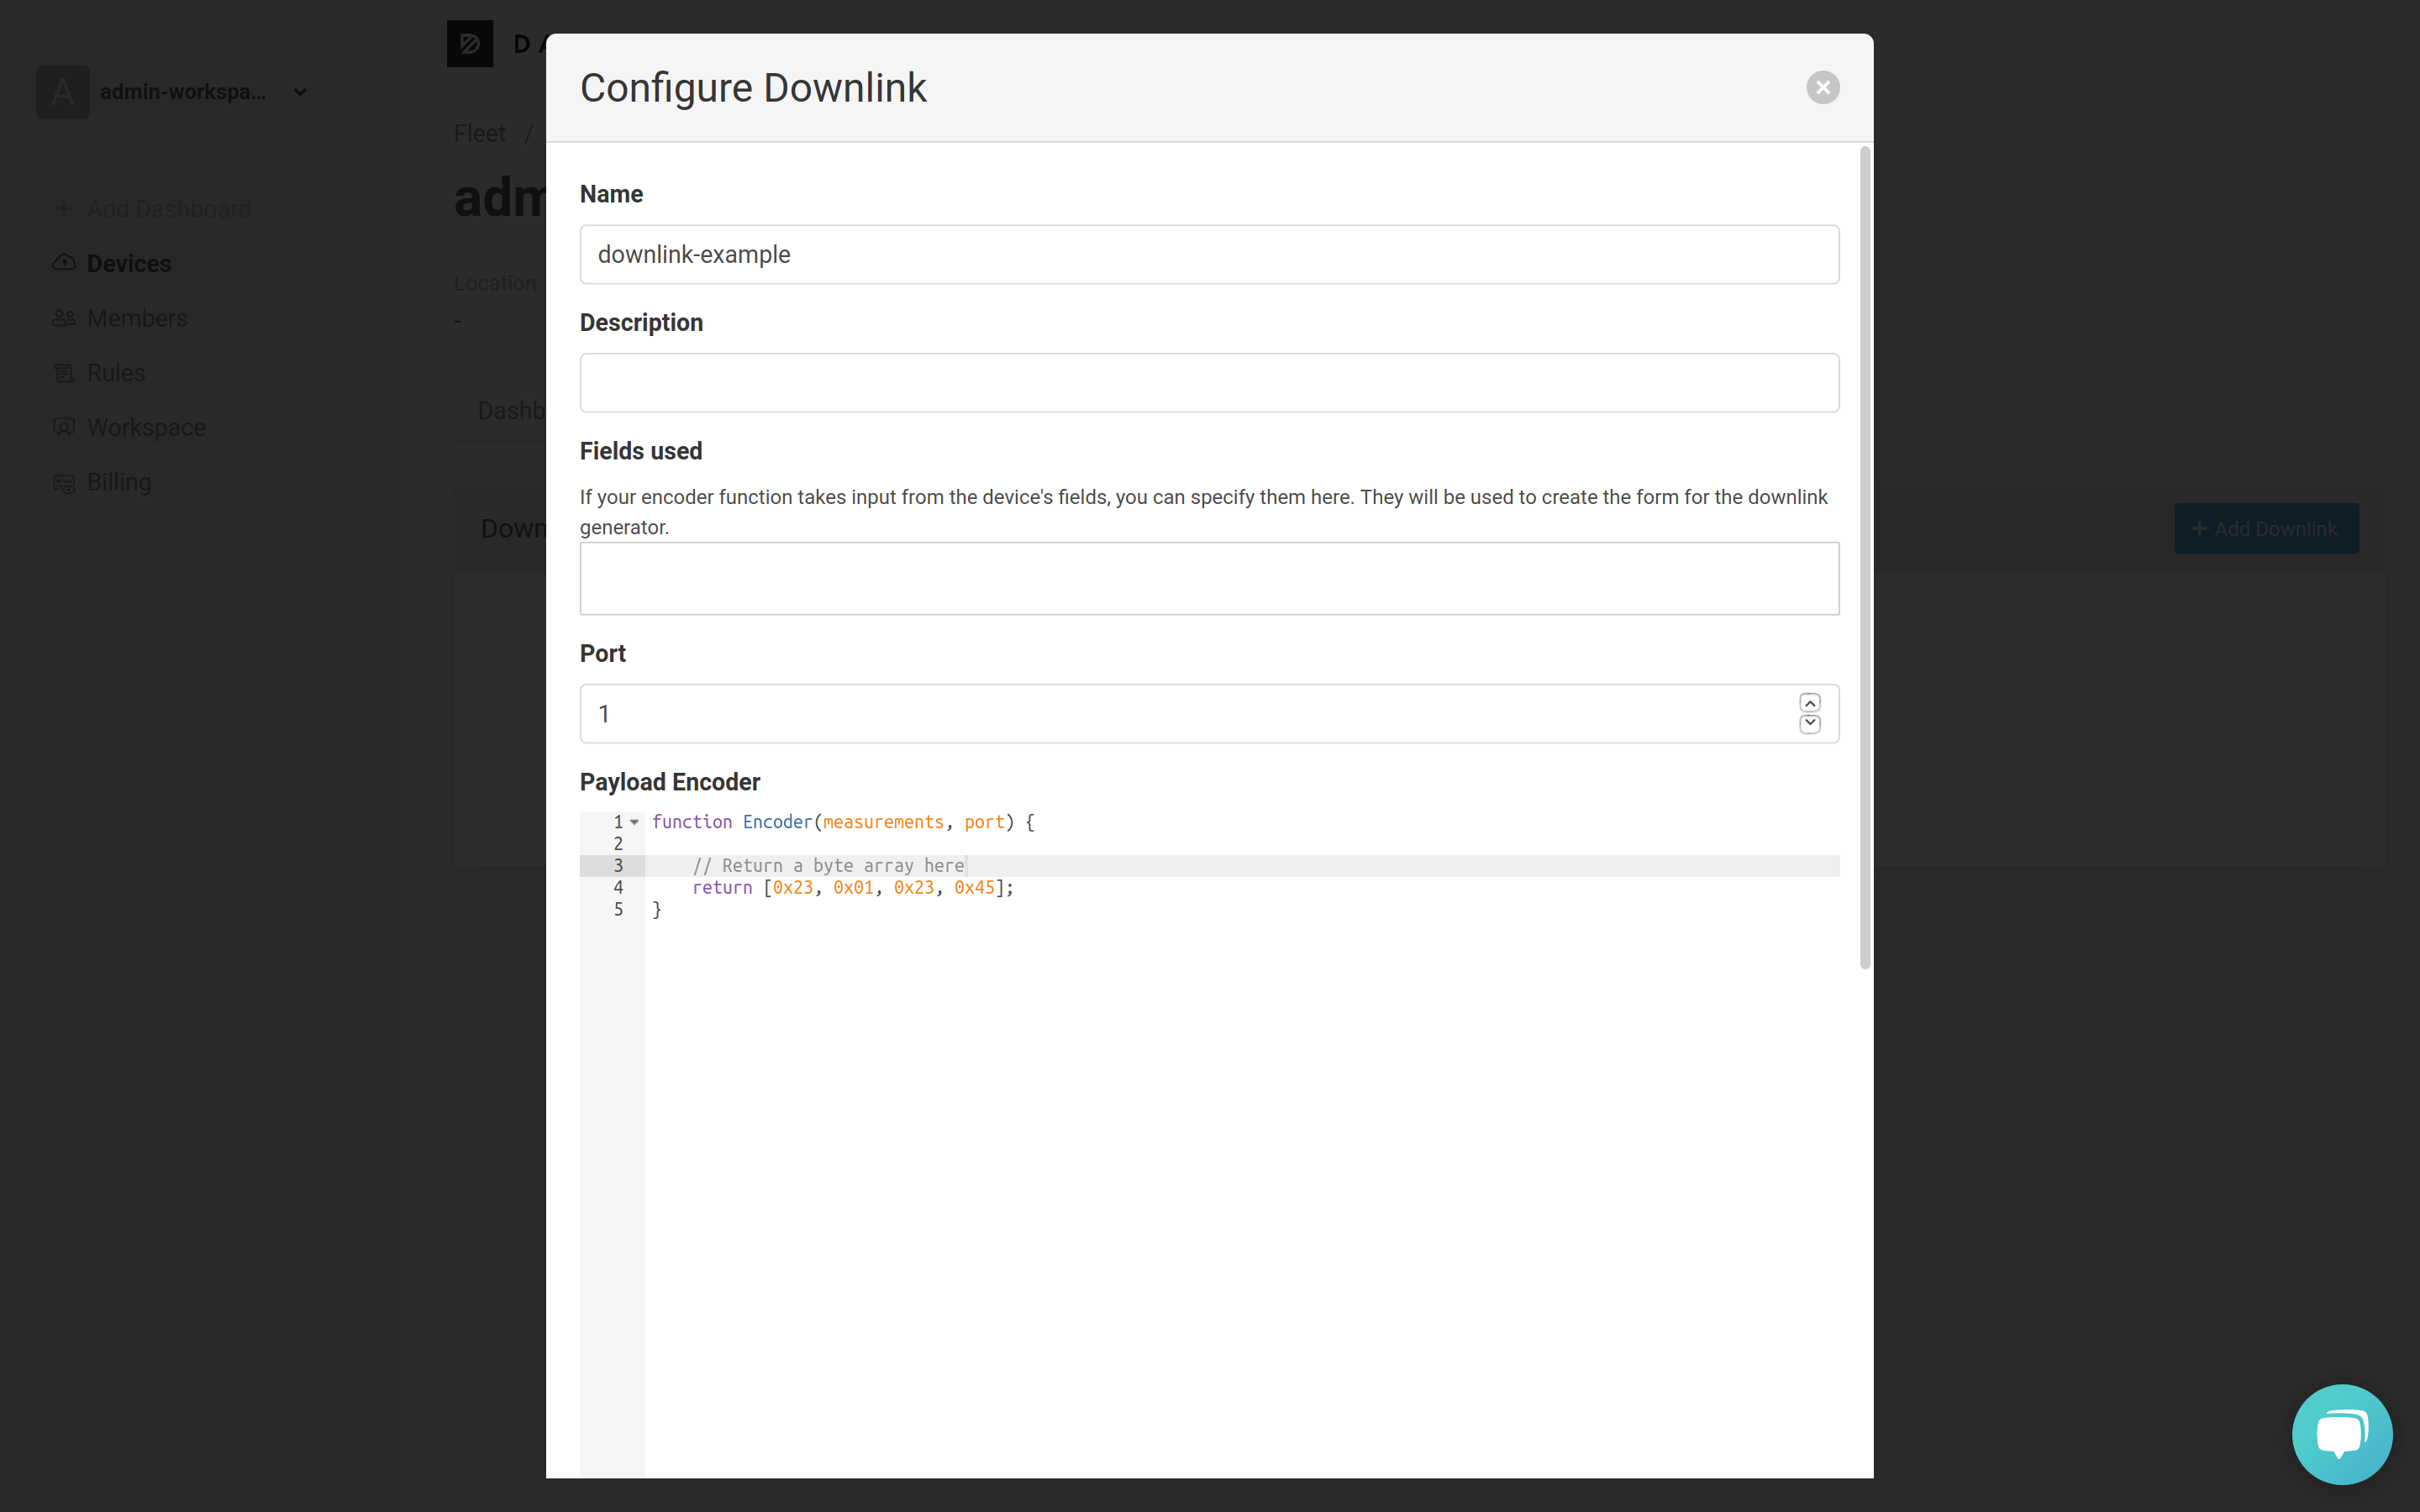
Next, fill in the Name field, define the Payload encoder and click Save Downlink.
Learn to write payload decoders in the official Datacake documentation.
Now simply click the Send Downlink button to schedule a downlink and check your device’s logs to see the incoming message.