Thinger.io is a cloud IoT Platform that provides every needed tool to prototype, scale and manage connected products in a very simple way. Its goal is to democratize the use of IoT making it accessible to the whole world, and streamlining the development of big IoT projects.
Thinger.io wants to offer an improved integration to The Things Stack users by providing easy to configure tools for the storing, analyzing and showing devices data in a simple way. The plugin allows to retrieve The Things Stack webhook messages to enhance the integration with some interesting features such as:
- Uplink data payload processing
- Downlink data payload processing
- Automatic device and data buckets provisioning
Requirements
- Have an active subscription of Thinger.io Private Cloud Solution. Check this link to create your own private instance within minutes.
- Install The Things Stack Plugin in the instance.
Plugin Configuration
This section describes the different interfaces that can be used to configure the The Things Stack Plugin.
Integrating The Things Stack Applications
The first step to perform the integration, is to create a new plugin configuration on Thinger.io Cloud. It is possible to create multiple configuration profiles with custom behavior for each application deployed in The Things Stack. To create a new application profile, just type the Application ID and press the green Add Application button. Note that this ID must exactly match the application ID defined in your The Things Stack application.
 {{% tts %}} Plugin default settings](/docs/integrations/cloud-integrations/thinger-io/thingerio_default_settings.png)
The Application Id dropdown allows to select and configure a particular application profile, but if the Default profile is selected, the configuration will be applied to all the applications integrated with the plugin.
Uplink Settings

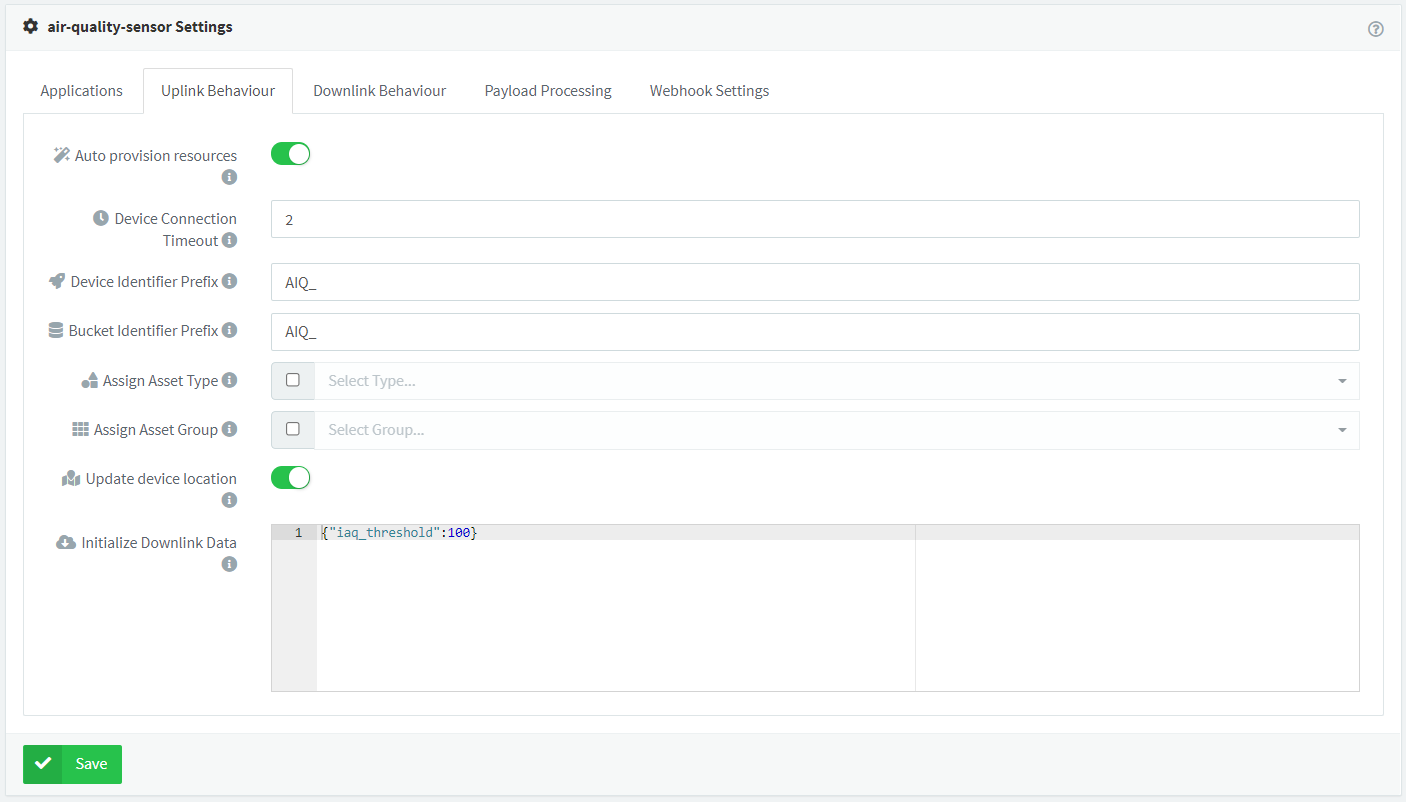
As shown in the image above, the parameters can be used to configure the plugin’s behavior:
- Auto provision resources: Enable or disable automatic resource provisioning while receiving messages for non-created devices.
- Device Connection Timeout: When creating a new device, establish the device connection timeout in minutes, so the platform can consider the device as disconnected after a fixed time without receiving a message.
- Device Identifier Prefix: When creating a new device, create it with a custom prefix + the original device id.
- Bucket Identifier Prefix: When creating a new data bucket associated to the device, create it with a custom prefix + the original device id.
- Assign Asset Type: Associate the autoprovisioned device and bucket with a given Asset Type.
- Assign Asset Group: Associate the autoprovisioned device and bucket with a given Asset Group.
- Update device location: Use the location provided in the gateways information to update de current device location.
- Save metadata: Store the metadata information provided by The Things Stack as a device property that can be retrieved later.
- Initialize Downlink Data: When creating a new device, initialize a custom downlink data, that can be modified and processed in further downlink requests.
Downlink Settings
The Things Stack Downlink processes can be configured from Thinger.io in order to select the behavior in some parameters as shown below:
 {{% tts %}} Plugin downlink behaviour tab](/docs/integrations/cloud-integrations/thinger-io/thingerio_downlink_behaviour.png)
- Confirmed Downlink: Set to enabled if downlink messages must be confirmed by the device.
- Push To Downlink Queue: Enable to push downlink messages instead of replace previous ones.
- Downlink Priority: Specify the downlink priority.
Payload Processing
This tab is used to configure the payload data treatment in order to transform from binary payload received from The Things Stack webhook into user-friendly variables and the Downlink JSON into a binary buffer that will be transmitted to The Things Stack.
The interface provides a code editor for Node.js scripts, where it is possible to define the codification / decodification processes and also provides a testing tool that allows to verify the behavior of both uplink and downlink processes.
 {{% tts %}} Plugin payload processing tab](/docs/integrations/cloud-integrations/thinger-io/thingerio_payload_processing.png)
The uplink method will be called after a gateway sends a new message over The Things Stack network. Depending on the configuration done in The Things Stack application, this function will receive different inputs:
- Base64 String: If The Things Stack application defines
Custom Javascript formatterfor the payload but does not provide a decoder function, this method will receive the raw payload encoded in base64. In this case, it will be necessary to write a function to transform this base64 data to a JSON object. - JSON Object from Cayene LPP: If The Things Stack application defines a
Cayene LPPpayload formatter, The Things Stack will automatically convert the binary data to a JSON object that can be used directly by the platform. In this case, it is not necessary to define custom uplink method unless you want to do some extra processing like incorporate calculated fields. - JSON Object from Custom Decoder: If The Things Stack application defines
Custom Javascript Formatterpayload format and provides a decoder function, this function will receive the output from The Things Stack function. In this case, creating a custom uplink method will be redundant, so create the function in The Things Stack, or in the plugin.
The output of this method must be always a JSON object containing the information that is necessary to be used by the platform. In the following, there is an uplink method that converts base64 data into a JSON object with temperature and humidity parsed from the binary data.
/* convert a base64 payload to a JSON object that can be used by Thinger.io */
module.exports.uplink = function(payload){
    const buffer = Buffer.from(payload, 'base64');
    let processed = {};
    processed.temperature = buffer.readInt16LE(0)/100.0;
    processed.humidity = buffer.readInt16LE(2)/100.0;
    return processed;
};
Note:
The uplink method must always return a JSON object.The downlink method will be called before the plugin issues a downlink request to The Things Stack. To issue a downlink request to The Things Stack, this plugin must receive an HTTP POST call, indicating the Thinger.io device identifier, and it will automatically issue the request to the required The Things Stack endpoint and its specific protocol. Check out the next sections for more details. This function will receive different inputs depending on how the plugin is called over its REST API.
- JSON Object: If the downlink call is done for a Thinger.io device that defines a
downlinkproperty (that is automatically initialized ifInitialize Downlink Datais configured in the plugin), this method will receive the JSON content of this property. It usually consists on a user-friendly device configuration that should be later encoded to binary in base64. - JSON Object: If the plugin downlink request contains a JSON payload in the POST call, this function will receive this payload instead of the one configured in the device
downlinkproperty.
The output of this method should be one of the following:
- Base64 String: With binary information that can be sent directly to The Things Stack network. It is required if your The Things Stack application is not defining a converter.
- JSON Object: If The Things Stack application provides a converter for your payloads, this method can return a JSON object that will be accesible in the converter method. In this case, creating a custom downlink method will be redundant, so create the funtion in The Things Stack, or in the plugin.
Example of a downlink method converting a JSON device configuration into base64 as required by The Things Stack:
/* convert a JSON object with the device configuration in a base64 string expected by The Things Stack */
module.exports.downlink = function(payload){
    let bytes = [];
    bytes[0] = payload.enabled ? 1 : 0;
    bytes[1] = payload.frequency;
    bytes[2] = payload.threshold;
    return Buffer.from(bytes).toString('base64');
};
Note:
The downlink method should return a base64 string if The Things Stack application does not define a converter.The Things Stack Console Configuration
Uplink Configuration
The last tab of the plugin configuration interface is called Webhook Settings, it has been created to help the developers to complete the integration in The Things Stack Console, by providing all the information required to setup the webhook profile.
 {{% tts %}} Plugin webhook settings tab](/docs/integrations/cloud-integrations/thinger-io/thingerio_webhook_settings.png)
Note:
The REST API does not define the application ID, this parameter will be checked by the plugin software to manage the payload according to the configuration.To create a new webhook integration follow the next steps in The Things Stack web console:
- Select the Application to be integrated.
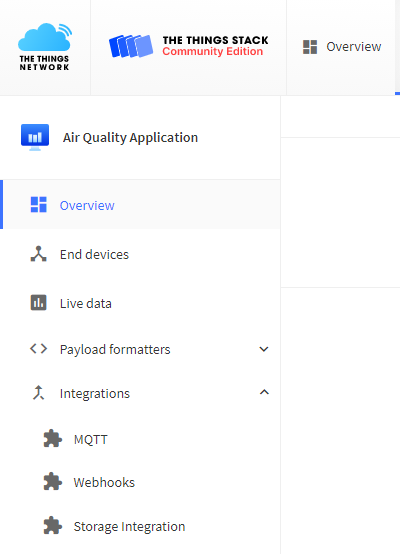
- In the main menu open the Integrations section and click the Webhooks option. The webhooks list will be shown.

- Clicking the +Add webhook blue button in the right top corner of the interface allows choosing between different webhooks integration templates. Select Thinger.io template. Then, configure the webhook only requires filling the form with the information provided by Thinger.io Webhook Settings tab and selecting JSON webhook format.
 {{% tts %}} webhook settings](/docs/integrations/cloud-integrations/thinger-io/thingerio_tts_webhook.png)
Note:
The Authorization header must be set up using the access token includingBearer command
Downlink Configuration
As part of the webhook template, the Download API key is automatically created, so no further configuration is required.
Executing Downlink Processes
Thinger.io’s The Things Stack Plugin has been prepared to automatically manage sending downlink messages to The Things Stack server. Thinger.io Cloud takes the data from the device downlink property, autogenerated during device provisioning, and inserts it as a response to the next HTTP request from the system. Therefore, allowing the creation of device configurations and being able to control processes by just modifying the value of this property by means of a Dashboard widget, Node-RED, or direct API integration.
- Configure the plugin’s downlink settings at Thinger.io
- Write a codification script if required using the plugin’s
downlink payload processing - Modify the value of the property to launch the execution of the downlink process
After this, the plugin will execute the payload processing and send it in response of the next The Things Stack API request to your server. It is possible to follow the trace of this communication by accessing the plugin’s log going to Plugins > Plugin profile > Logs.
Monitor Your Data
There are multiple ways to view the data sent by the device in Thinger.io.
As long as the uplink messages are being sent by The Things Stack, the raw data will be available in the Thinger.io Data Bucket configured or auto provisioned by the The Things Stack Plugin, without any further configuration.
 data bucket showing raw data sent by {{% tts %}} device](/docs/integrations/cloud-integrations/thinger-io/thingerio_data_bucket.png)
Nevertheless, it is recommended to create a Dashboard in Thinger.io to be able to view the data in a more comprehensive way.
 dashboard showing data from {{% tts %}} device](/docs/integrations/cloud-integrations/thinger-io/thingerio_data_dashboard.png)