Node-RED
Node-RED is a free, JavaScript-based development tool for visual programming, developed to ease the process of wiring together hardware devices, APIs and online services.
The MQTT server that is exposed by The Things Stack can be connected to Node-RED.
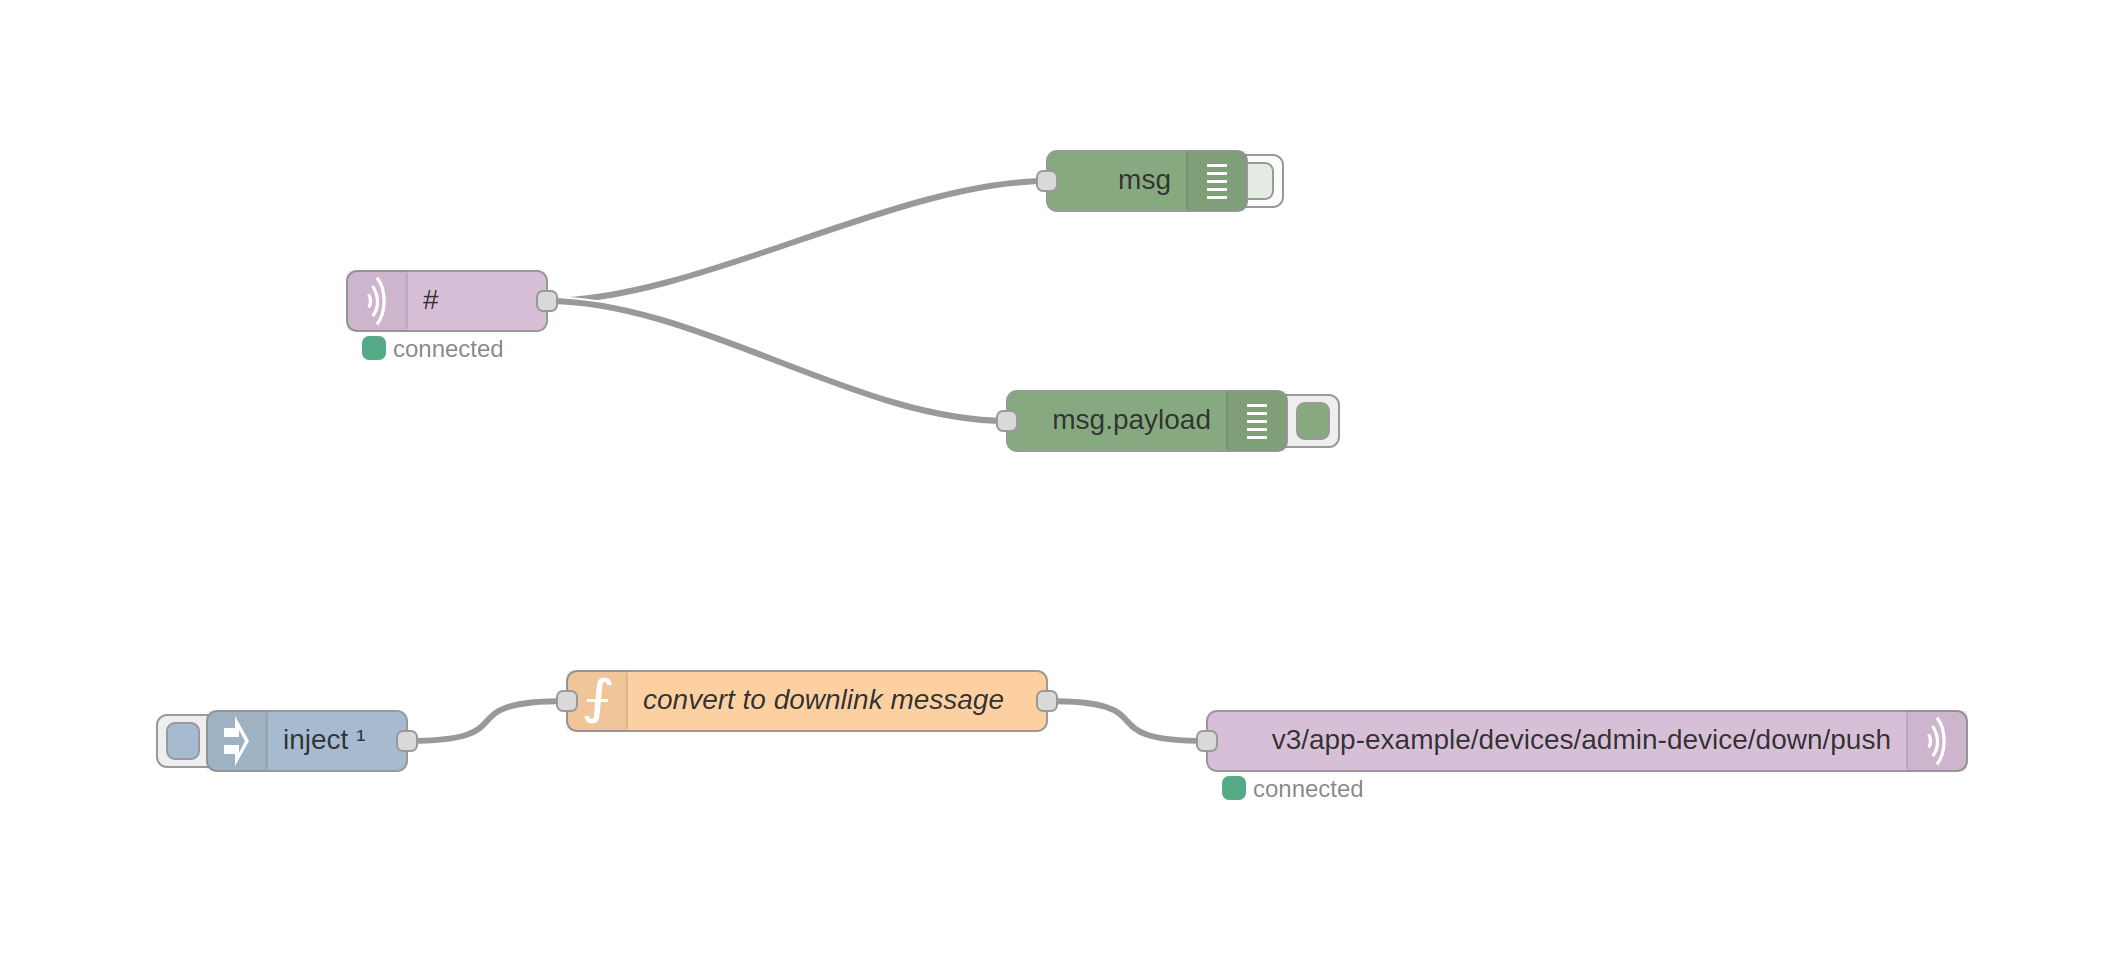
This integration allows setting up a Node-RED flow that listens to events and uplink messages, and it is also possible to schedule downlink messages.
Setup
This section describes how to setup a Node-RED server and prepare to connect it to The Things Stack.
Requirements Install Node-RED Note:
Node-RED v1.0.6 is current at time of writing and is used in this guide. Setup Run Node-RED in your terminal and navigate to the server address of your Node-RED instance in your web browser. For example, a default address of a Node-RED instance deployed on localhost is 127.0.0.1:1880. You should see something like:
Receive Events and Messages
This section follows the process of setting up a flow which subscribes and listens to the events and messages that are being published by the MQTT server.
Configure MQTT In Node Place the mqtt in node on the dashboard. Double-click on the node to configure its properties.
In the Server dropdown menu, select Add new mqtt-broker and click on the button besides to edit it.
In the Connection tab, under Server, provide the address of the MQTT server (without port) from The Things Stack Console (the address shown on the image at the bottom of the Setup section).
Send Messages
This section explains the process of setting up a flow which publishes messages to a certain topic that the MQTT server is subscribed to.
Doing this schedules downlink messages to be sent to your end device. This section follows the example for publishing downlink traffic in MQTT Server guide.
Configure MQTT Out Node Place the mqtt out node on the dashboard.
Configure the Server options with the same settings as in the Receive Events and Messages section.